
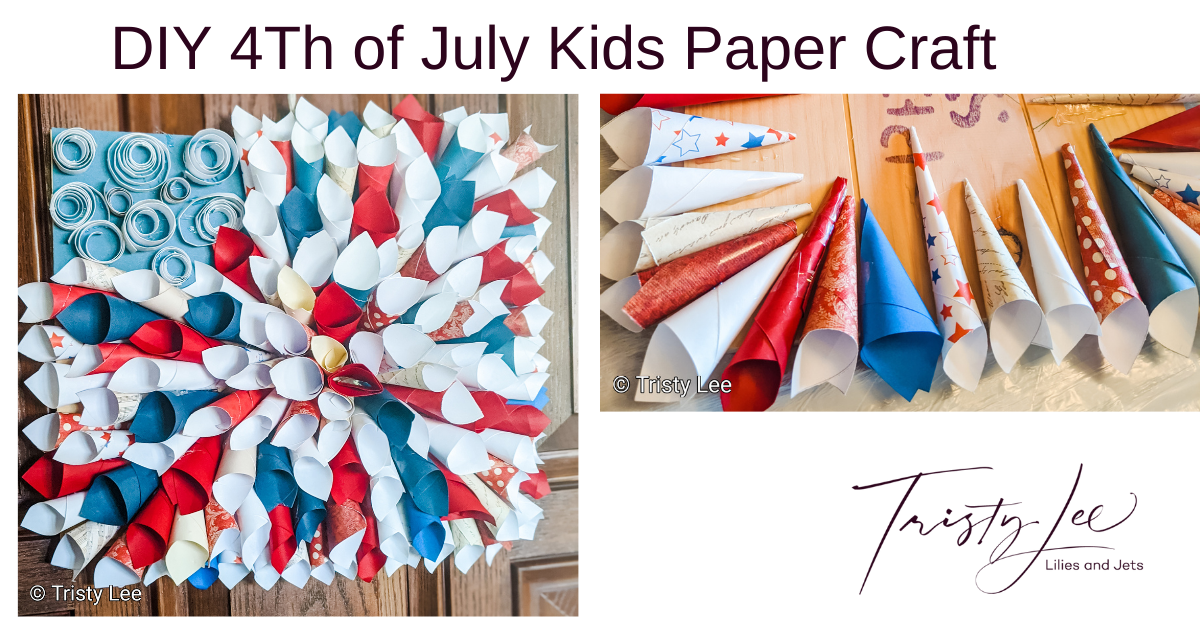


Tristy Lee- DIY | Home Decor | Art | Project Inspiration
Getting ready for the 4th of July with a fun kids craft project. What a great way to spend some time doing a craft. I love to talk with my family about how blessed we are to live in the USA. Being American and enjoying our freedoms comes at a great sacrifice, and it is a great time to remember. Lily got hand made paper cone wreath from Pam Freday when she was born. We were looking for a fun project that we could do from home, and this became our inspiration for the 4th of July Craft for kids with supplies we had on hand.
Craft Inspiration:
Grandma Joan and Lily looked for a base for the project. She came across a small piece of wood in a rectangular shape similar to a flag. Red, White, and Blue are classic fun colors, so we found lots of options to choose from in our scrapbook paper supply.
This is a project that has to be adapted to the age of your kids. As a 3-year-old, Lily helped with cutting the paper using the paper cutter with help from me. Lily also sorted the colors so we could use them and helped me hold them as the glue dried. For kids 6 and older, they can do all the steps for the 4th of July craft.
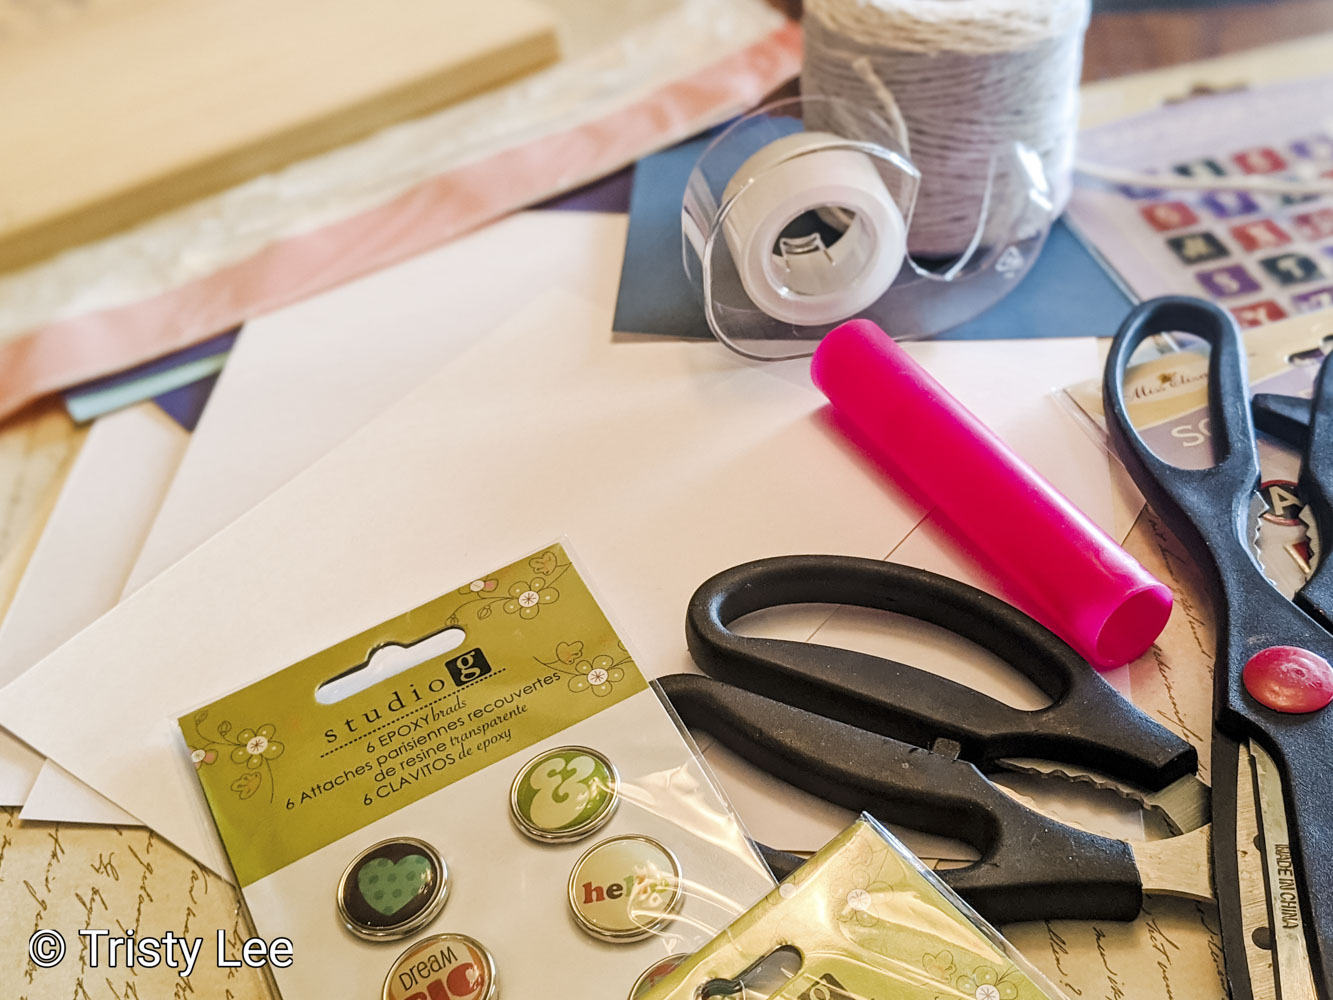

Supplies:
• Variety of Red, White, Blue Scrapbook Paper
• Scotch Tape
• Base ours was a small wood remnant, but you could use thick cardboard
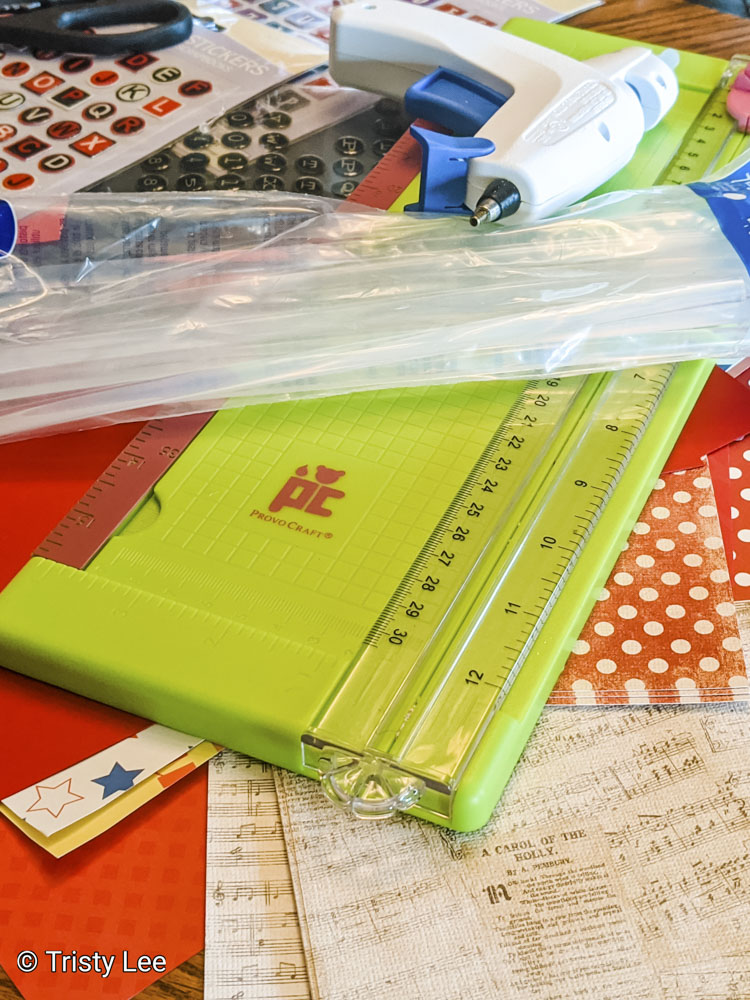
• Paper trimmer- this is a time-saver, but you could use scissors.
• Scissors
• Low-temperature glue gun
• Low-temperature glue

How to start your 4th of July kid’s craft.
1. First, gather your supplies together.
2. Then, find or make a base- ours was 11×13 inches.
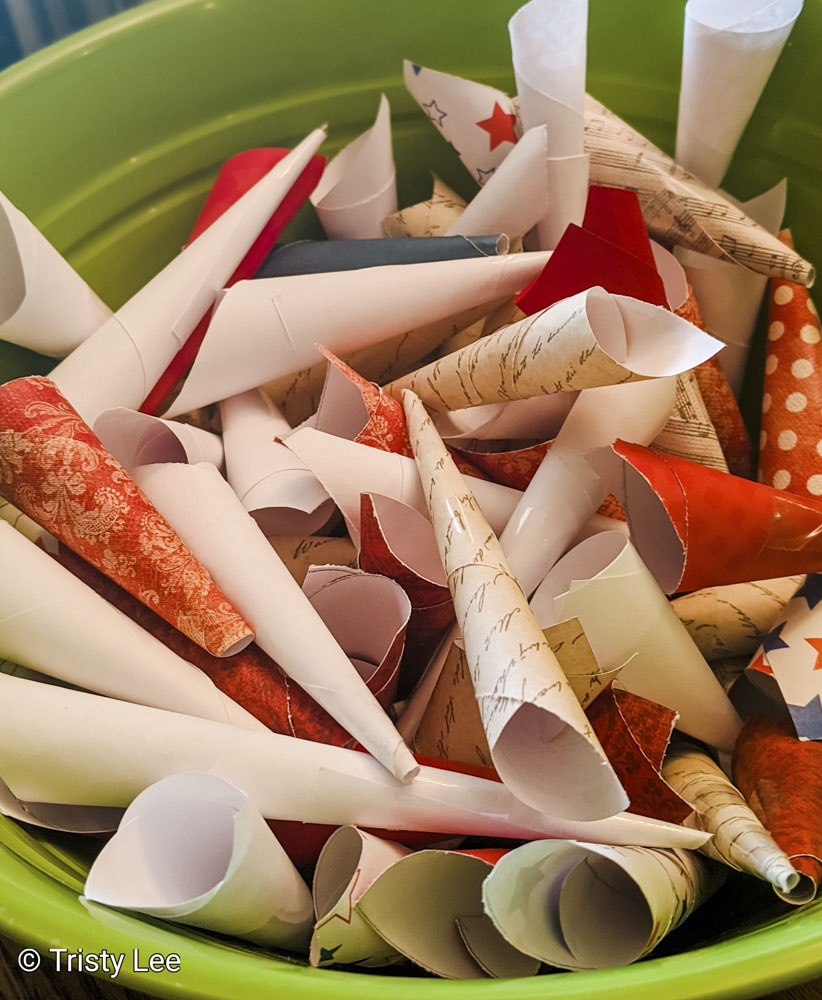
3. Next, select the paper to use on the project. We used paper we had on hand. If we were to do this project again, then we would buy paper with color on both sides. When we created our paper cones, the majority have white on the inside. It is still pretty, but it would be more dramatic and bright if you use paper with color on both sides.
4. After that, we cut the paper into 2.5 inches by 4-inch pieces.
We used approximately 140 paper cones for this project.
Video overview of project:
Creating the paper wrap cones and swirls
1. Next, create the paper cones. We wrapped the paper using our finger for width into a point on one end.
2. Then, use some scotch tape to secure the paper cone.
3. After, cut 10 strips of paper of varying width between 1/2 inch and 1 inch. Wrap them around your finger or pencil to create a spiral shape for the star section of the flag.
The first few feel really awkward, then you will get the hang of it. Once you get the hang of it, you can watch a movie while you work on them.
Attaching the cones and spiral paper:
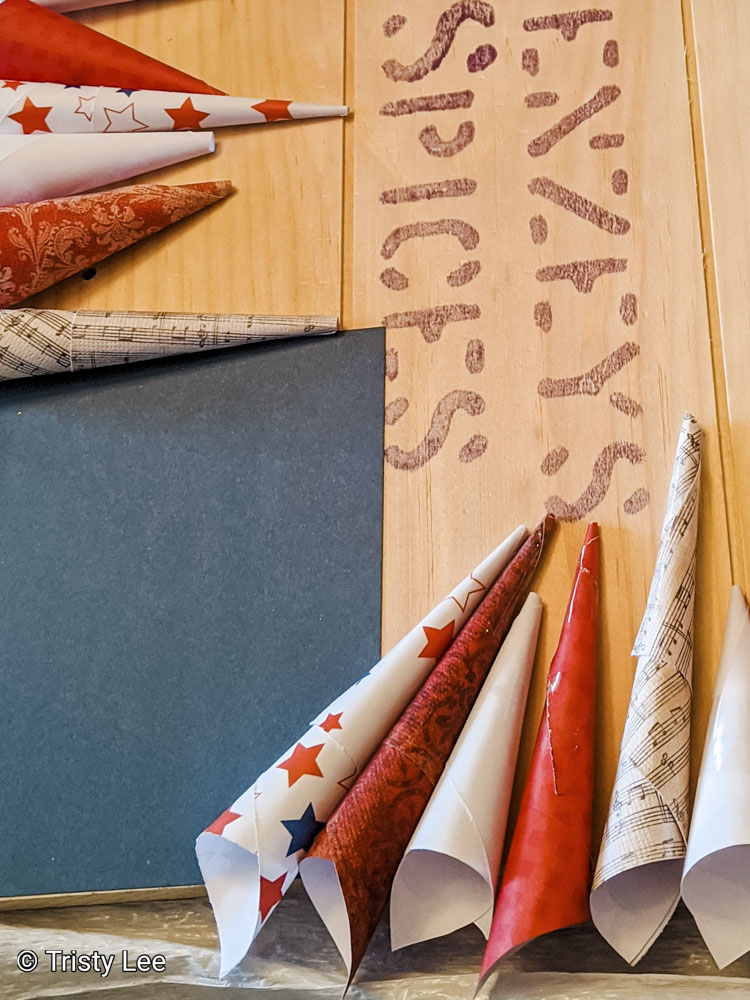
1. Start by creating a spot on the flag for the star spirals glue a 4×6 in blue paper to the board.
2. Then, begin attaching the cones with low-temperature glue.
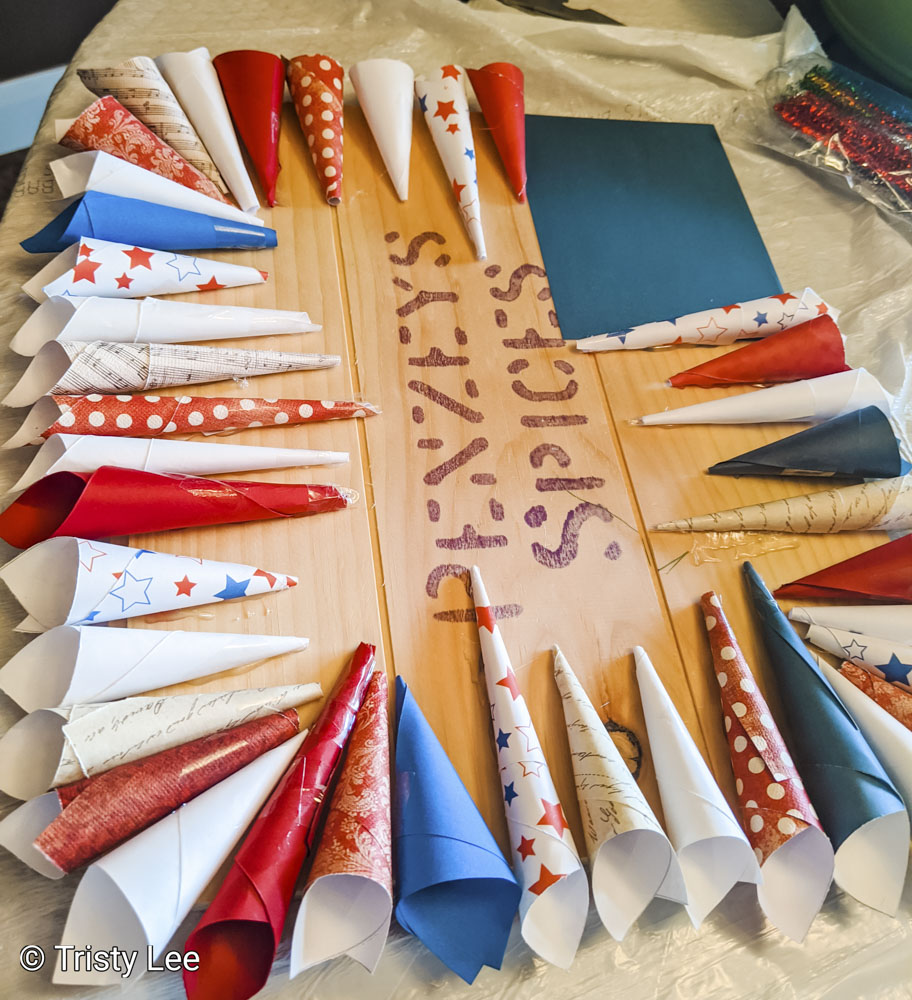
3. Strategically moving from the outside edge in. Alternate the colors from red, white, and blue. Avoid the blue star area on the board.
4. Next, make sure when attaching them space them, so the cone covers the edge slightly, and they are next to each other at the wide point of the cones with no gaps.
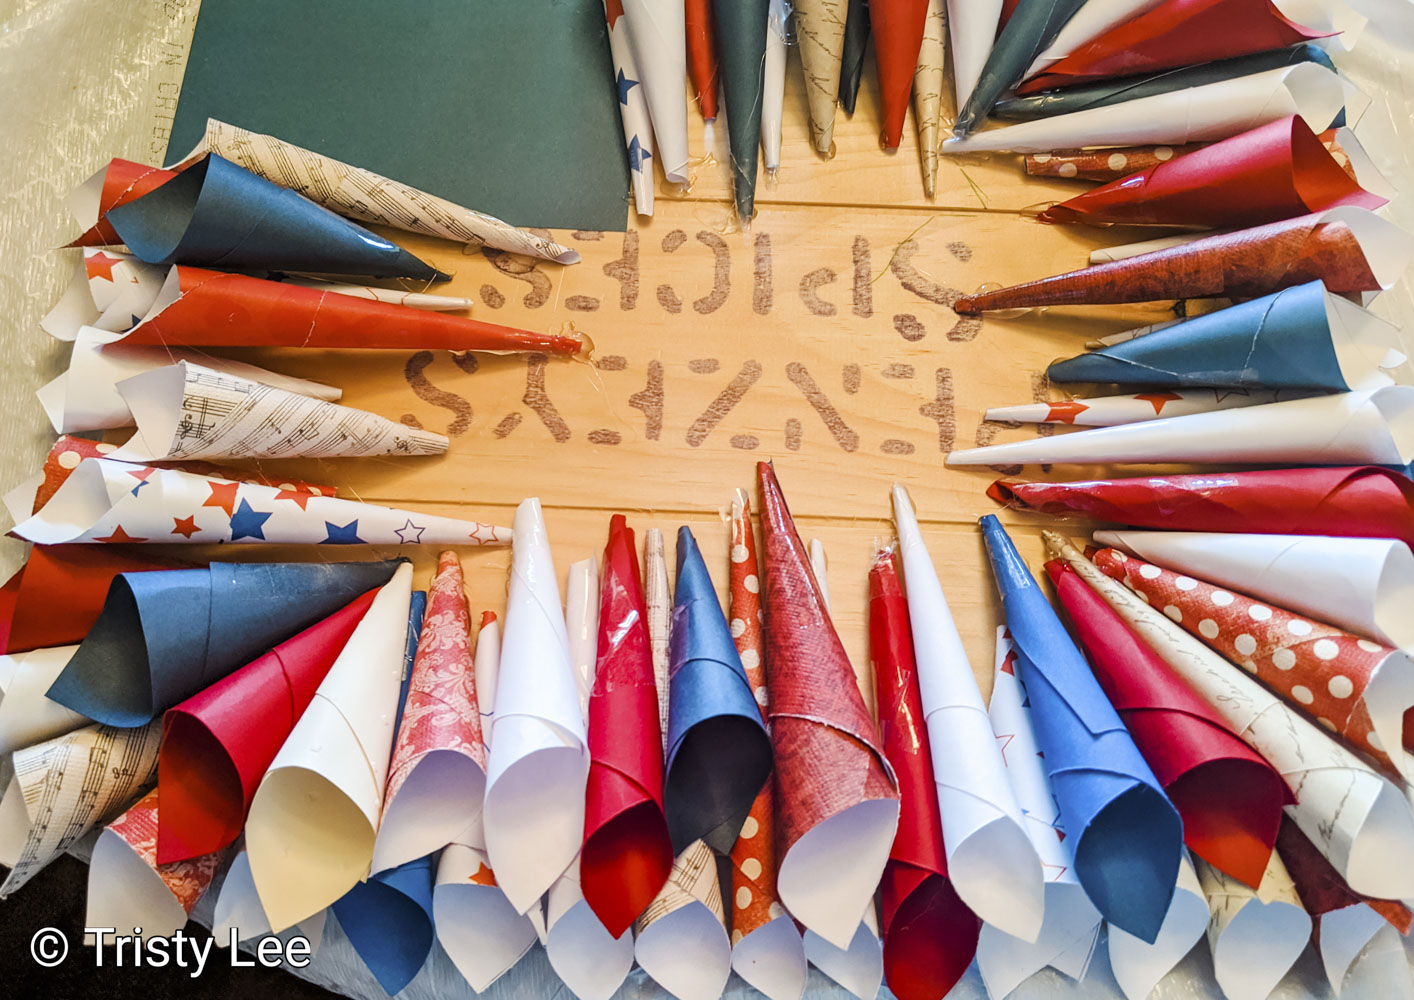
5. Then work your way in row by row, leaving about 1/2 inch showing from the last row.
6. Ultimately you will reach the center of the board, and we cut the ends off the cones so that we could place them more upright on the board and fill in the center.
7. The last step was to attach the spirals to the blue paper with low-temperature glue.
Attaching the cones and spiral paper:
1. Start by creating a spot on the flag for the star spirals glue a 4×6 inch blue paper to the board.
2. Then, begin attaching the cones with low-temperature glue.
3. Strategically moving from the outside edge in. Alternate the colors from red, white, and blue. Avoid the blue star area on the board.
4. Next, make sure when attaching them space them, so the cone covers the edge slightly, and they are next to each other at the wide point of the cones with no gaps.
5. Then work your way in row by row, leaving about 1/2 inch showing from the last row.
6. Ultimately you will reach the center of the board, and we cut the ends off the cones so that we could place them more upright on the board and fill in the center.
7. The last step was to attach the spirals to the blue paper with low-temperature glue.
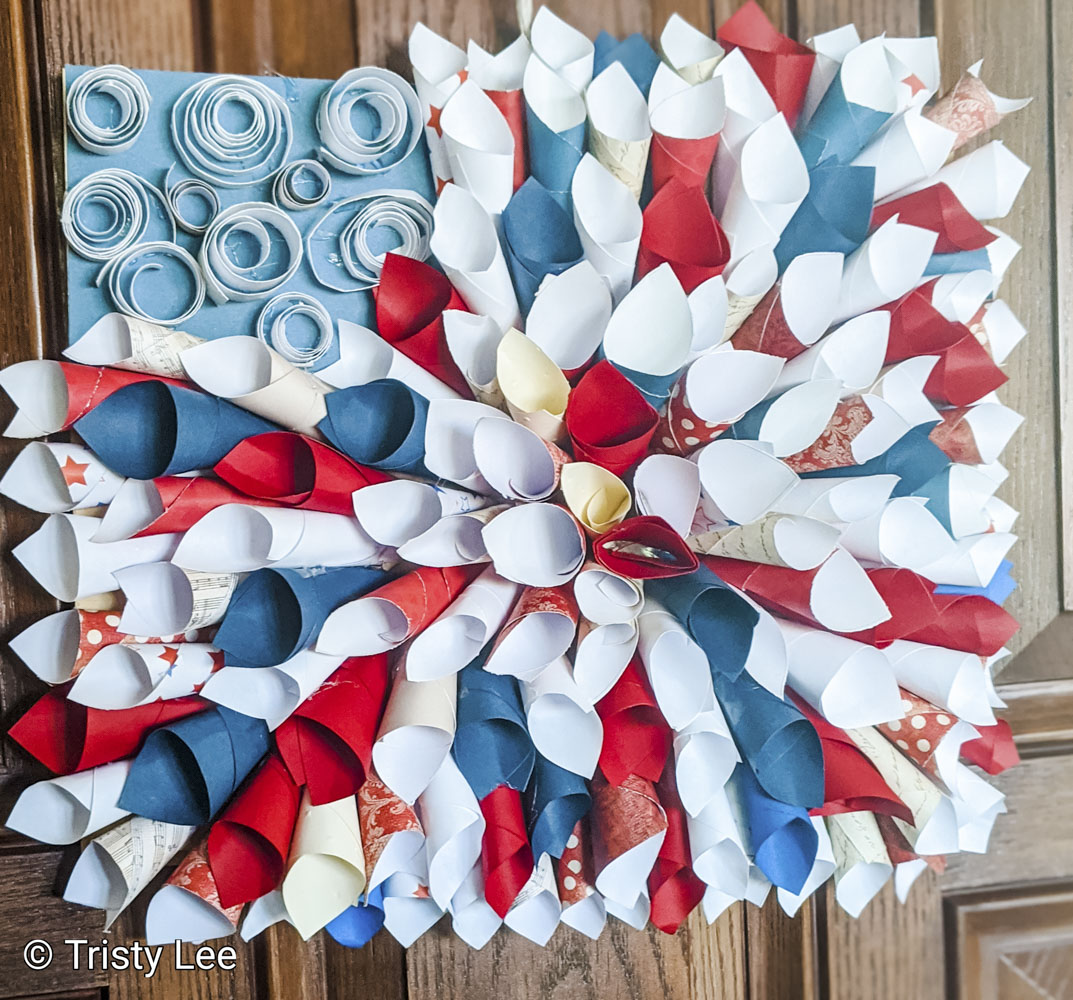
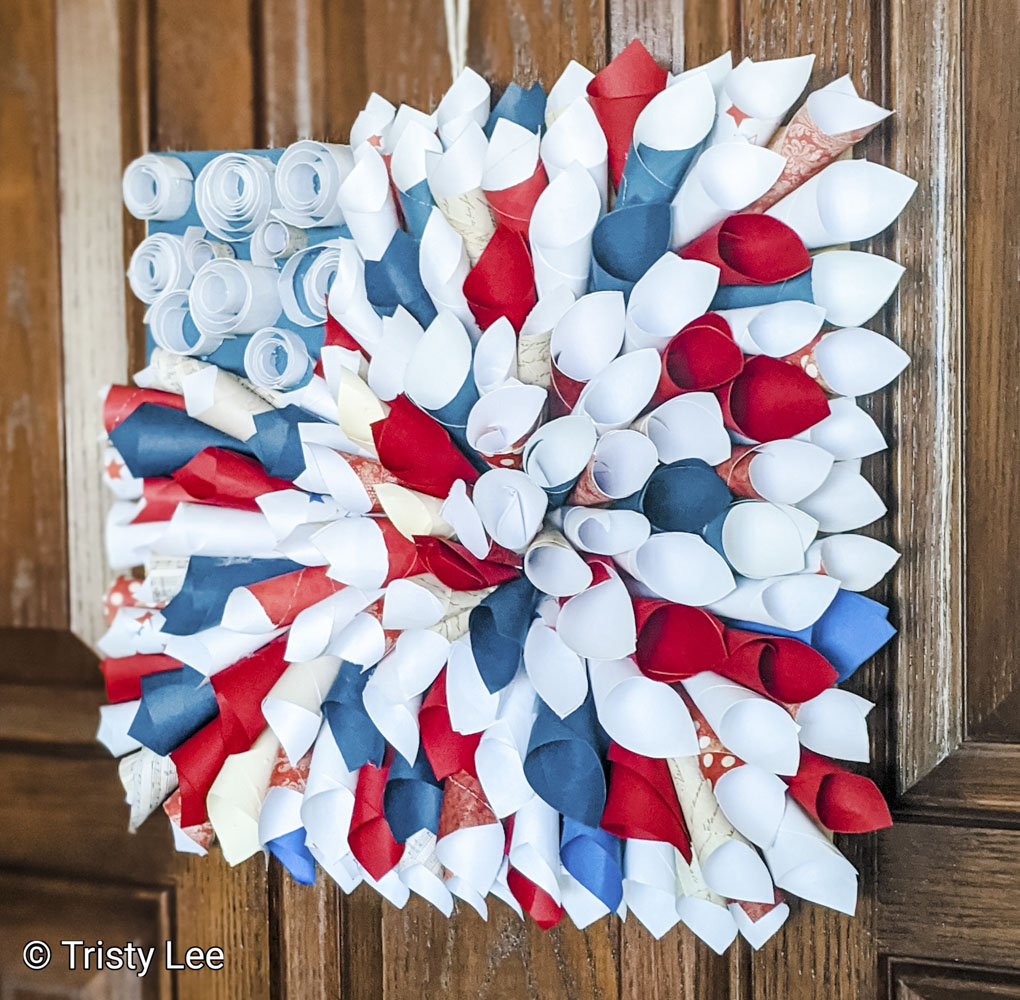
4th of July abstract:
As you can see from the finished project, we went for the 4th of July flag theme rather than more literal stripes and stars. I will encourage you to use your creativity in a pattern if you want to try a more literal approach, pick solid red, white and blue paper, or even stripes and star papers. If you have more than one kid at home, let them create their own version for their bedroom doors. I do not recommend putting this on an outside door. Paper is fragile in the weather nature, and the glue is vulnerable to the heat and melting.
Want more Lilies and Jets
If you haven’t read our article about Tips for Crafting with Kids, I highly recommend it. They are contributed by Joan Atwood, who has over 30 years of experience working as an Educator. Let us know how this goes and if you have any tips for us.
Take a look at our other 4th of July projects:
DIY 4th of July Clothespin Wreath
We really enjoy seeing your pictures. Follow us on Facebook to see the latest and get a glimpse behind the scenes projects at Lilies and Jets.


+ show Comments
- Hide Comments
add a comment