Joan Atwood- Artist| Educator | Crafter | Project Inspiration
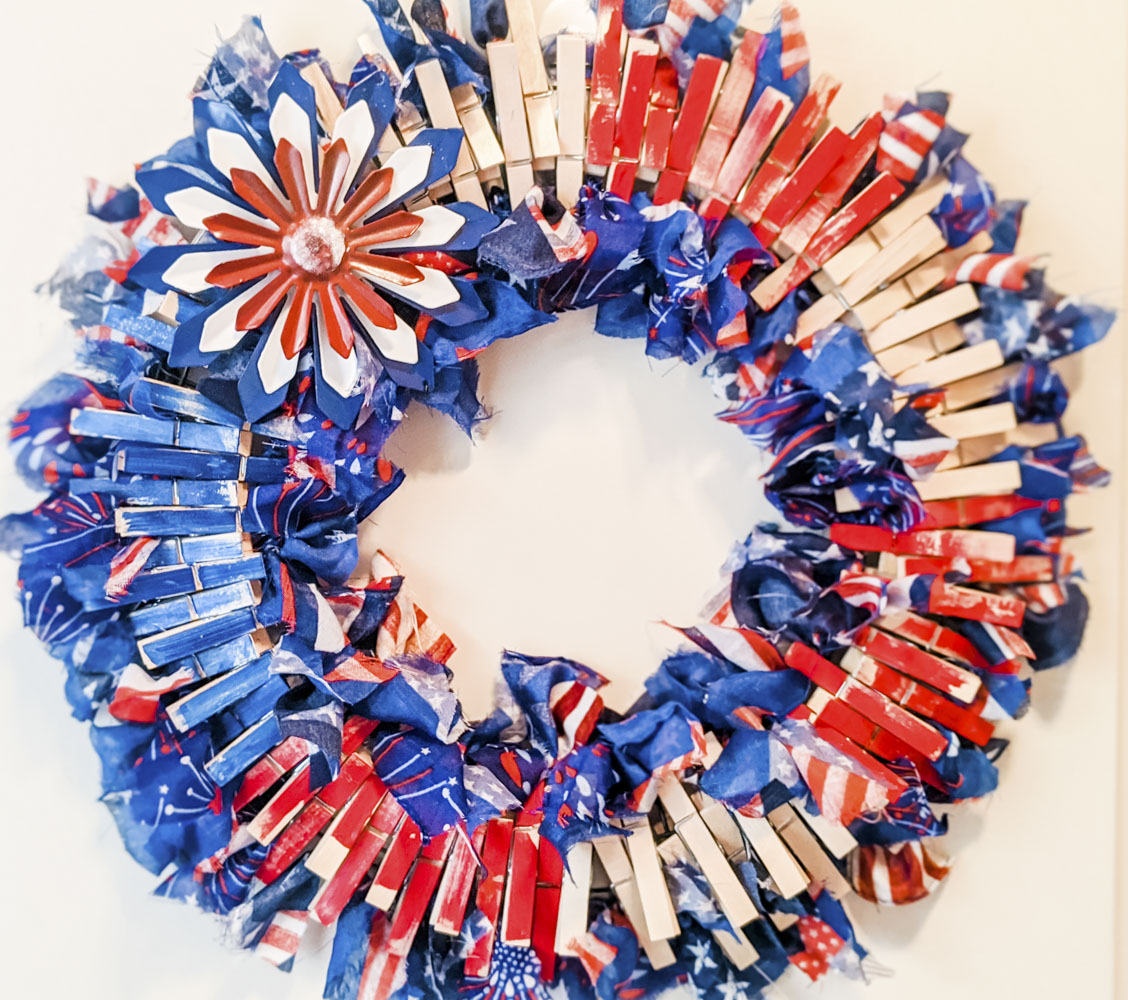
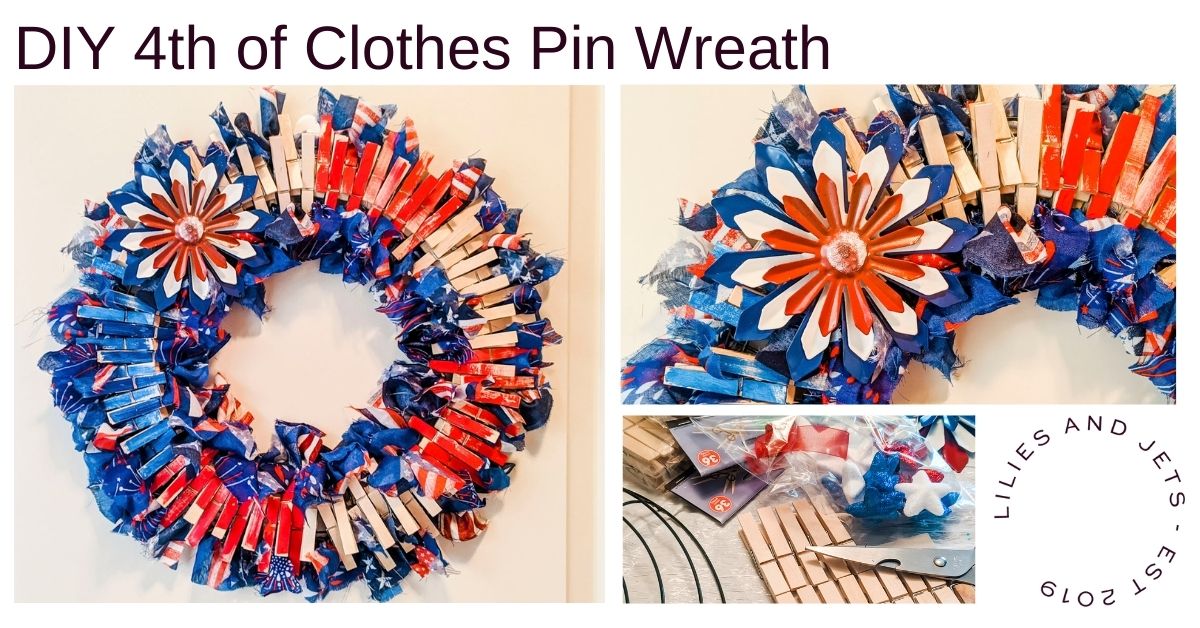
Being at home because of Covid-19 can really bring challenges, but this is something everyone gets, right? Add a three-year-old to engage in active learning, and you need all the inspiration you can get. Like most people, I went to Pinterest for some quick, easy-to-do crafts that I could do with Lily. I didn’t have a patriotic door decor, so my active searches include those. I happen to come across some wreaths done with clothespins. This made me want to do a DIY 4th of July Clothespin Wreath.
Clothespin Wreath Inspiration:
This brought back some fond memories of my mother-in-law and grandmother; the only two people I saw using clothespins for what they were designed for—hanging up clothes and sheets. I never understood why my mother-in-law, Gayle, hung her sheets up on a clothesline, it made them so scratchy. I got why Grandma Blanche did; she had no choice since at the time since she didn’t have a dryer. In any case, this would be great DIY 4th of July Clothespin Wreath for both Lily and me.
Crafting with Kids:
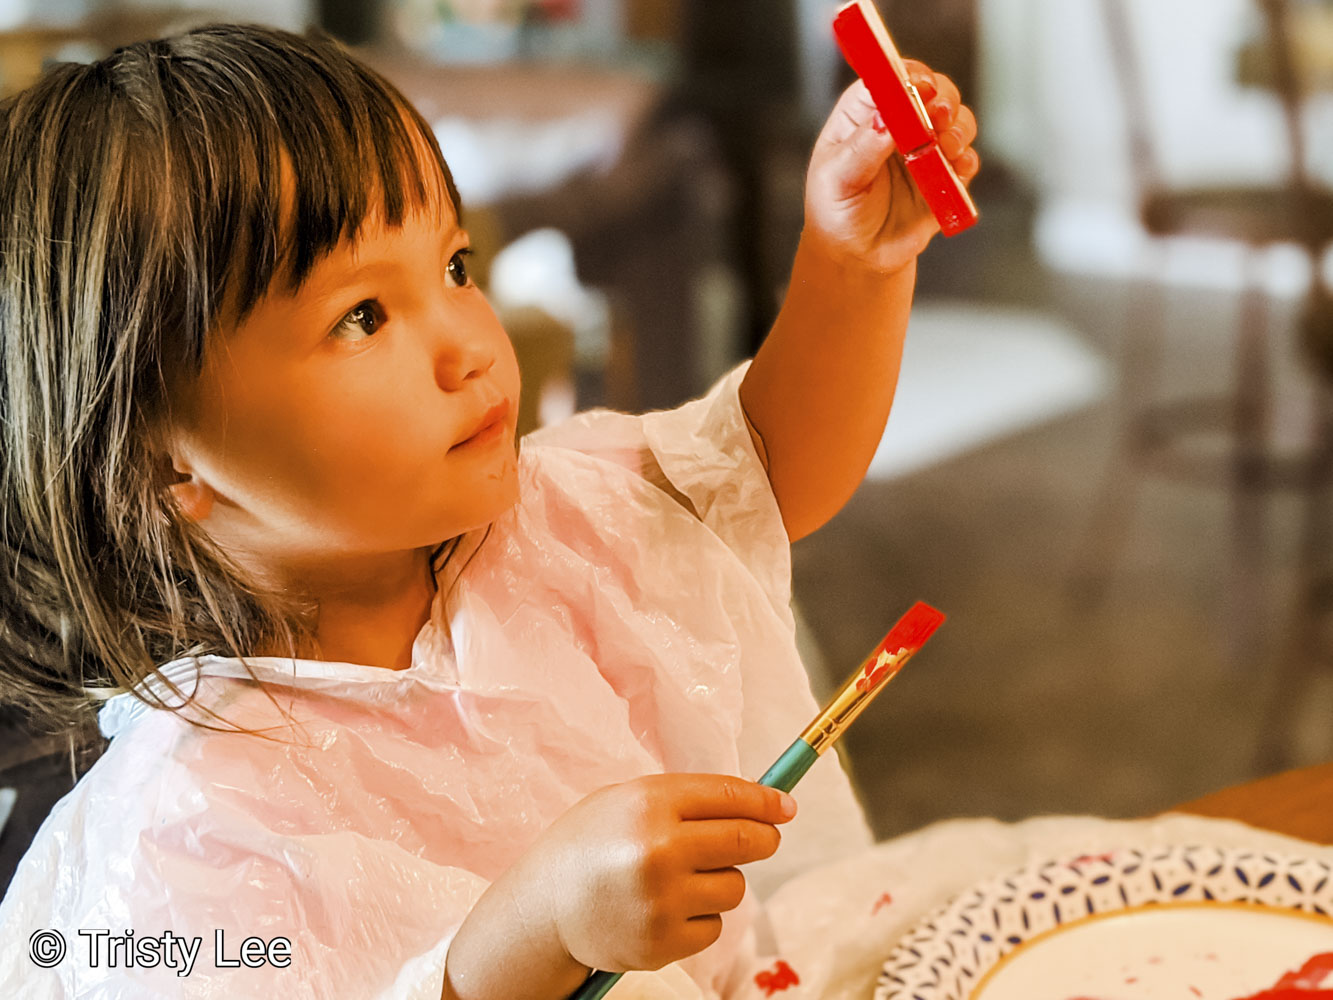
I already had the needed supplies in my craft stash, so it was a no-brainer. Lily and I had our “together” project for the day. I gathered up the supplies and put Lily in her plastic bag painter smock, and we began the process of making a wreath. If crafting with kids is a challenge check out our Top Tips for Crafting with Kids.
Supplies:
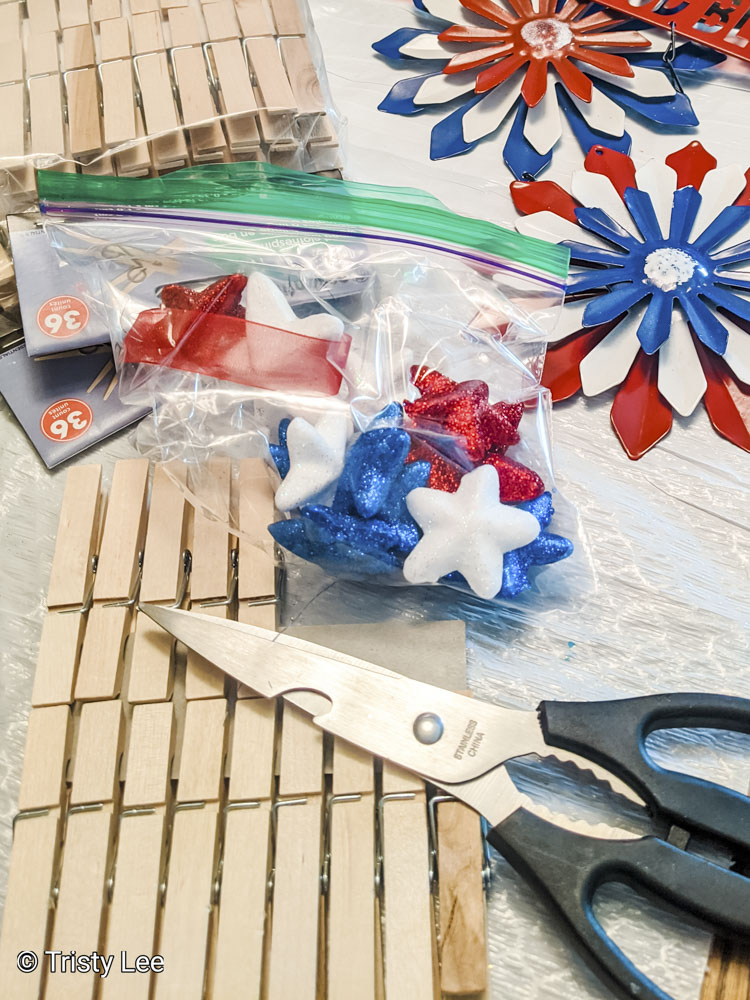
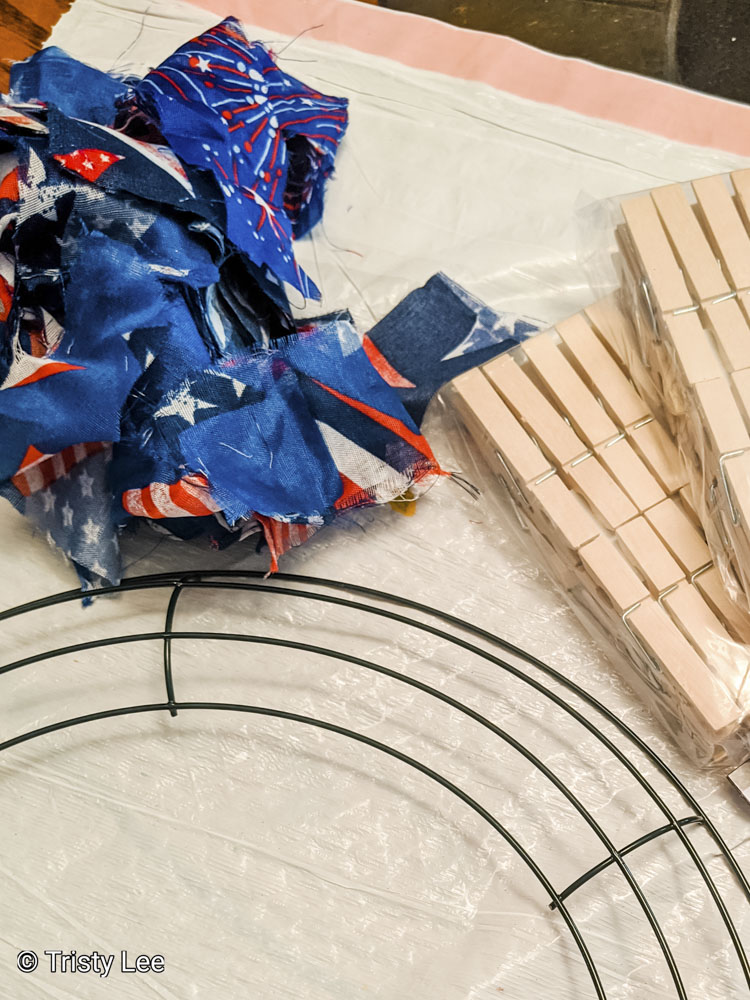
•Supplies needed:
• Wire wreath (medium size)
• Scissors
• Patriotic scarfs, fabric, or bandannas
• Clothespins (around 3 packages)
• Red, white, and blue acrylic paint
• Paintbrush
• Twine
• Metal patriotic flower or another accent piece such as silk flowers
• Cover cloth and smock
How to start your 4th of July Wreath
1. Have the child paint the top of some clothespins red and blue (remember that these will not be perfect if done by a child). Lily began with 10 red for one section. You could have the child also paint white ones if they are older and have the patience.
2. As they are painting, attach a section of plain colored clothespins on every other wire very close to one another. I used 10 of each color in an area, but that number certainly can be anything you desire. If I did it again, I would maybe do every other color to switch it up.
3. On the outside edge, tie a piece of red, white, and blue material in a half knot. These strips were about 1 ½ inch by 3 or 4 inches, but not precisely since these were made of scarfs and bandanas, which are not easy to cut right. This process is very forgiving, so no worries.
4. Continue applying sections of clothespins and tying strips of cloth around the wreath until you have covered about 3/4ths of the wreath.
5. At this point, apply the blue clothespins to finish the look of the patriotic theme. (I thought of how the flag looks with the stripes and blue stared section.)
6. Finish the look by applying your metal flower or silk flowers.
7. ( I find that using twine to attach the flower works well because using hot glue can melt off in sweltering weather.)
8. Experiment with placing your wreath in several places. I have an outside door which does not get much sun so it wouldn’t fade, so I finally decided on putting it there. However, inside works well too.
Video overview of project:
Show it off
Lily takes pride in seeing us put her crafts on display for others to see. I admit it gives me the thrill to see her take the finger of Grandpa Barry or her cousin, Avree, to show them our creation. Not all of our endeavors are praiseworthy, but so what; it’s the togetherness that matters and the memories it builds. This 4th of July Wreath was easy and cute so we wanted to share it with you. Hopefully, someday Lily will be building these memories with her kids. Just like her mom and me and now Lily, Tristy, and me.
If your looking for more 4th of July projects:
The 4th of July is a great holiday that makes us appreciate our rich history full of sacrifice and freedom. We love to see you work please comment and share pictures. Follow us on Facebook to get a preview of upcoming projects.
About the Artist:
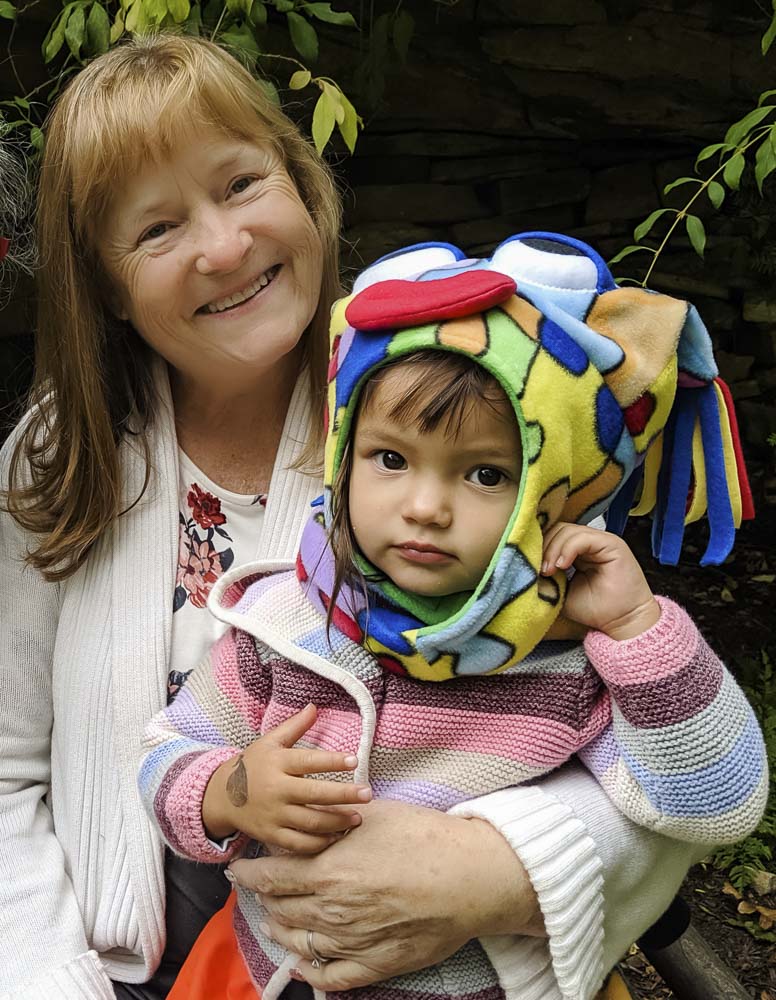
Joan Atwood has over 30 years of experience in education, working as an elementary supervisor, principal, and teacher, teaching a wide range of grade school children, as well as university classes. Her expertise includes kindergarten, elementary education, and gifted/talented. She is an artist with expertise in oil painting and floral arranging. She enjoys crafting with her grandchildren, wire wrapping pendants, and long walks in nature.

Thanks for share this article it’s very helpful to me.
Best regards,
Boswell Hessellund