
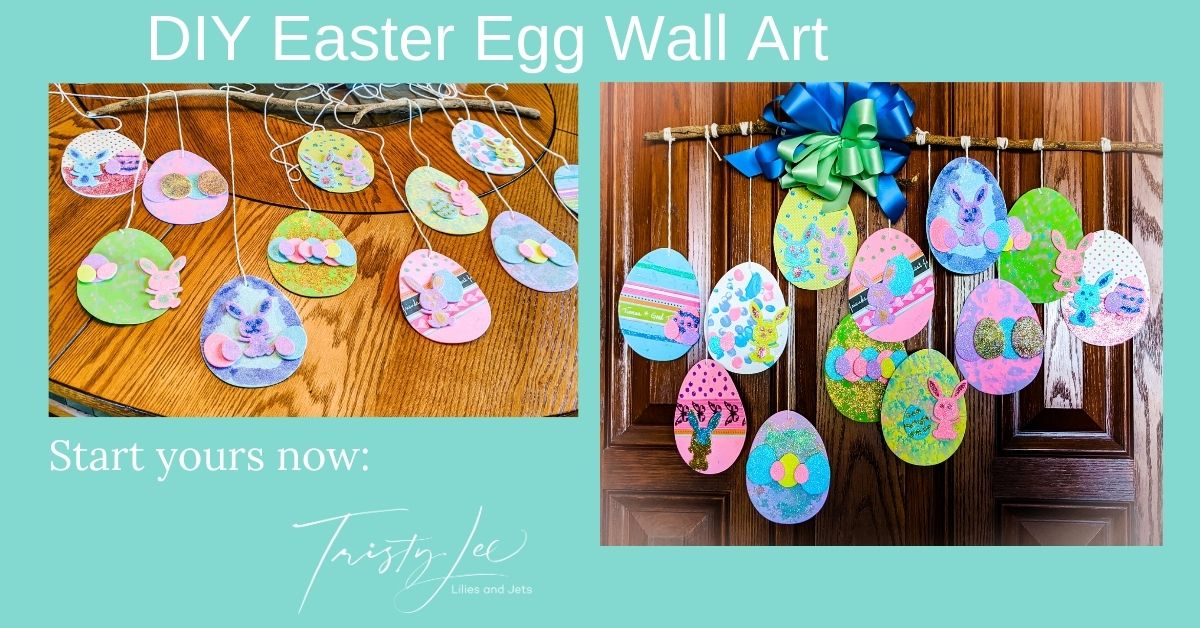


Tristy Lee -DIY | Home Decor | Art | Project Inspiration
Are you getting into the Easter mood? This project will get you in the mood. We are currently limited to the craft supplies we have on hand. However, we are going to the grocery store once a week right now. Our local grocery store has their seasonal Easter items out. Since we are currently spending so much time at home, we took the opportunity to pick up some cute thin foam pre-cut eggs and bunnies in multiple sizes.
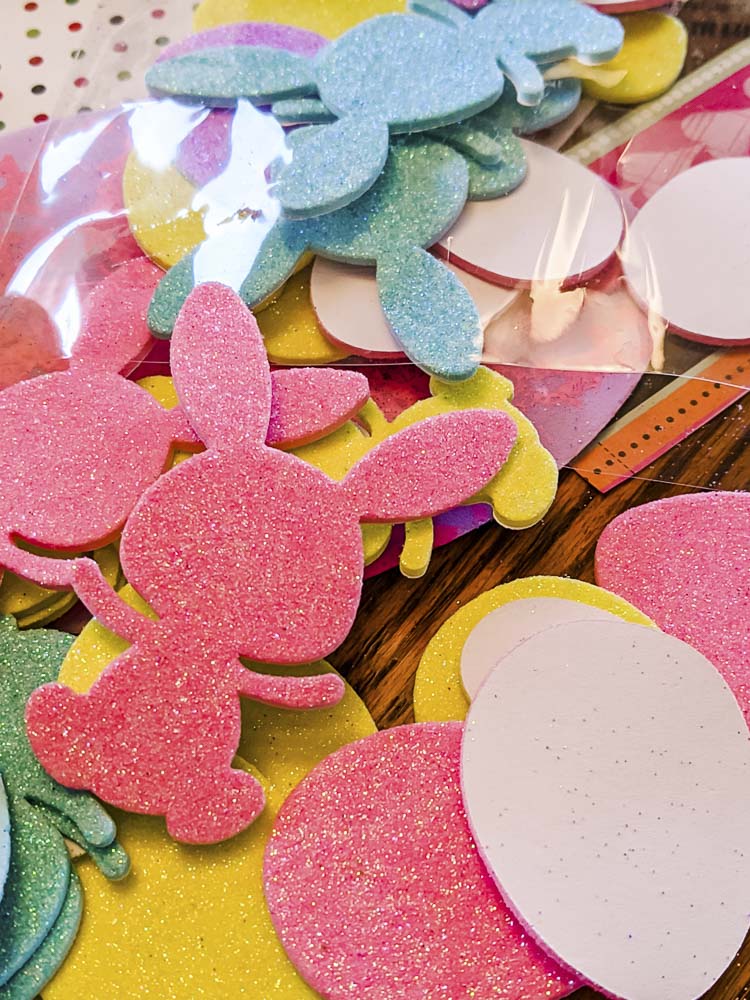
Gather your art supplies:
Lately, Lily is obsessing over Grandma Joan’s glitter collection. For example, she has about ten different metallic glitters, and she wants to use them on everything. On our long walks, Lily often finds things to bring home. Because she found a long stick, we decided to make a wall art project.
- Glitter
- Thin foam pre-cut Eggs and Bunnies (If they are unavailable could print them on printer trace on lightweight foam and cut.)
- Acrylic Paints in spring colors (pink, yellow, green, light blue)
- Mod Podge
- Tree branch length you want for your wall art
How to create your wall art:
1. First, gather all of your supplies
2. Next, place a protective layer on your workspace and put on a protective art smock on your kid.
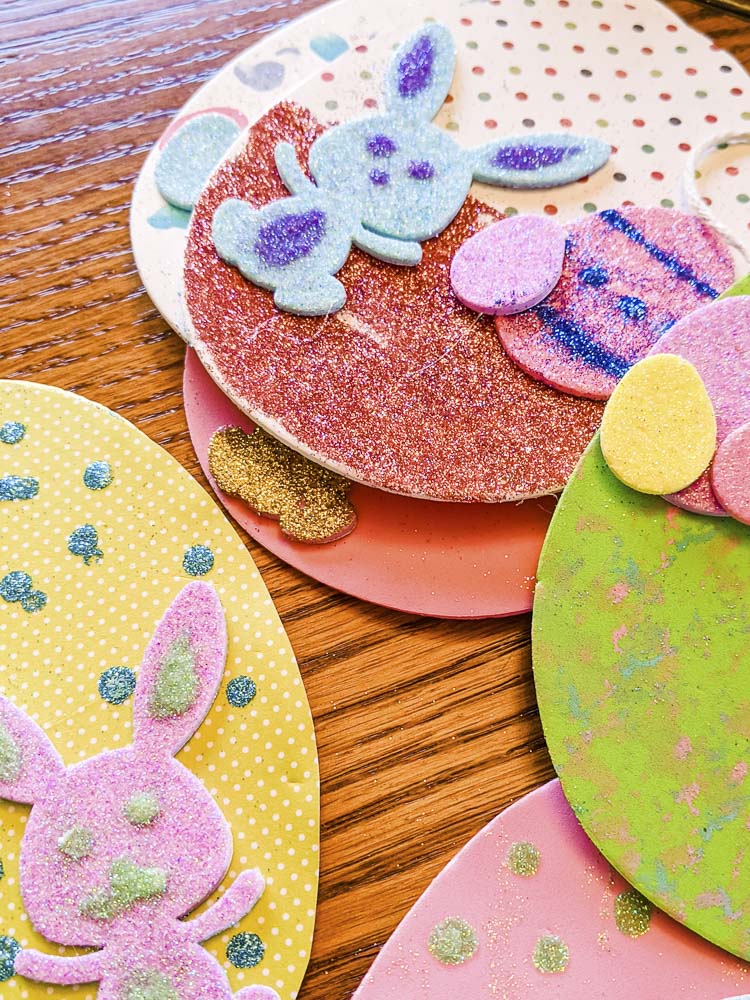
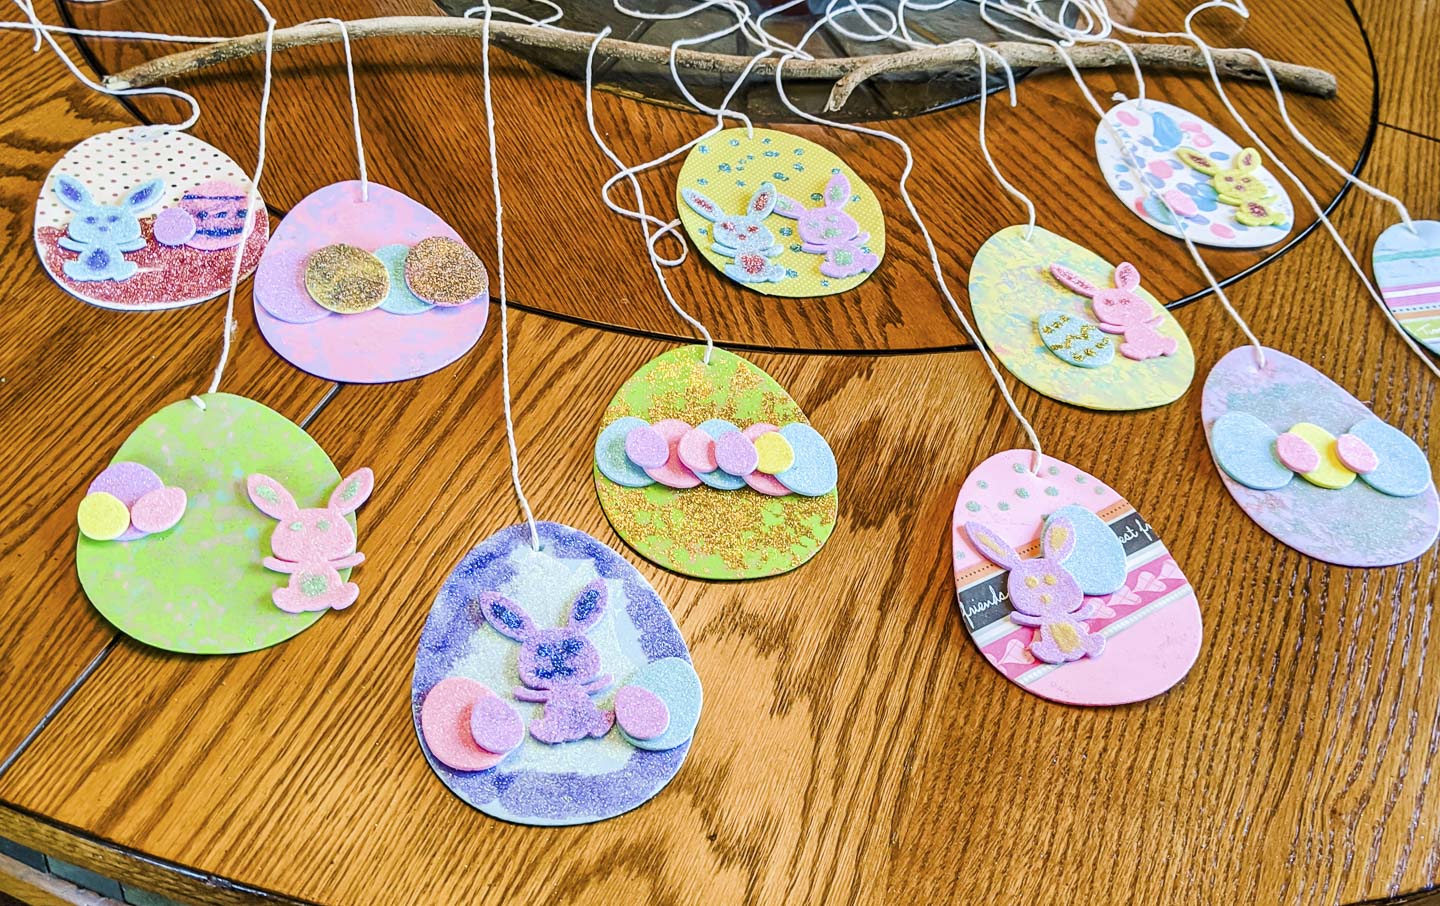
3. After that, you decorate the pre-cut Easter eggs and bunnies
4. Lily has a selection of paints, glitters, and paper to add as embellishments.
Engaging Lily’s imagination, we gave her options. Next Grandma Joan cut stripes of paper, paintbrush to put glue and glitter on, sponge to apply paint. But, it is critical to take breaks while working through the project. Overall, Lily did about an hour at a time over a couple of days decorating the Easter eggs. Keep going till you have enough eggs decorated with options for layers with bunnies and smaller eggs.
If you can’t find pre-cut foam eggs and bunnies. You can print a template on paper and trace it onto thin foam or cardboard for the project.

Prepping the Easter eggs for hanging:
1. Use a small screwdriver, or chopstick to poke a hole through the foam
2. Next cut twine lengths to make it easy I cut all of mine about 12 inches.
3. Finally, push the twine through the hole. Then tie a knot on the backside of the egg to attach the string.
Attaching the Eggs to stick:
1. Initially, practice the layout on your table before attaching the eggs to the stick. (Layout the eggs in different lengths and patterns, to find the look you like.)
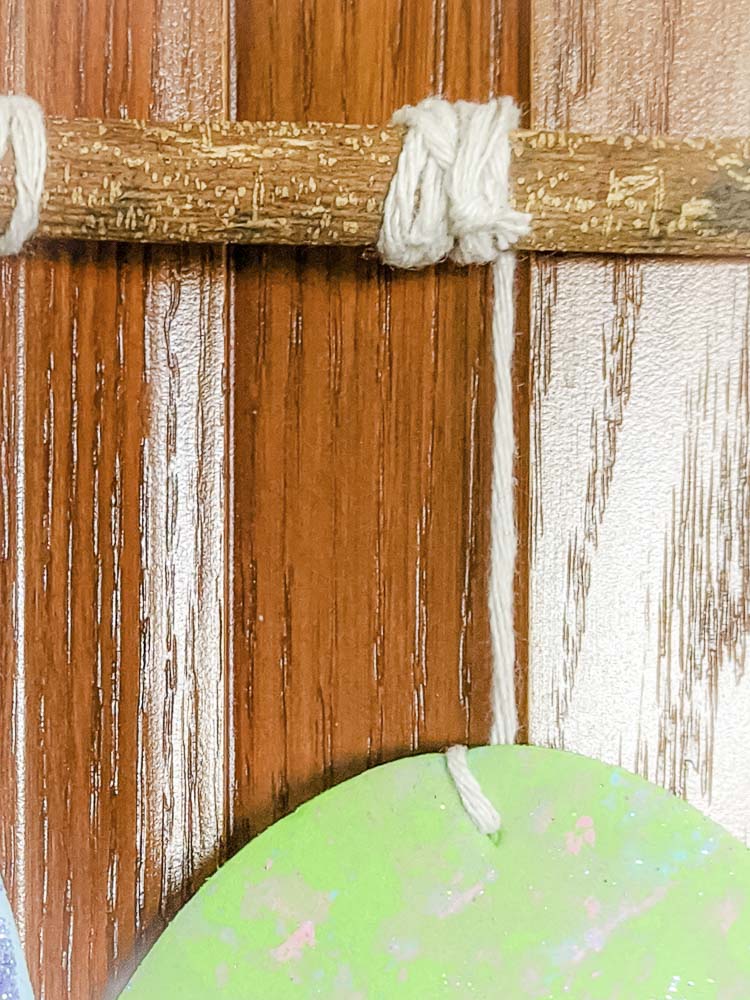
2. Ultimately we liked a free form staggered look. We started from one side, attaching the eggs.
3. After that wrap the twine several times around the stick and tie a basic knot.
4. Then, separate each Easter Egg by a little over an inch and tie the next one on making sure that you stagger the length.
5. Meanwhile, our stick had a branch that made it perfect for hanging it without adding a loop of twine for the hanger. If not, don’t worry, wrap some cord around the middle and create a loop to hang your wall art.
6. Lastly, add a cute Easter bow to the middle of the wall art.
Take your time and have fun
Ultimately the project took them a few days to complete because the object of the project was to engage and keep Lily busy not to rush to finish. Similarly, she spent about 2 hours on two days decorating the Easter Eggs. As a two-year-old, she helps out by poking the holes through the foam. If your kids are older, they should be fine to help with twine and finishing the project. She was so proud of her project and couldn’t wait to show Grandpa.
WANT MORE LILIES AND JETS:
See more projects on our Blog
Follow us on Instagram: Lilies and Jets


+ show Comments
- Hide Comments
add a comment