


Tristy Lee- DIY | Home Decor | Art | Project Inspiration
Have you seen some of the acrylic pours on canvas? Recently, my mom, Joan Atwood, started to see these paintings show up in her Pinterest feed. When she mentioned them, I remembered hearing about Pam Freday doing some of these with her friends at a crafting party. After looking at several videos, I was game to try it, it seemed easy enough, and the results on some of them were exquisite. We were planning a girl’s trip to Monticello UT to hand out with Janet Hazelton and Teina Hazelton with the plan to try some new arts and crafts projects. So we decided to host an acrylic pour party during our visit.
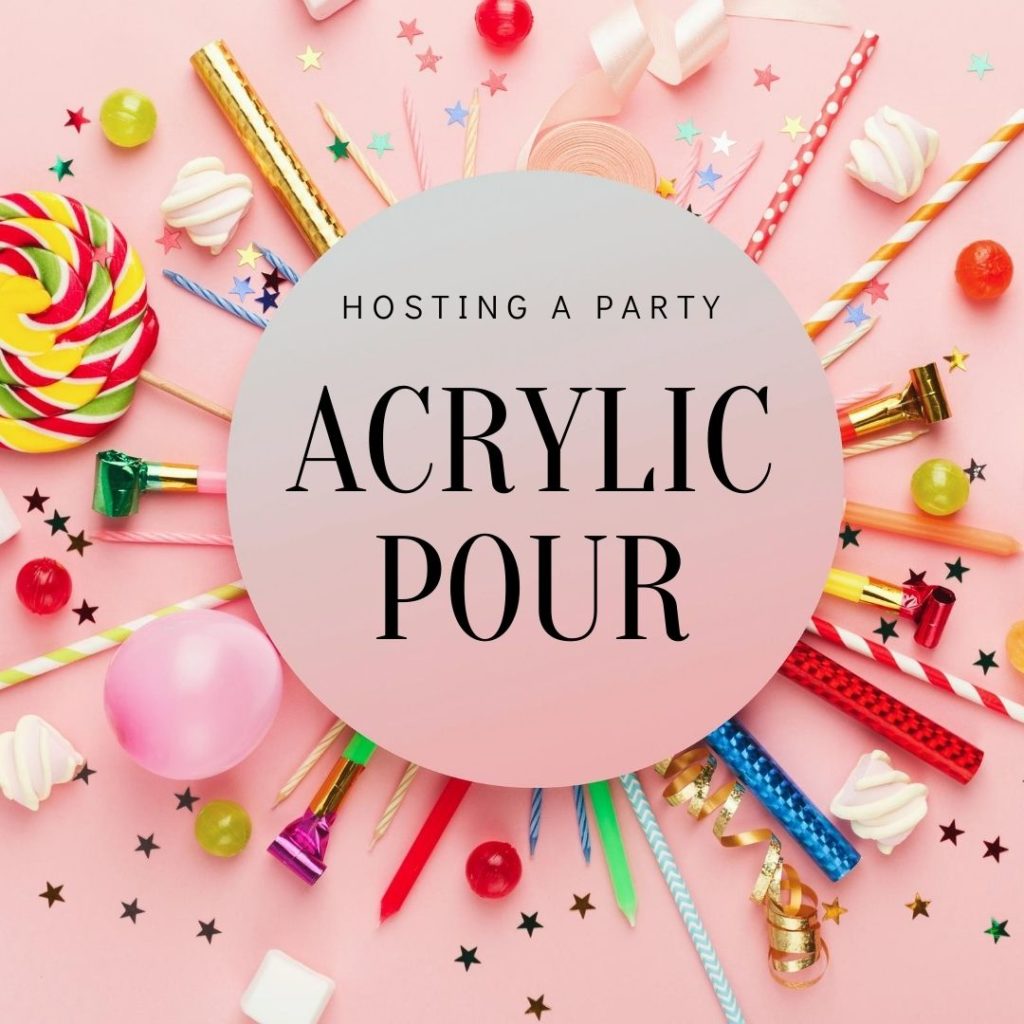
Acrylic Pour Party Planning
To get ready for the trip, Joan ordered all of the supplies we needed for the project. She researched several options and styles that artists use on youtube and Pinterest. She sent out some links to us to preview the project and to start to think about it. She decided we should start with some smaller canvas options to try this new art style. She also picked up some tips on acrylic pours for beginners. She saw how messy it could be and knew we needed to set up a workshop in the garage. This would also keep the fumes from the paint in a well-ventilated area.
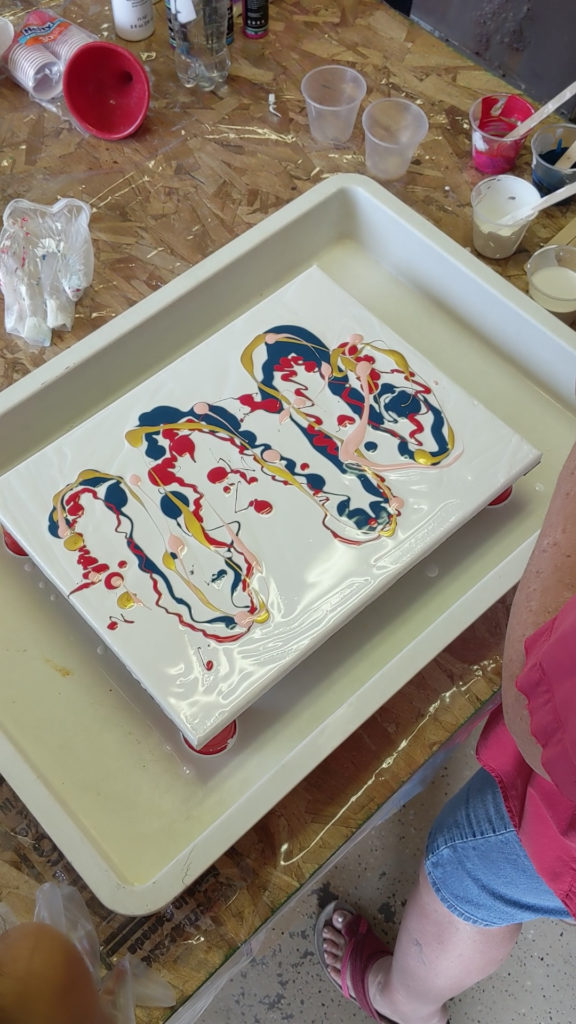
Seeing the demo’s, she saw that she needed a tray to catch the overflow in. She raided dad’s shop to find a large tray and decided that the canvas could be raised by setting up mini plastic cups. Here is the full list of supplies she got to bring to the acrylic pour craft party.
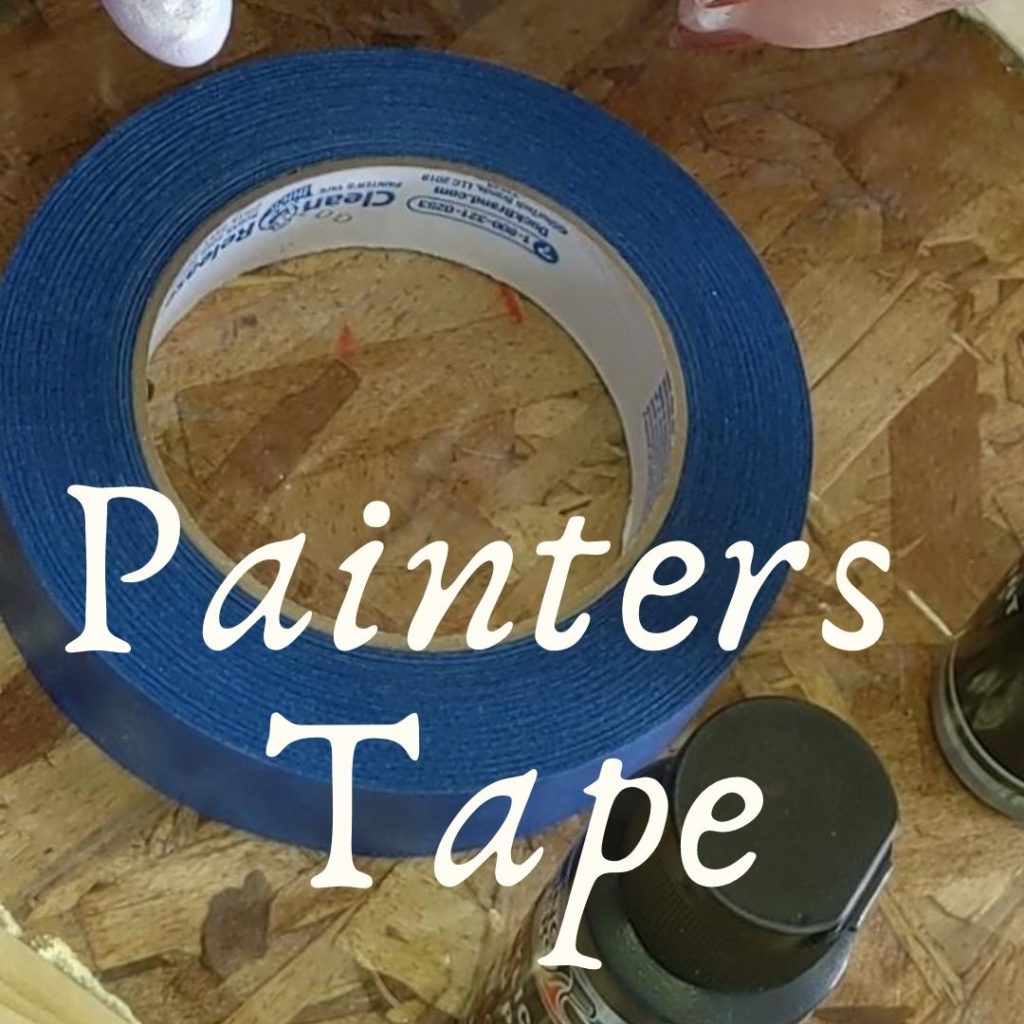
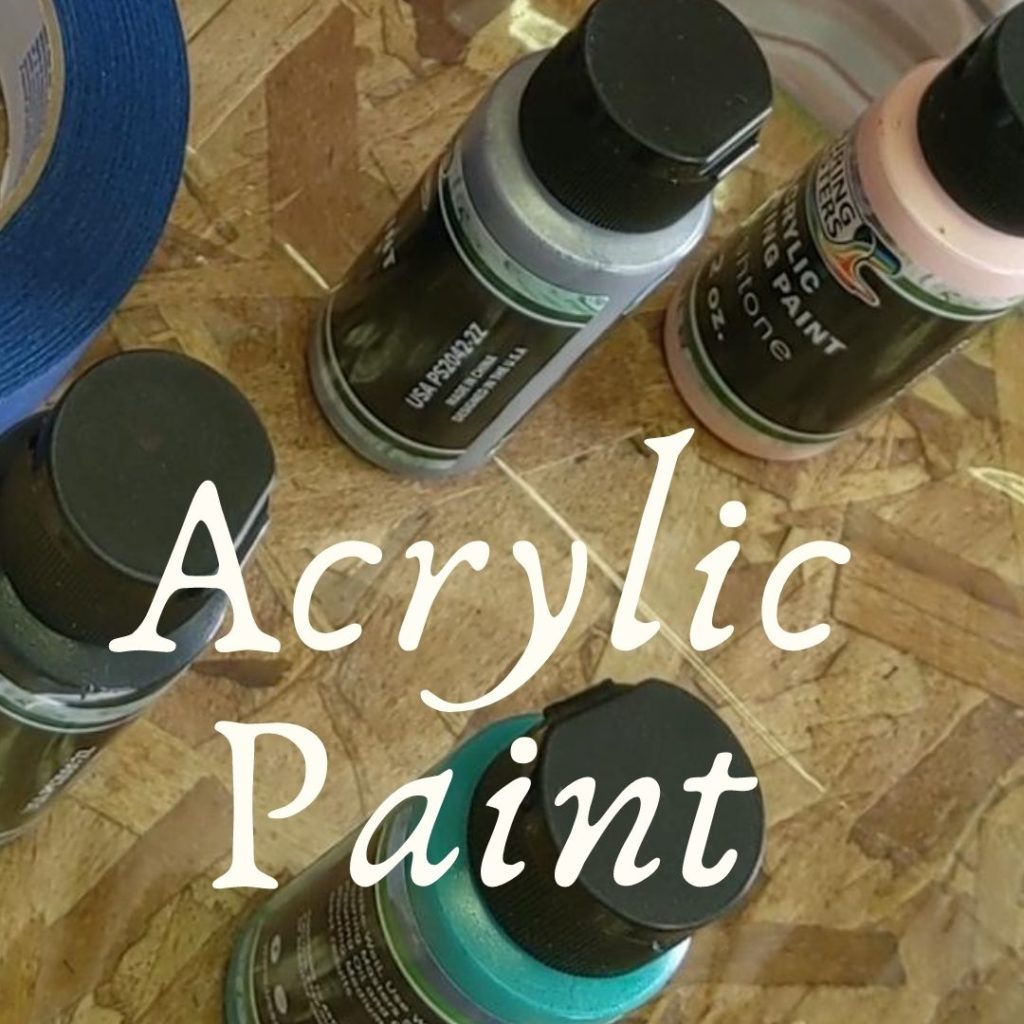

Acrylic Pour Supplies:
- Premix Acrylic pour paints
- Medium to mix additional colors with standard acrylic paint
- 11 x 16 canvas
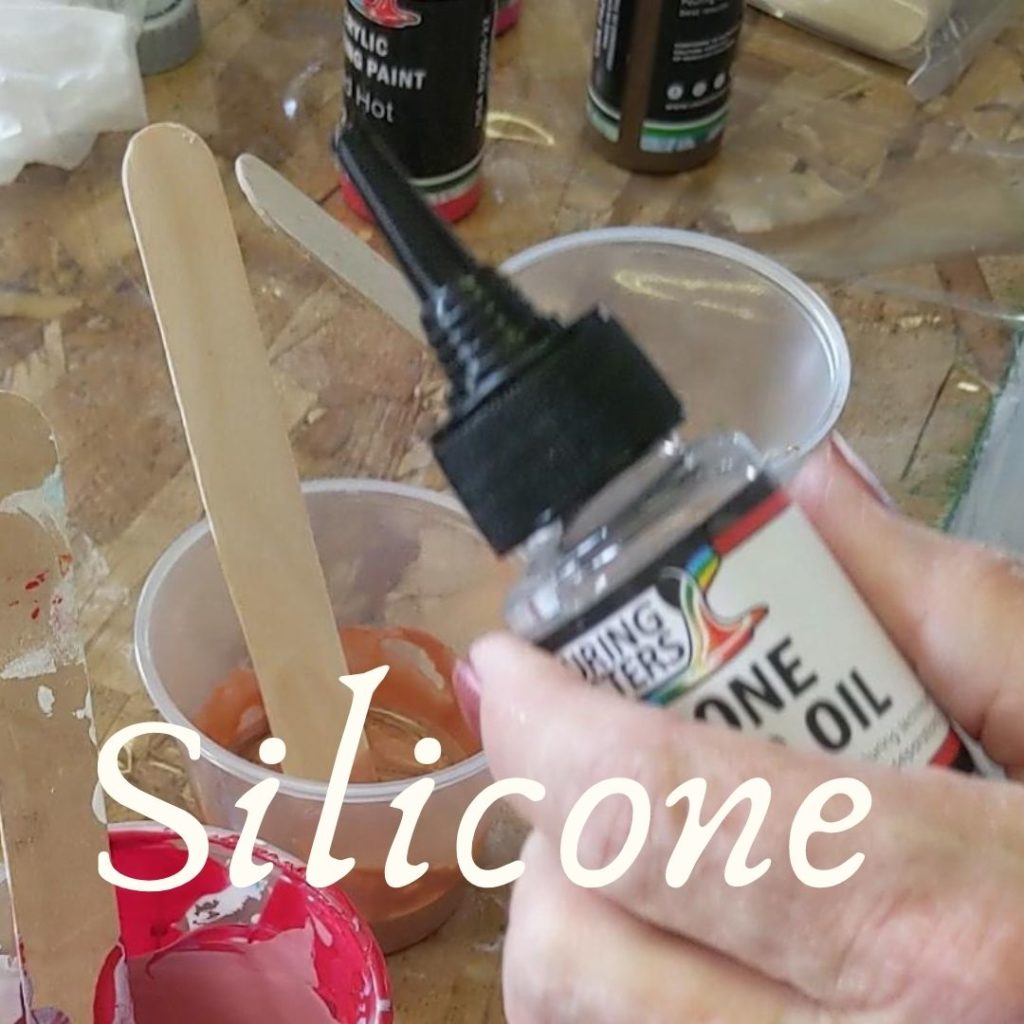
- Silicone
- Plastic Cups- mini and regular
- Hair blower
- Plastic paint guide
- Straws
- Heat Gun
- Extra
Hosting the Party:
The plan was to get everyone excited about the project. Joan sent out some links and told us to look at some videos online so that we had some ideas coming into the party. Lyon Hazelton, set up the garage as a workspace using a couple of saw horses and plywood. It was going to be perfect for the party. Every party needs a break room and snacks, so we were ready in the kitchen.
As the host, Joan started a discussion on the supplies that were available and the techniques we were thinking about using. I love that she was going first because it took the stress level down for the rest of the group since trying something new always has some hesitancy.
She also bought 2 canvas per person to encourage us to look at the first one as a test run.
How to: Video examples of acrylic pours
Acrylic pours for beginners how to:
- The first thing we did was choose the colors that we wanted to use for painting. Most of the sources suggested 3 to 5 colors.
- Optionally some of us added some silicone to a couple of colors to create a texture in the paint that, when heated, is called cells.
- Next, we filled up a plastic cup with layers of paint with the colors we mixed it up, not using a repeating pattern of colors till the cups were a little over half full.
- Then we all started out with a base color coat. Ours all had a base of white or black. We put on a thick layer of the base color covering the entire canvas.
- After that, we used several options to pour the paint. Several used free form pours where they poured it out of the cup. I used a method where I turned the cup over and let it seep out slowly.
- Teina actually poured it into her name as the starting point.
- Then we very slowly tilted the canvas to move the paint around.
- Next, we use several other options to move the paint around.
- Some of our party used the hairdryer to move the paint, some used a straw to touch the paint, others used a combination. It was fun to watch people step in and make suggestions and help.
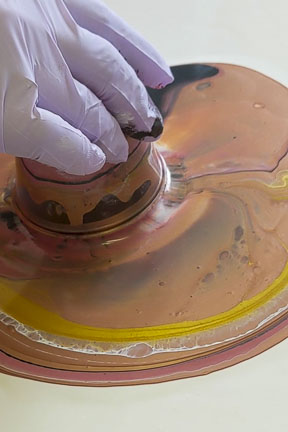
- Optionally, for those who used the silicone, a heat gun was used over the top to open up the cells in the paint.
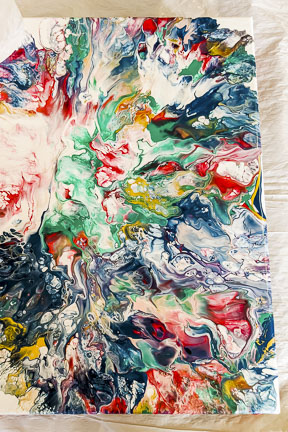
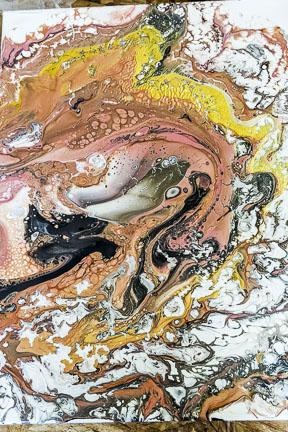
Here is a look at the 6 pours from our party:
Multi-Color Freeform Pour: Joan Atwood did the first pour with green, blue, gold, red, and pink. She added silicone to the gold. She used a hair blower and a straw to blend the paints. She used the heat gun at the end to open the cells in the silicone paint for texture.
Turned Cup Pour: I did this by adding layers of color to a cup using rose gold, gold, charcoal gray, and white. After adding all the colors to the container, I turned it over on the canvas. I added silicone to the rose and rose gold paints. I tiled the art to move the colors, and Lily, my three-year-old, used the straw to blow the paints. Teina helped me out with the heat gun to open the cells in the silicone paint for texture.
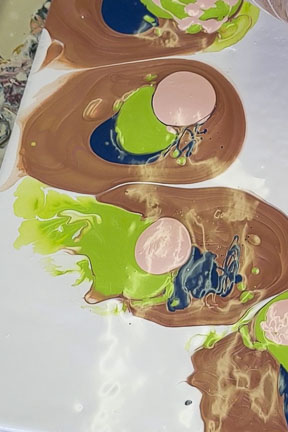
Four circles pour: Janet Hazelton did this one starting with four circles on the canvas adding colors in layers. She used rose gold, green, blue, and light pink. Janet added some silicone to the rose gold and pink. She tilted the canvas, shifted the colors with the hair blower, used straw and heat gun to finish off this canvas.
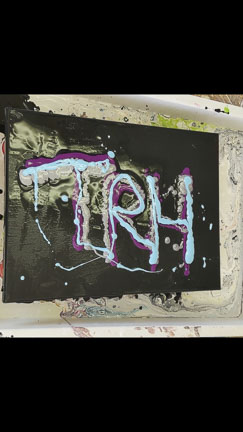
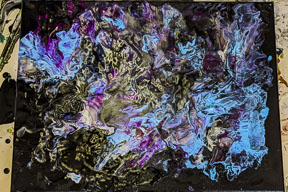
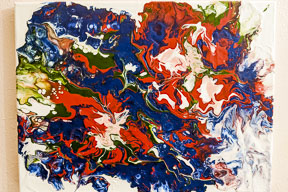
Initial Pour: Teina did hers using a black base background. Next, she layered the colors into her initials on the canvas. The colors she selects include purple, light blue, and silver. She tilted the canvas, started with a straw, then used a hair blower and heat gun.
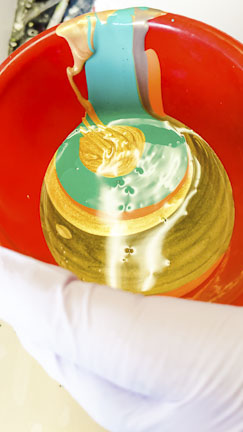
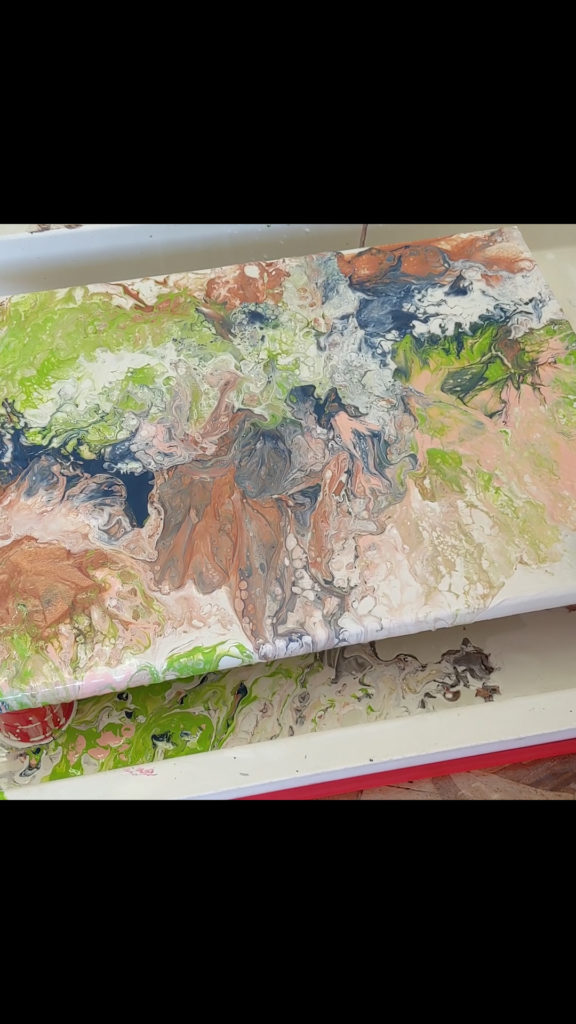
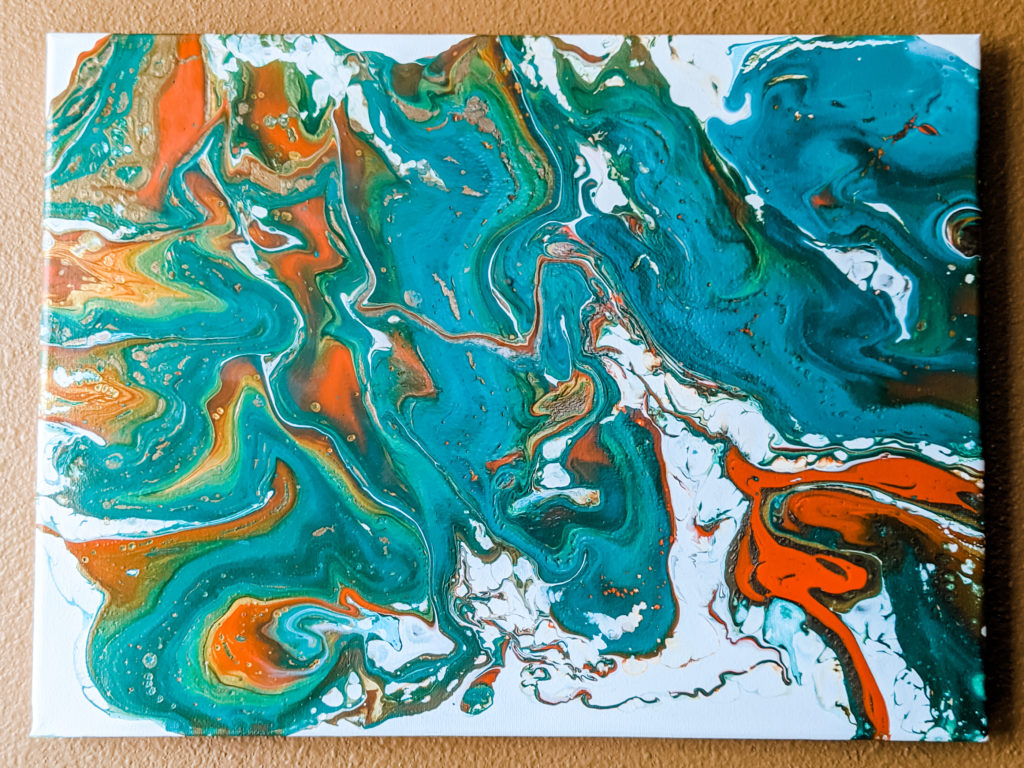
Funnel Acrylic Pour: Joan Atwood moved on to her second pour. This one, she used a funnel to pour different colors through to add to the canvas. The colors Joan is applying include green, orange, bronze, and gold. She placed the funnel on the canvas, so it did not spill out as she fills it. Then Joan lifts it and moves it around the canvas. She tilts the art and uses a heat gun to finish it.
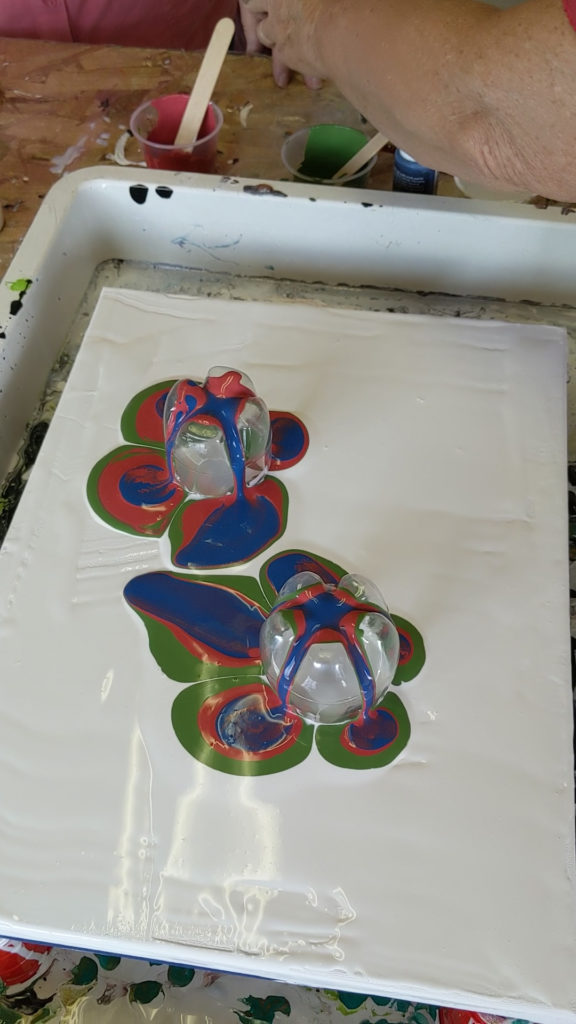
Soda Pop bottle pours: Janet did the next one using the bottom third of a plastic water bottle. She pours the paint in layers over the bottle, and it spills out on the canvas in a flower shape. Next, she uses the hair blower, straw, and heat gun.
Sign me up for the next acrylic pour party again and again. This was so much fun it would be a fun activity to do with a family, mother, and daughter craft night, or a girl’s craft party. I adore how these turned out, and Lily had so much fun. I am not sure when we will get to it, but mom and I are already planning to do this again with a larger canvas.
Go ahead show off:
If you decide to host an acrylic pour party we want to hear about it. Tell us how it went and share your results and pictures with us we can’t wait to see your pours.


Keep working ,remarkable job!
Thank you so much! Let us know if you try it!