JOAN ATWOOD -ARTIST| EDUCATOR | CRAFTER | PROJECT INSPIRATION
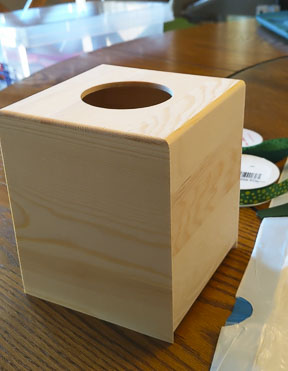
Several years back, while my mom was visiting me, I decided to develop a craft idea that she could do with me. (She was around 86 at that time.) She was big-time into scrapbooking but seemed to have lost interest recently, so I took my lead from that. I ordered several plain wooden tissue box covers that I found on Amazon. When they arrived, I pulled out my craft supplies, embellishments, paints, and broken jewelry. I covered my kitchen table with a drop cloth and called for my mom to join me. We had so much fun creating these I wanted to share with you our DIY Holiday Theme Tissue Boxes.
Tissue Box inspiration:
I told her that we would make a unique cover for the great-room and each bathroom. When you have allergies, it’s handy to have many options available rather than running out of a room after a usual sneeze. She said she would watch. That was not the response I was hoping for, of course, but I decided to proceed and hope she would join me. Luckily, I was right, about halfway through applying paint to my tissue box, she grabbed one and said, “what color do you want this one,” We spent many hours using décor to each tissue box and built many fond memories, which I cherish now since my mom has passed.
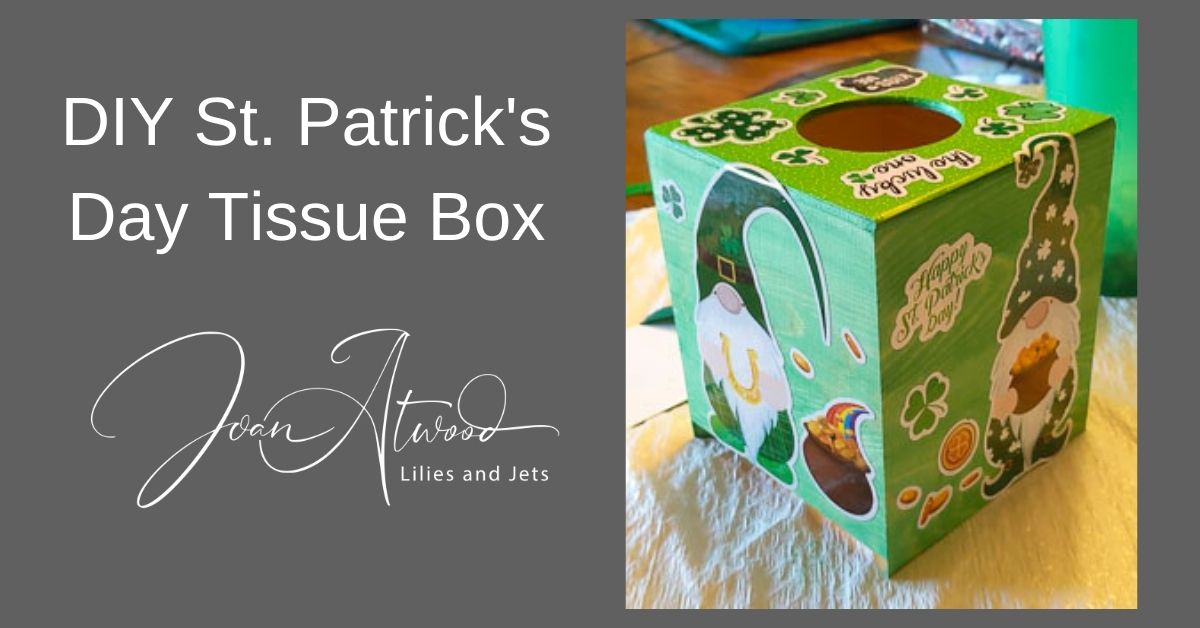
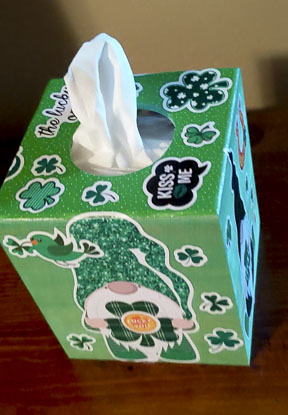
St. Patrick’s Day Tissue Box:
St. Patrick’s is coming up, I got inspired to do some holiday tissue boxes to add just a little flare of the season to the great room décor. I’m hoping to add to the collection of tissue boxes until I have one for each holiday season.
How-to full video
St. Patrick’s Day Tissue Box Tutorial
Valentines Tissue Box Tutorial:
Supplies:
- Plain wooden tissue box covers (Amazon has them)
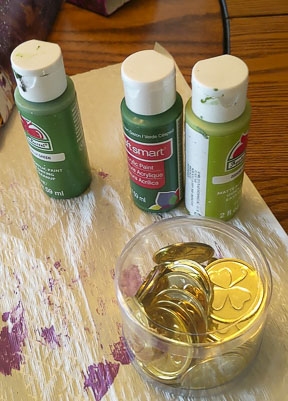
- Acrylic paints and brushes
- Seasonal décor items and stickers (I picked some up at Michaels and ordered a few more from Amazon)
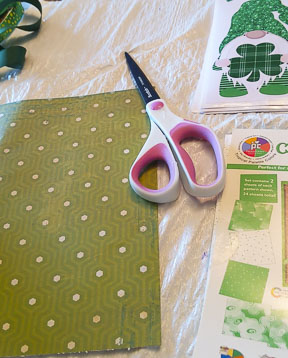
- Craft paper for the season
- Ribbon and embellishments
- Mod Podge
- Drop cloth
How-to Steps for creating your Tissue Box Cover
- Cover your workspace and set out your supplies
- Paint your box with a base coat or several colors if you choose
- Let the box dry
- Begin with one side of the box and place items in spots where you think they look good (Don’t apply Mod Podge until you plan where to place things.)
- Move the box to another side and layout a design there, as well.
- Let the box dry well after doing two of the sides to work on the last two sides.
- Continue doing the sides by laying the items on the box until it looks like you want and then glues things in place with the Mod Podge.
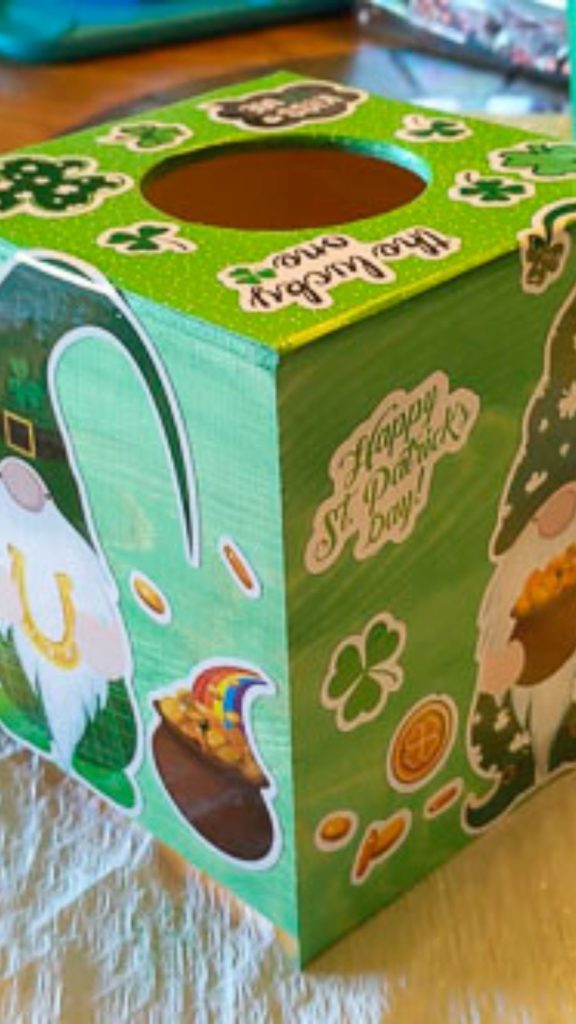
- Use remaining items for the top of the box. Craft paper adds a nice texture too. (Remember to turn the box upside down to trace to the top before cutting.)
- Mod Podge the entire box with another coat and let it dry.

Finished DIY Holiday Theme Tissue Box
It’s a good idea to begin ahead of the holiday to make your tissue boxes, but I will warn you that items are much easier to find during or shortly after a holiday. But as you know, you can find almost anything you need on the internet anytime. It just requires a little planning ahead. The tissue boxes are a great beginner craft for teens and even a great way to spend an afternoon with friends/family. They can be custom-designed to fit any décor or just a final touch for your holiday décor. I know that I’ll cherish the day spent with my mom, planning and decorating our tissue boxes.
WANT MORE LILIES AND JETS:
See more projects on our Blog
Follow us on Instagram: Lilies and Jets

+ show Comments
- Hide Comments
add a comment