Tristy Lee- DIY | Home Decor | Art | Project Inspiration and Joan Atwood- Artist| Educator | Crafter | Project Inspiration
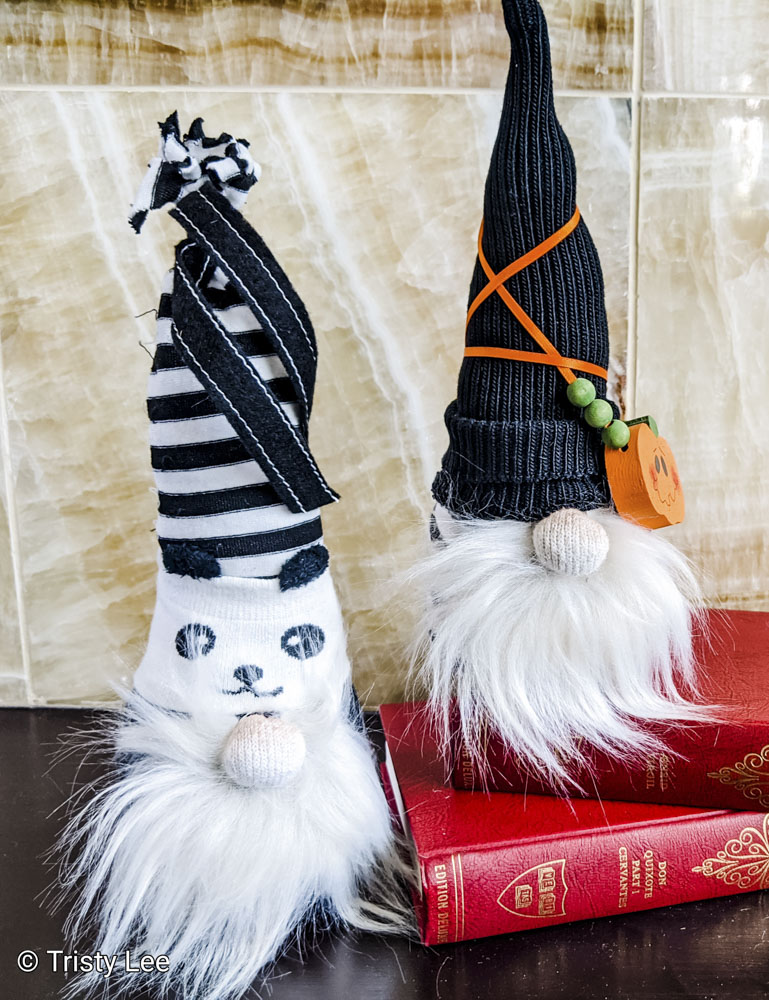
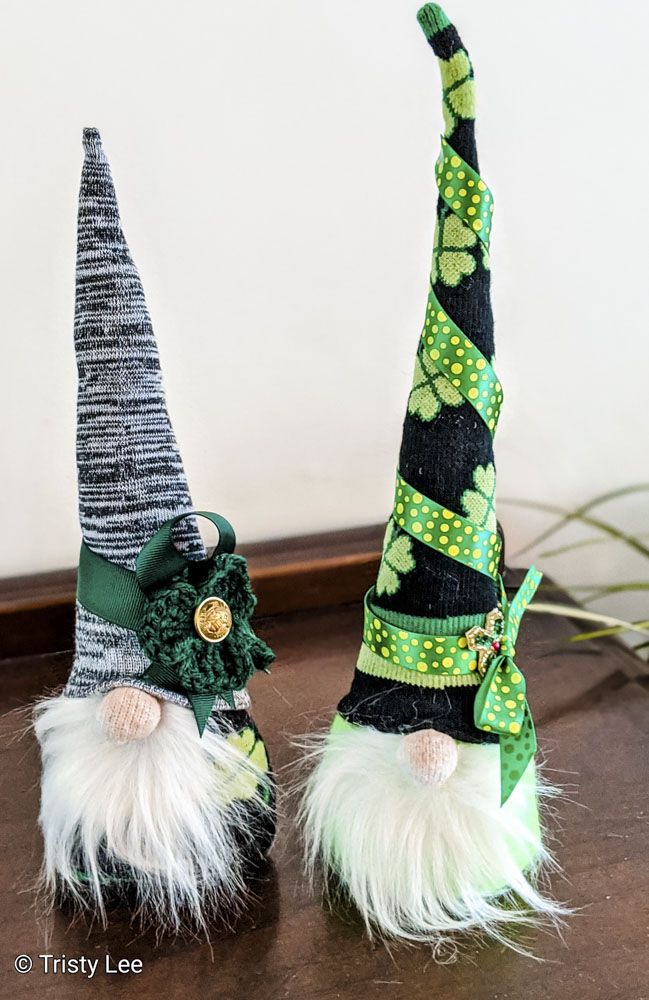
Gnomes are one of the latest fun decorating trends for the holidays. They can look different for every holiday and add just a hint of whimsy to your interior decorating for the holidays. Learning how to DIY gnomes is a creative and fun project for teens and adults.
Valentines Gnomes:
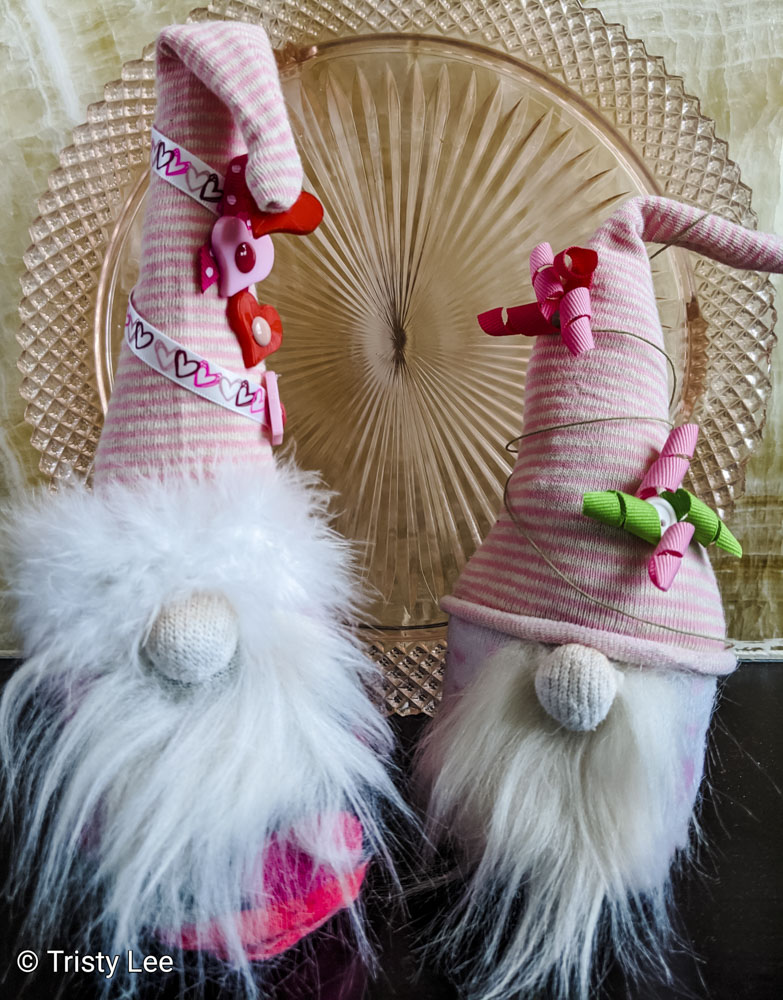
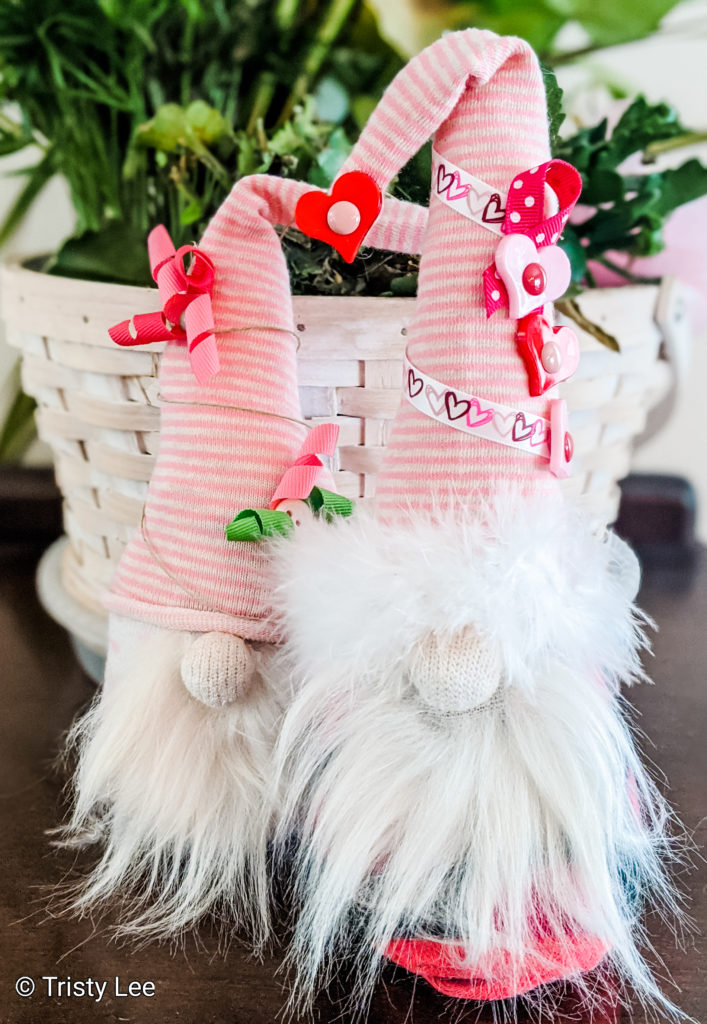
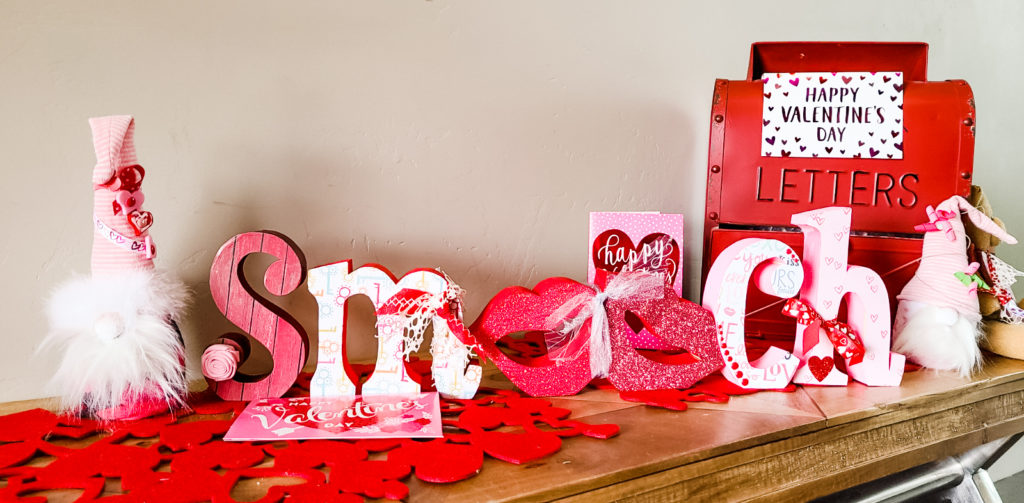
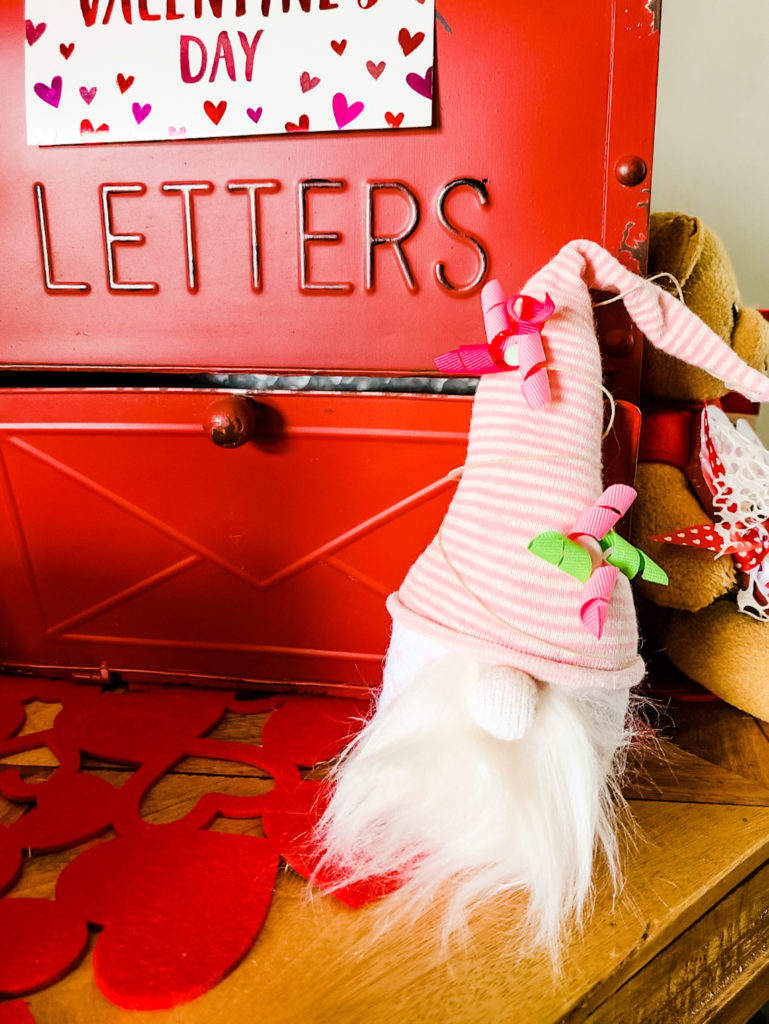
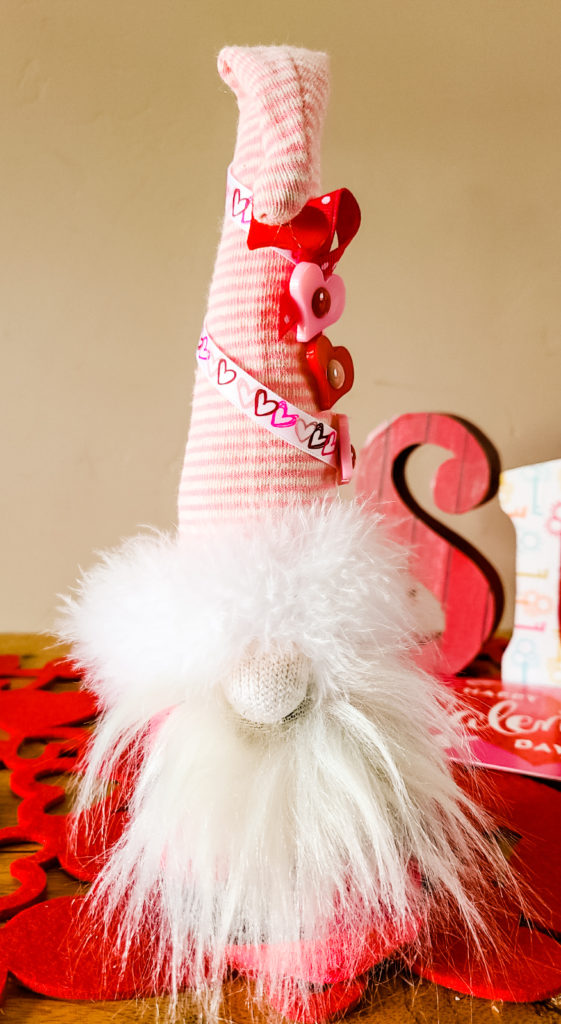
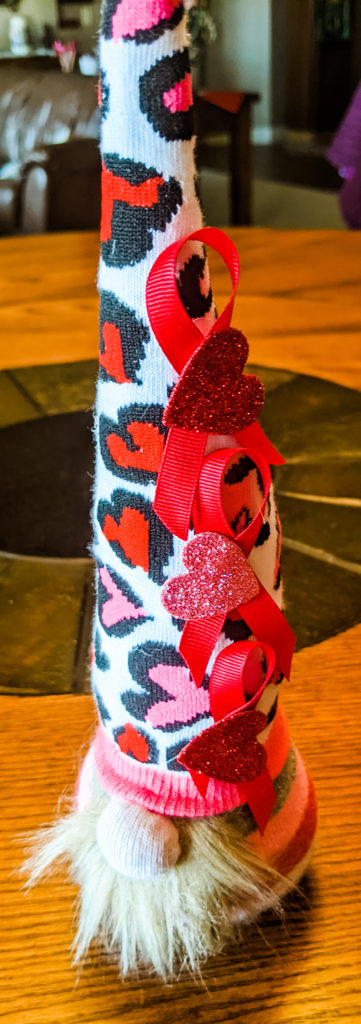
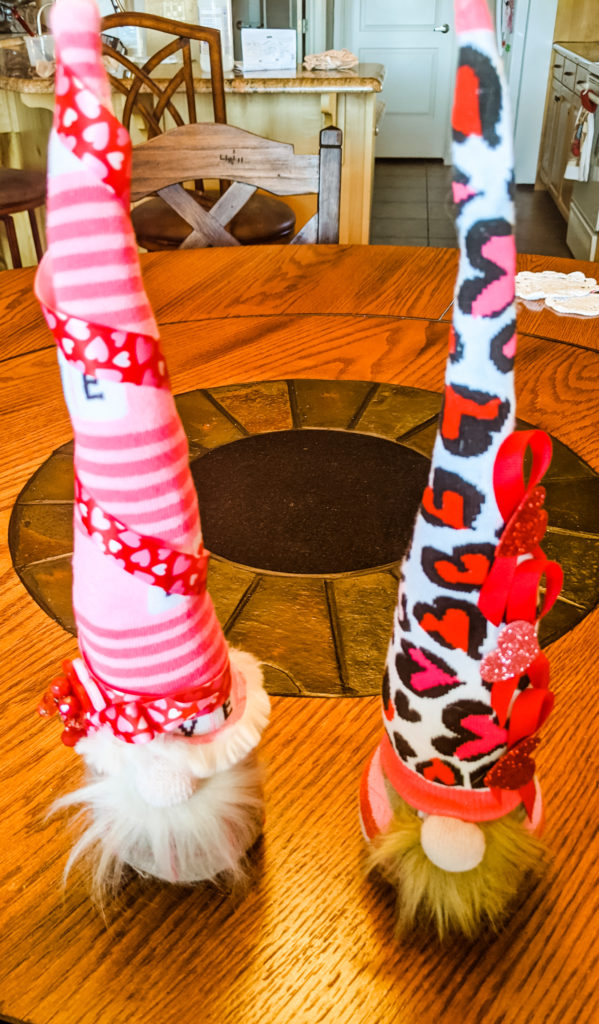
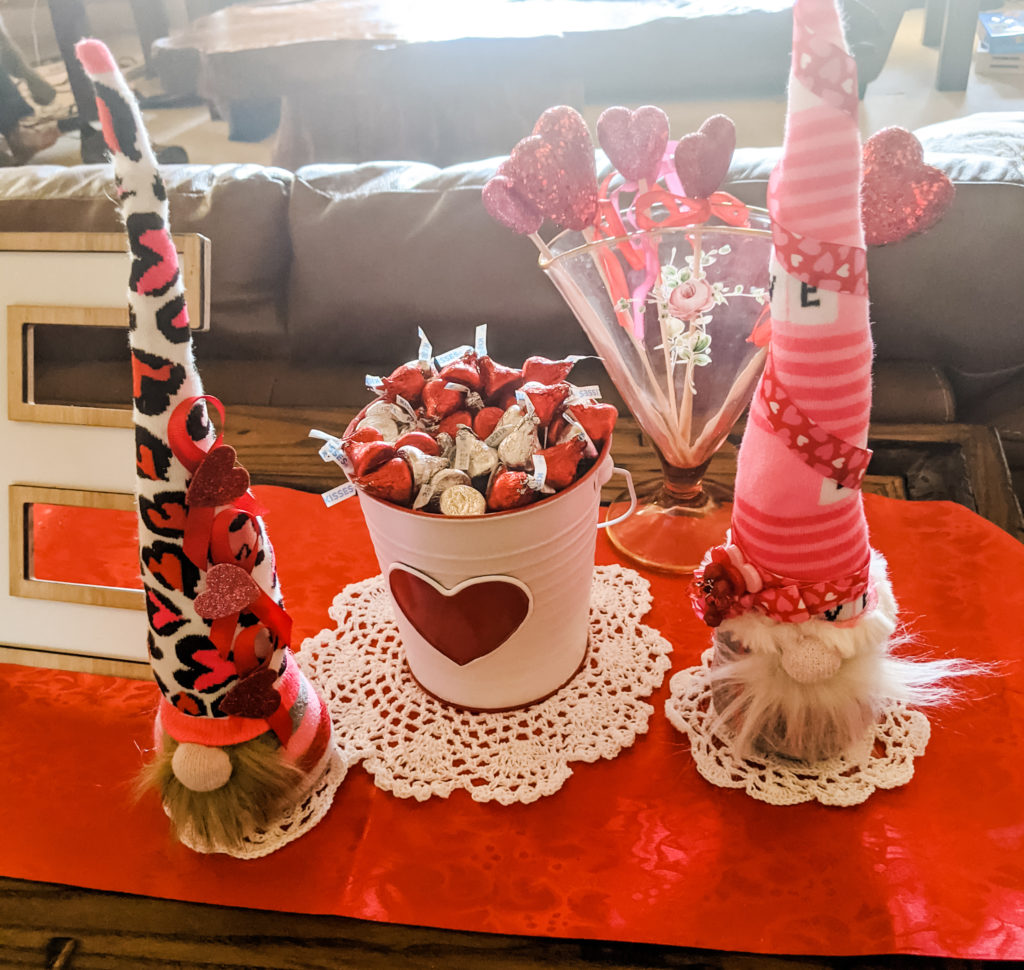
Valentine’s day is coming up. Creating gnomes in reds, pinks, and whites with Valentine’s embellishments is so much fun. Get inspired by some of the gnomes we made and how we displayed them. To create your own gnomes, check out our video tutorial.
Gnome Backstory:
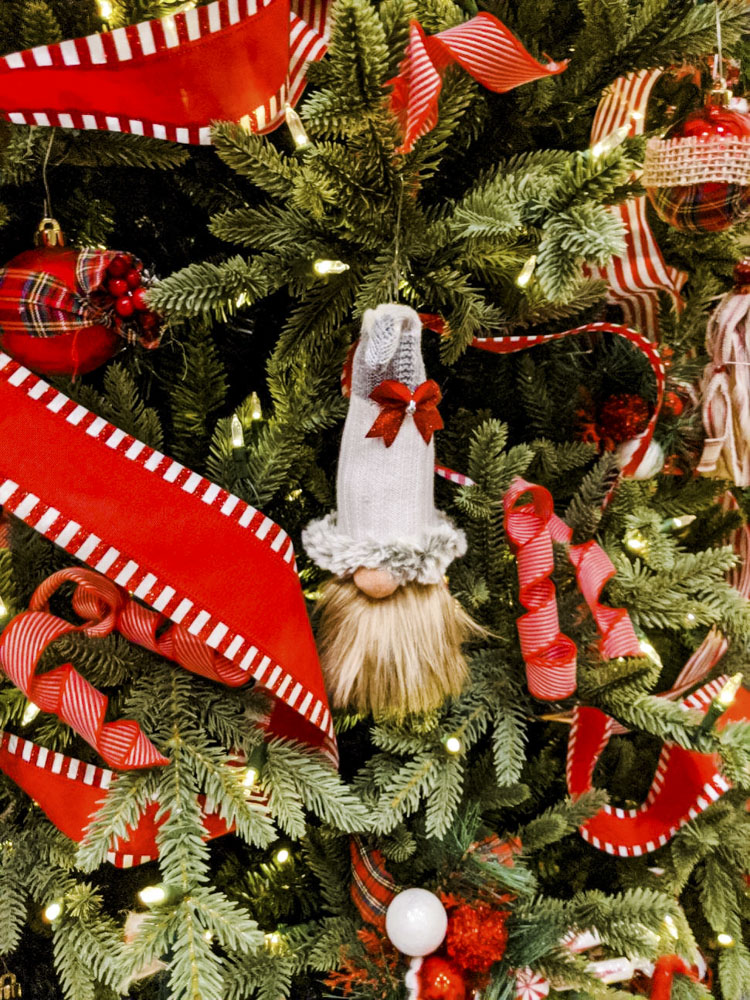
I fell in love with gnomes for decor the year that Lily was born. Before Lily’s birth, we had a simple, elegant lit Cherry Tree as our Christmas Tree. My mom and I decided to go all out on a new tree for her first Christmas we bought a heavily flocked Christmas tree and found these adorable red and white Christmas Gnomes. We added Candy Decor and Red and White Ribbon. It was totally delightful. A couple months later we had a flood in the basement and all our Christmas Decor and almost all of our other Holiday Decor was ruined. I was devastated and not motivated at all to replace it. This is why my Mom and Nieces made 60+ unique and precious gnomes for our tree.
Project Inspiration
Tristy had a flood in her basement, which ruined all her Christmas décor. So, I decided to replace the gnome ornaments with gnomes I make. I googled how to make gnomes. It looked like something I could easily do, basically white socks, rice, and stuffing, holiday socks, and embellishments, right?
I had no idea at the time that Tristy was going to buy a 12 ft replacement. Holy cow, how many gnome ornaments would that take? Good thing I have three teenage granddaughters who I can con or bribe into helping me with my crazy ideas. I got all the supplies and called them up for a Saturday gnome building day.
Tips for creating Gnome in Bulk:
We quickly found out that each step was better done in a construction assembly line. Allie cut and stuffed the white socks, Jacee constructed the noses and helped put on the holiday sock, then Avree would cut and apply the beard. I would sew the contrasting hat and stuff it. Whoever had a spare moment would attach the cap. Then we would all take turns applying embellishments and ribbons for the finishing touches. Of course, our breaks were for lunches, making and baking cookies, and going for soda pop runs. We enjoy stories and sharing memories, too, of course. Our gnome making grew into a full two-day marathon resulting in making over 40 gnome ornaments.
We had such a great time, I went down to visit my sister, Janet, and we made another 20 gnomes. I left my materials with her; so, she could make some with her daughter. See how good times crafting grows?
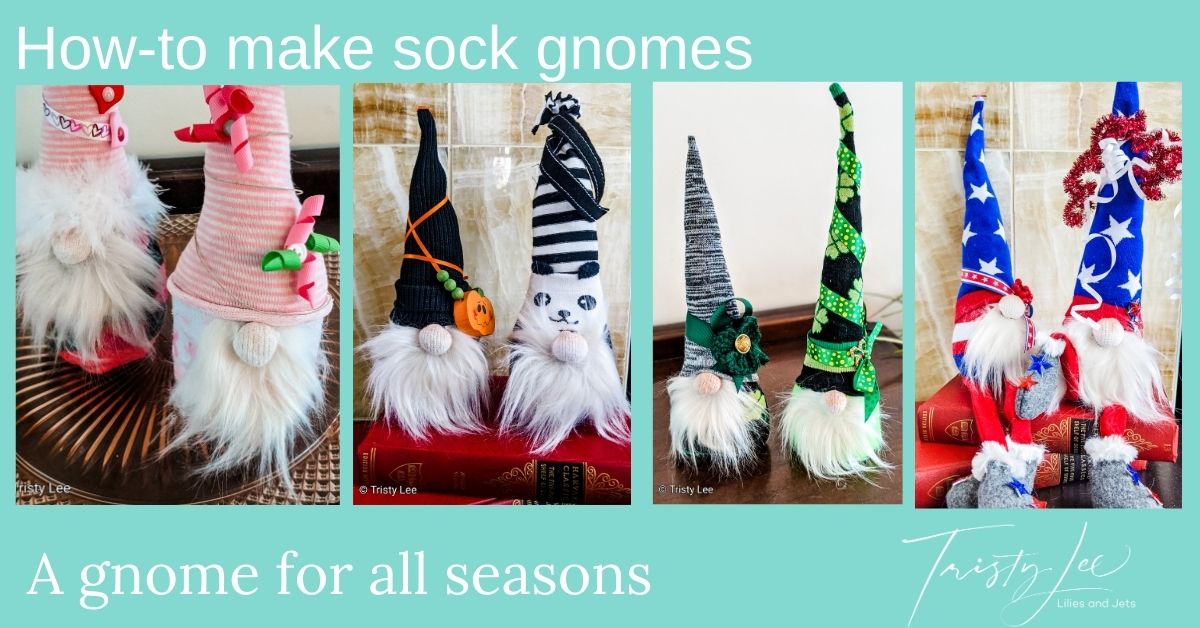
A Gnome for all seasons:
In any case, I thought my construction of gnomes was done, at least for this lifetime. Wrong! Tristy decided she wants to have gnomes for every holiday. Here we go again. Finding embellishments for other holidays is not easy when out-of-season, so plan ahead and start collecting them in clearance after the season. Decide ahead of time which season or holiday you want to construct gnomes for; then you can be ahead of the game.
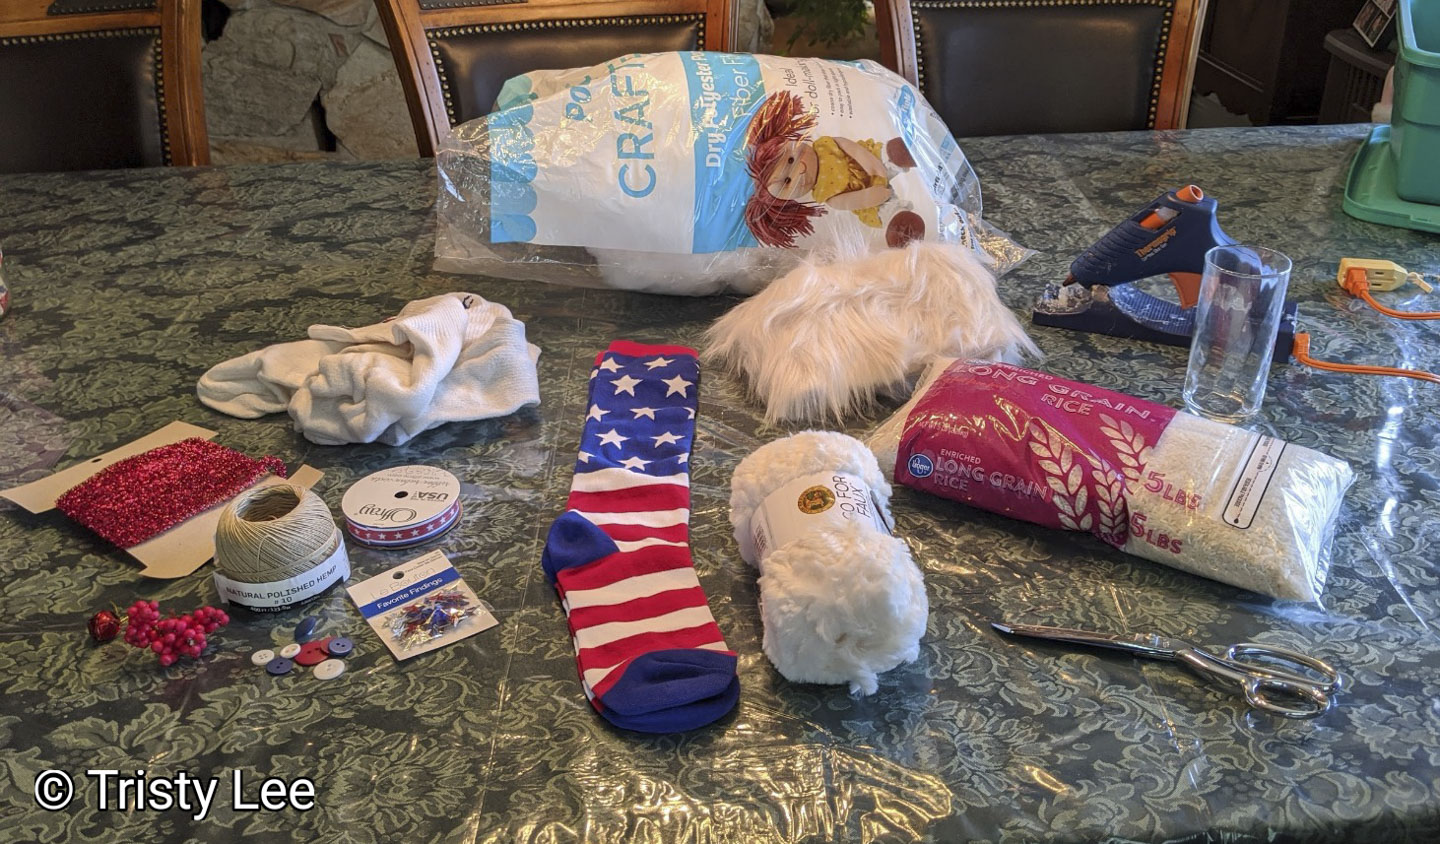
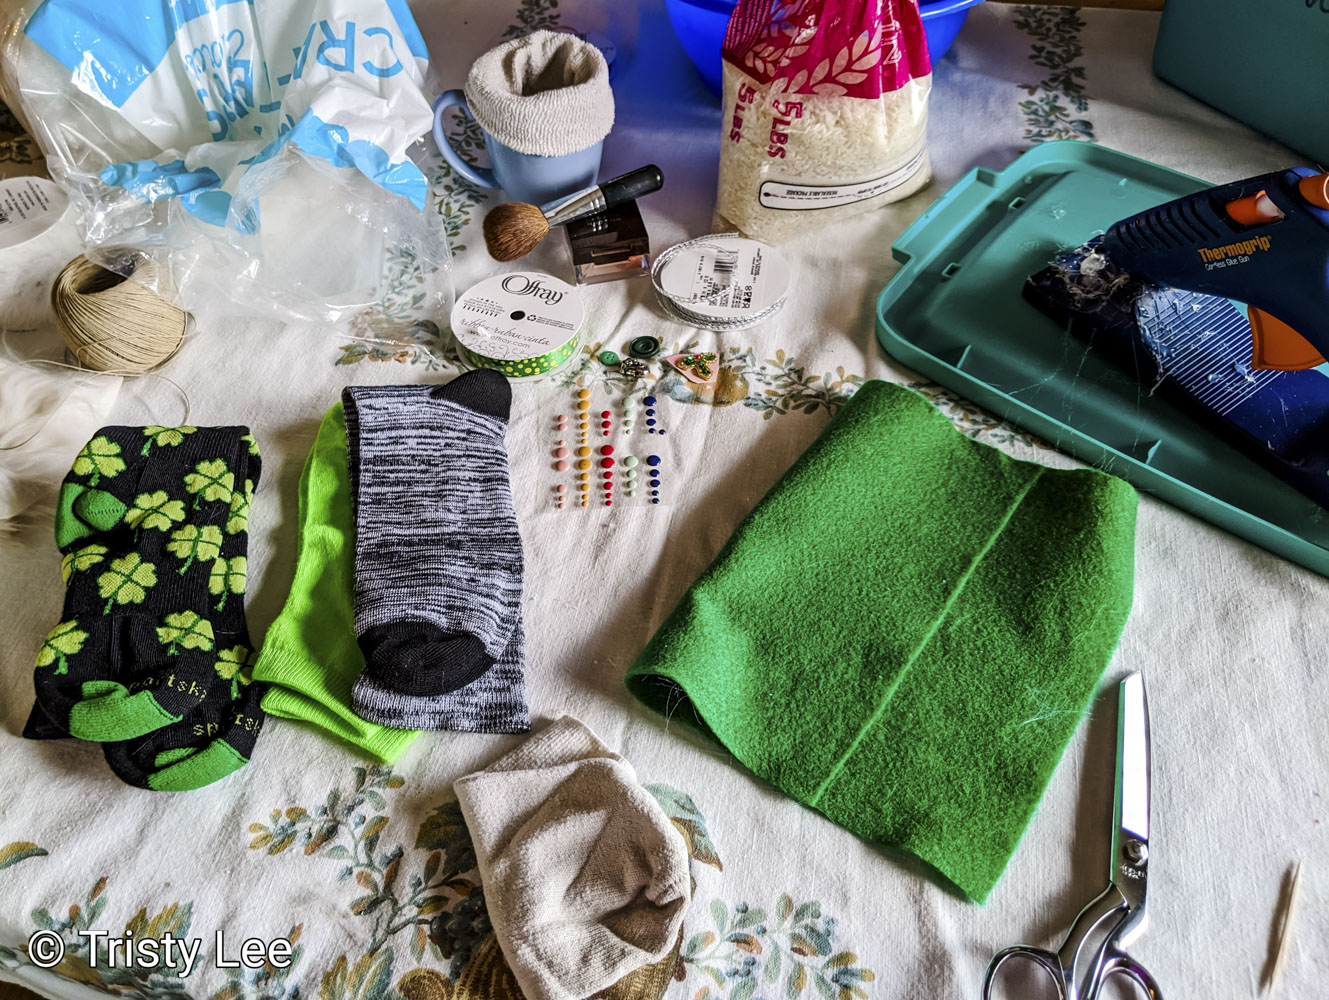
Materials needed to create Gnomes:
- Scissors
- Rice and batting for stuffing (some people also use kitty litter)
- Short drinking glass (used to pull the sock around to quickly put the rice in then add the stuffing)
- Small elastic bands like the ones used in hair
- Make-up blush and brush
- Twine
- White socks variety of sizes (they can be used)
- Holiday socks (such as Christmas, St. Patrick’s, Easter, Valentine’s, etc. Even striped and poke-a-dot work well.) You can even use old sweaters and cut them for the hats.
- Holiday ribbon, buttons, pins, embellishments, and odds and ends such as lace
- Hot glue or cool melt gun and sticks
- Fake fur (you only need about 3 inches or so for each beard (I used white, only because that’s what was available.)
Video Tutorial How to make gnomes out of socks
How to Assemble your Gnomes:
- Start, by pulling the white sock over the small glass to hold it open while pouring in the rice.
- Pour in about a cup of rice.
- Stuff about a cup of batting into the sock on top of the rice until you have the size gnome you like.
- Twist an elastic around the top section of the white sock to close it.
- Then, tie a piece of twine around it where you put the elastic (with time the elastic will rot; thus, you need the more permanent cord.)
- Cut off extra sock fabric above the twine.
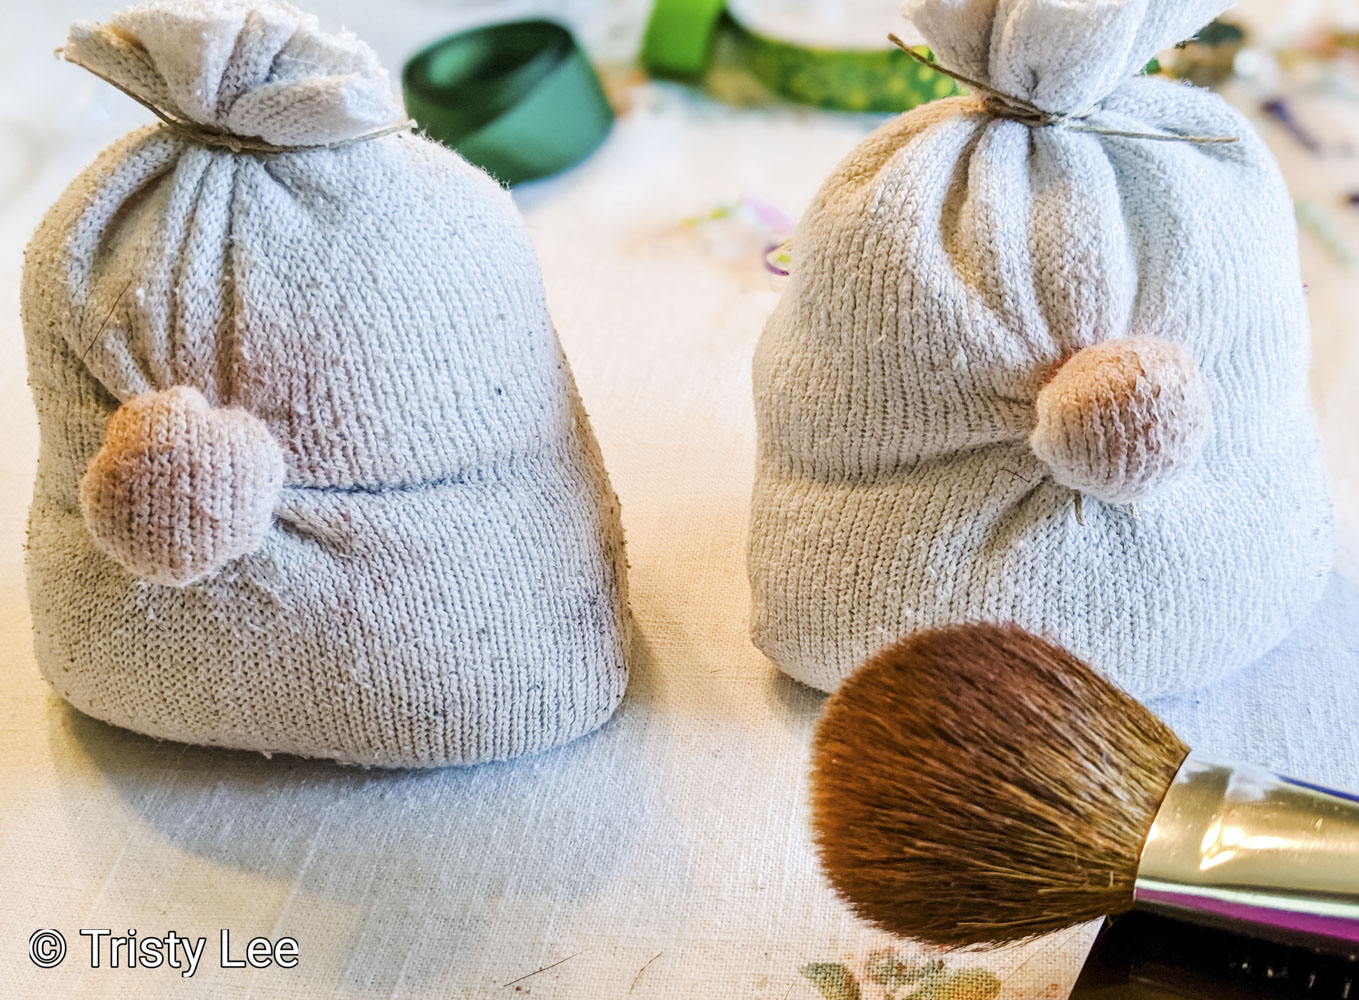
How to make the gnome nose:
- Push the rice towards the center of the gnome and form a round nose shape. Any size nose is acceptable.
- Now, wrap an elastic around that nose you formed. Then tie twine around it and knot it. Cut off the extra cord.
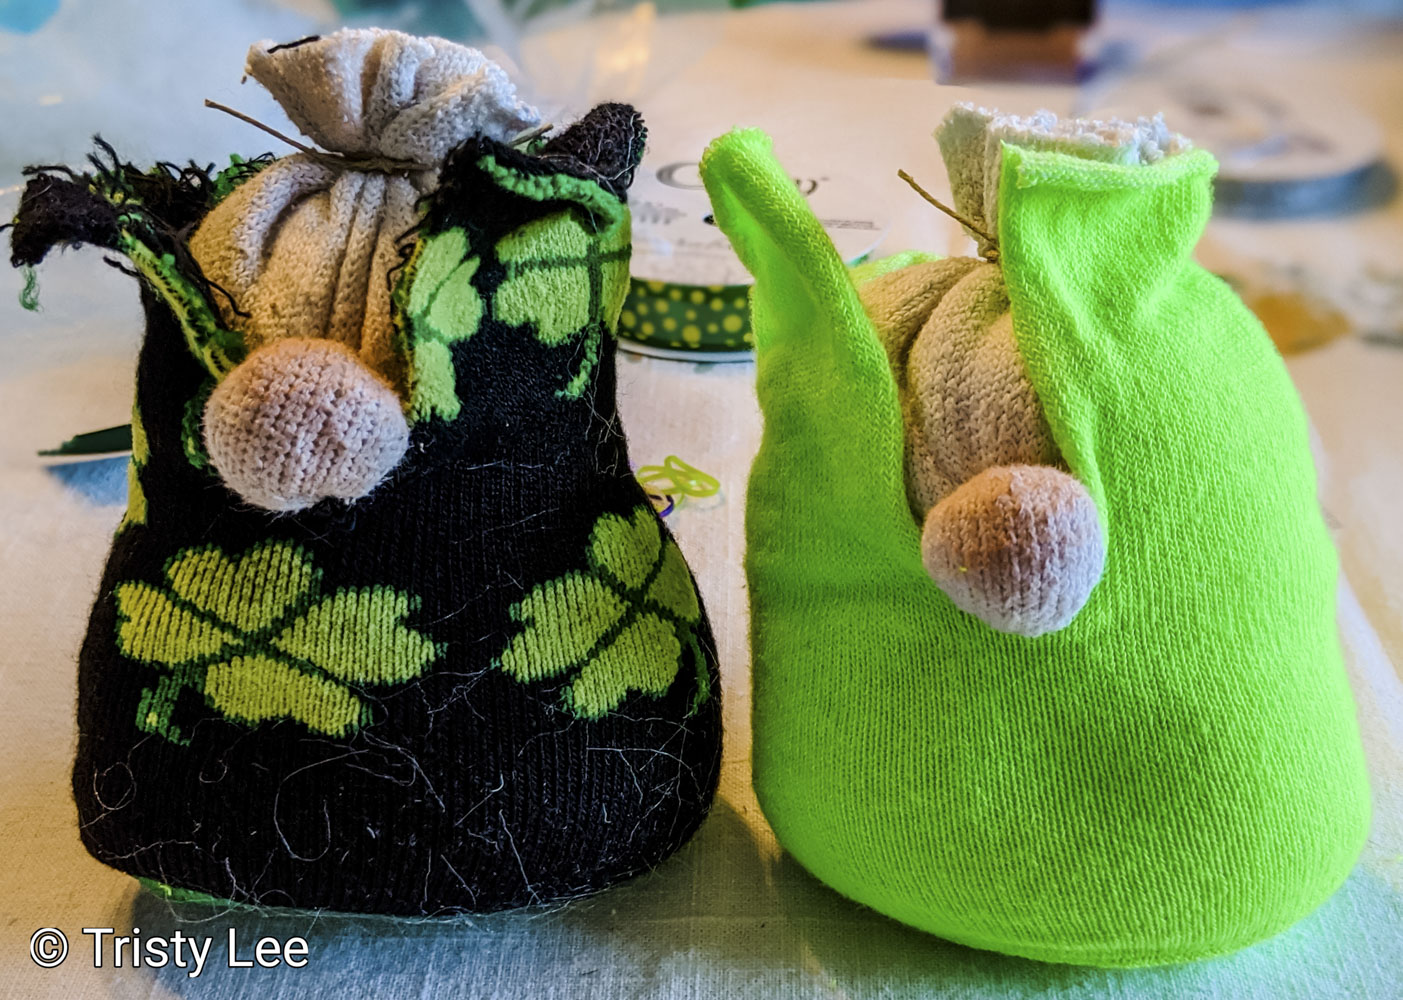
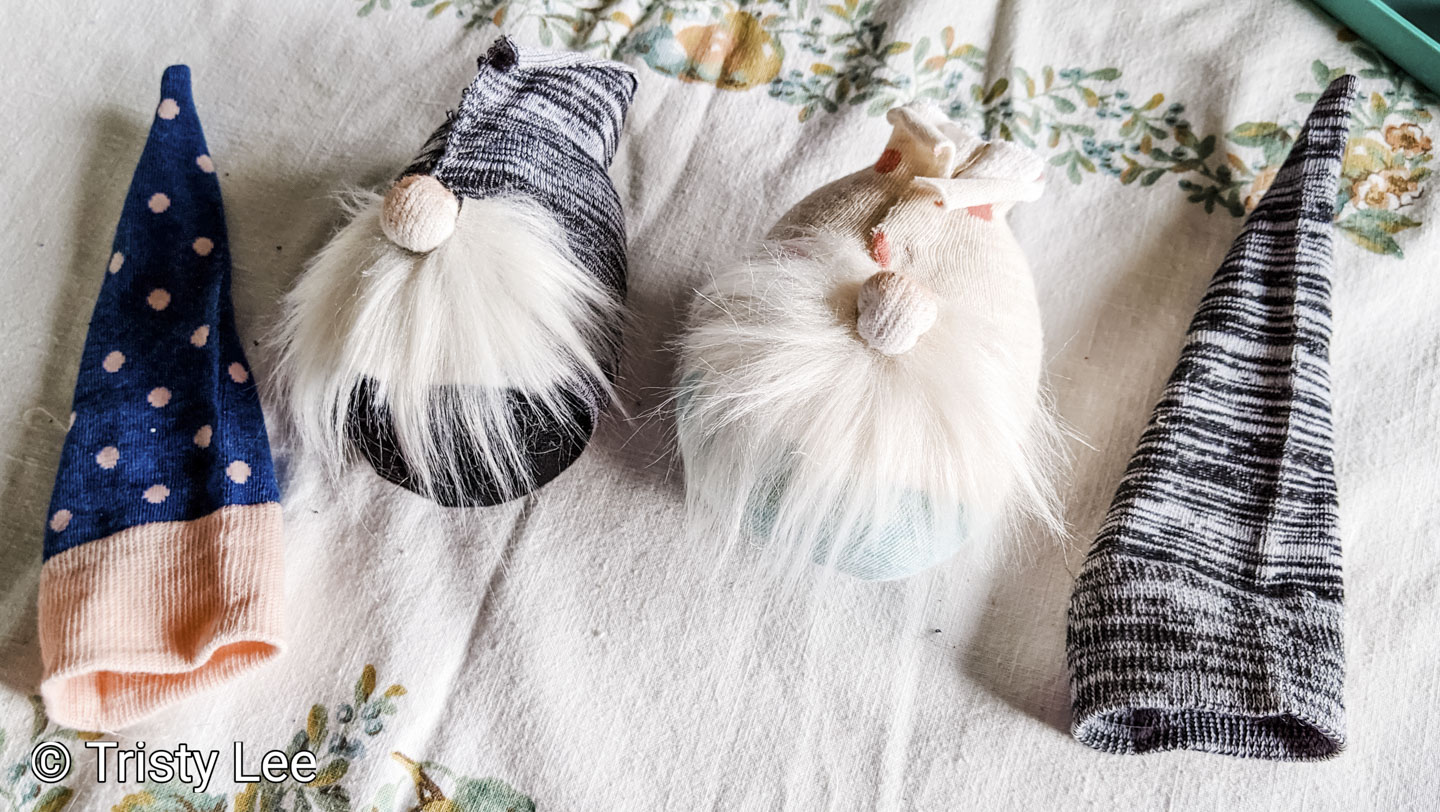
- Next, cut off a holiday sock from the heel across horizontally, saving the top half of the sock to make a hat.
- Then, push the gnome into the holiday toe section of the sock.
- After, cut the sock down to the nose and maneuver the sock around the nose.
- Then, hot glue the holiday sock around the nose securely.
How to make Make a Gnome Beard:
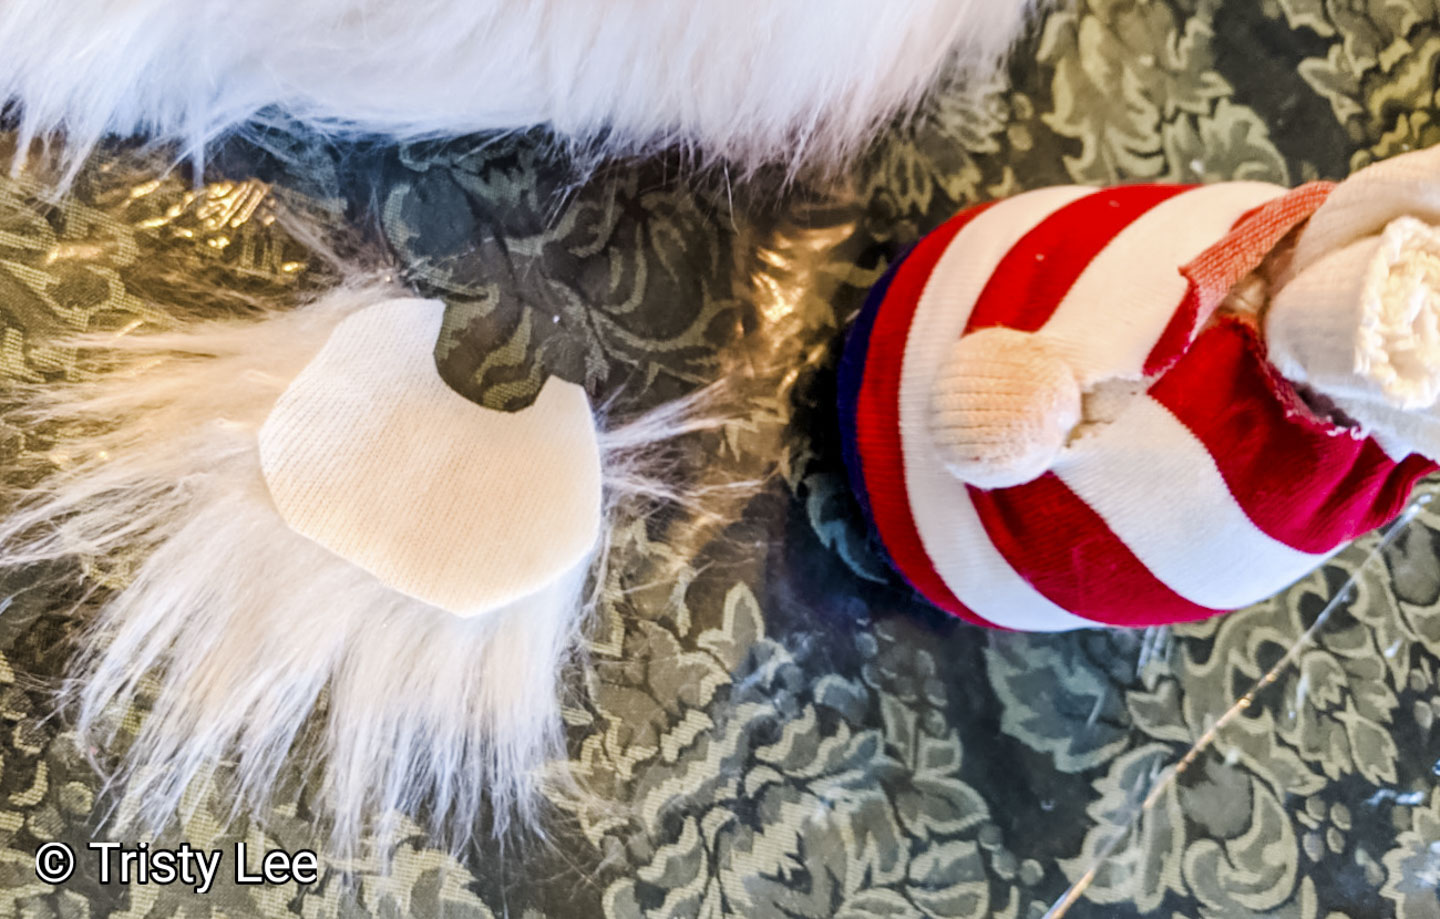
- Next, cut the fake fur into a small rectangle making sure you stay close to the backing, so you have an uneven fur line.
- Then, round off the corners of the rectangle and cut a small half circle on the top edge to form around the nose.
- Next, hot glue the fake fur around the bottom of the nose and pull off any loose fibers.
- Then, apply some blush color to the top of the nose using a brush.
How to make Make a Gnome Hat:
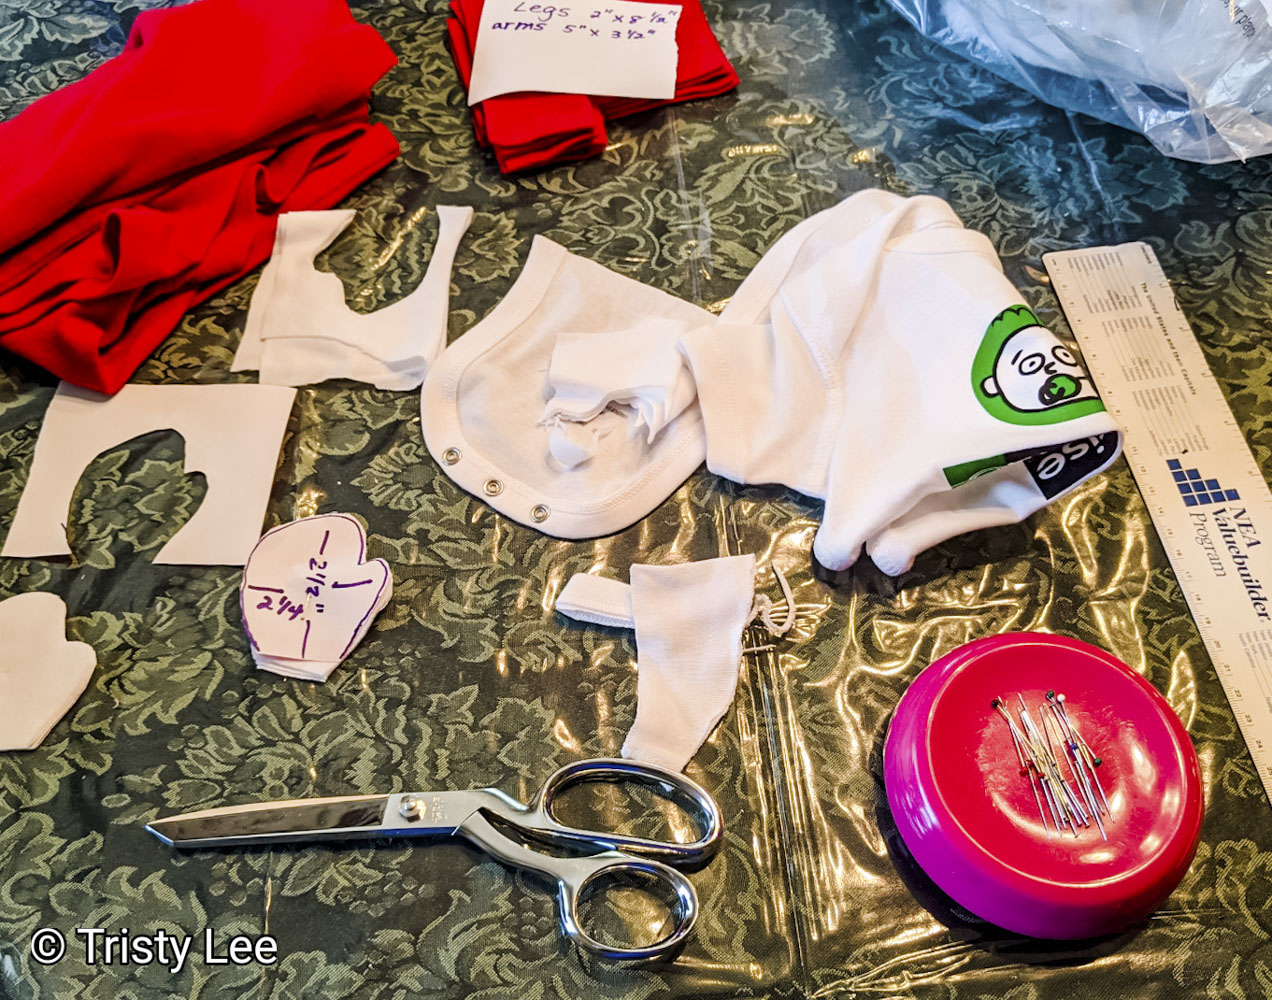
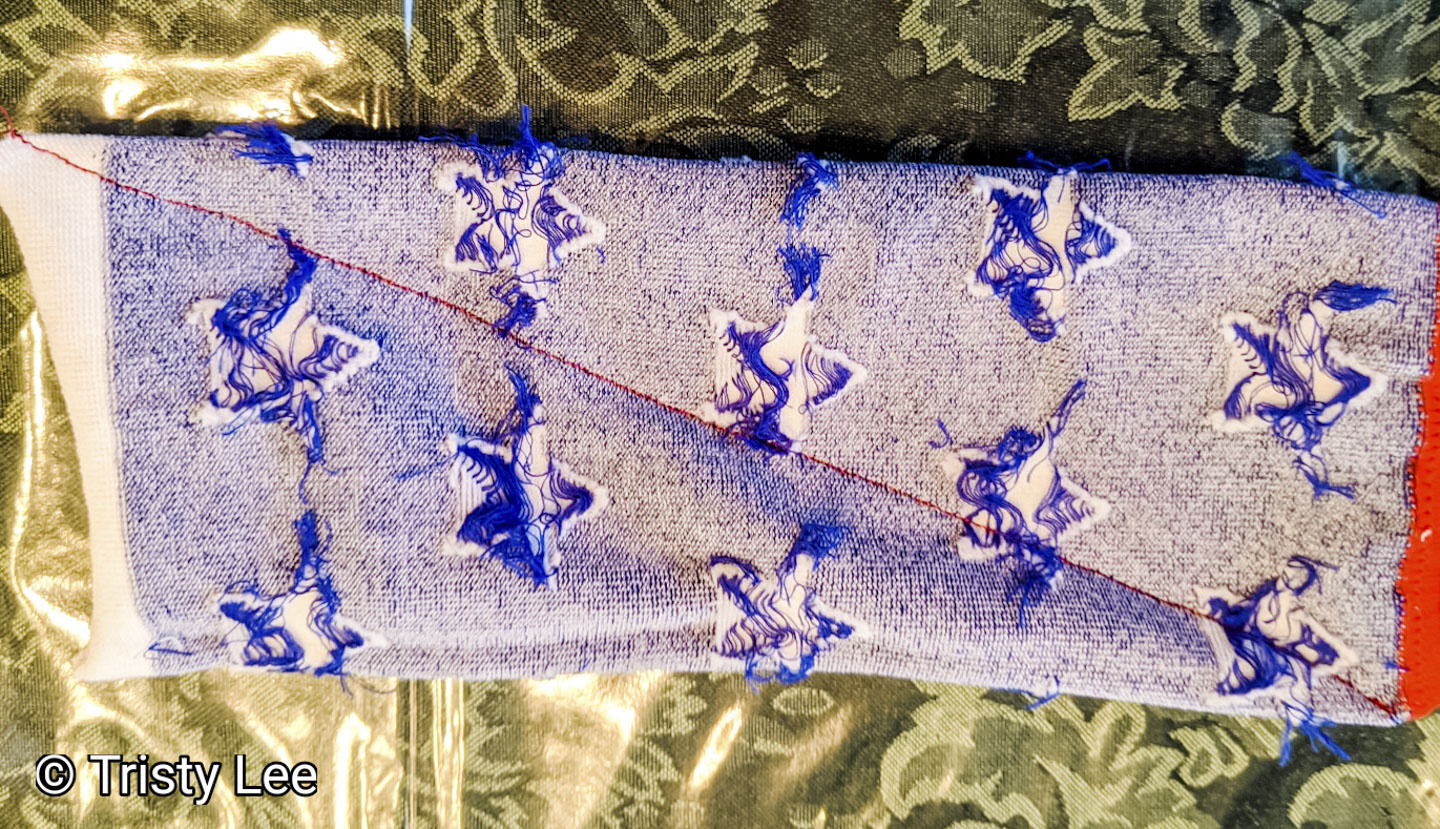
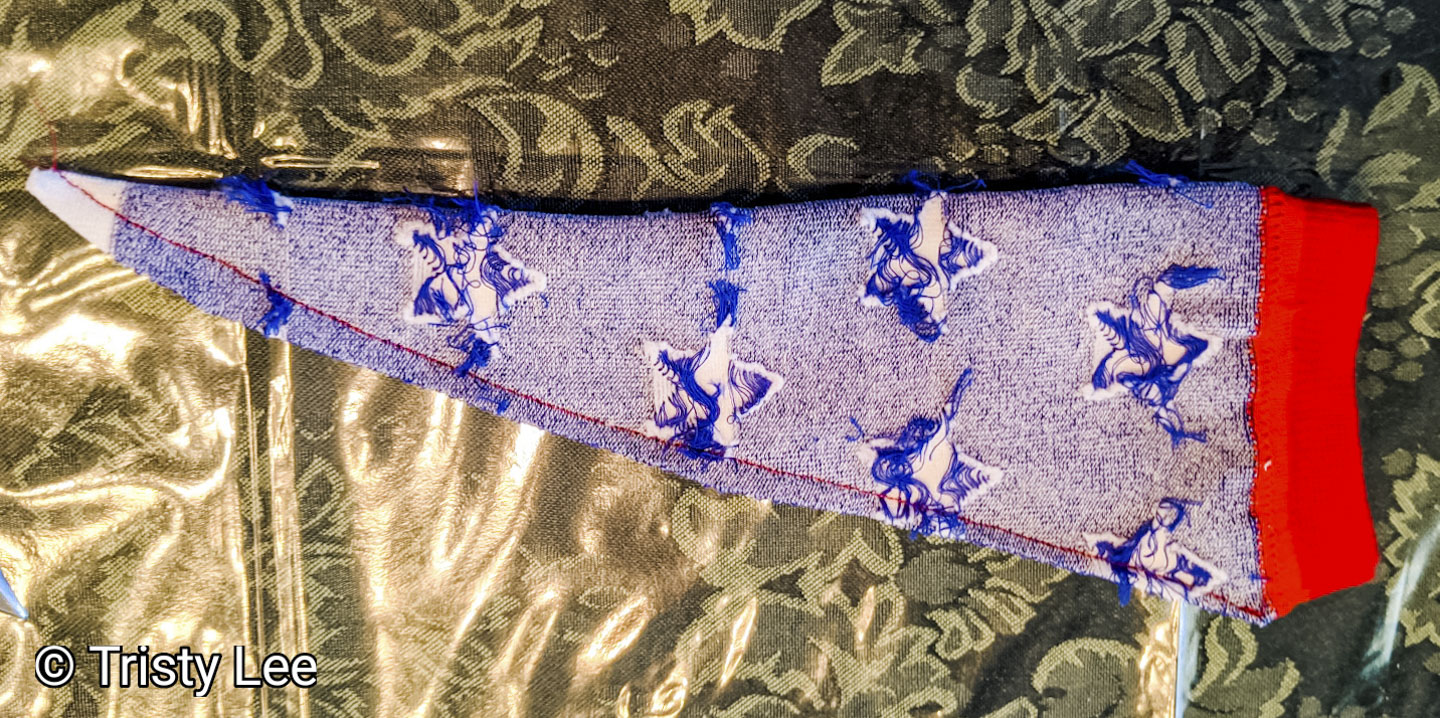
- Next, sew or hot glue the top half of the sock, which should be inside out, into a triangle to form the hat. Hats will vary due to the size of the sock. Knee-hi socks provide very tall hats. Sweater sleeves also work well. (Thrift stores are great for obtaining old sweaters.)
- After, turn the hat right side out. Then stuff with batting until you have the desired thickness.
- Then, apply the hat with hot glue making sure you start at the nose.
- Next, cover the top of the nose with the hat.
- Finally, use ribbon, buttons, and embellishments on the hat and rim to add the desired holiday flavor you like.
Make some Gnomes today:
Yes, there is a lot of steps; but they aren’t daunting. Remember that I did this with teenagers. It’s easy to do and hard to make mistakes. But watch out with the hot glue, burns are happening way too quickly. Let your imagination go, and you will see how fast each gnome takes on its’ own personality. The more people putting on the finishing touches, the more diversity you will see. Even my 6-year-old enjoyed helping with finishing up ideas. Great times with creativity.
How to do you integrate Holiday Gnomes into your Interior Decor:
Making Gnomes is so much fun we can’t wait to see the gnomes you create and how you use them in your decor. Make sure you follow us on Facebook to get a look at the behind the scene process at Lilies and Jets.
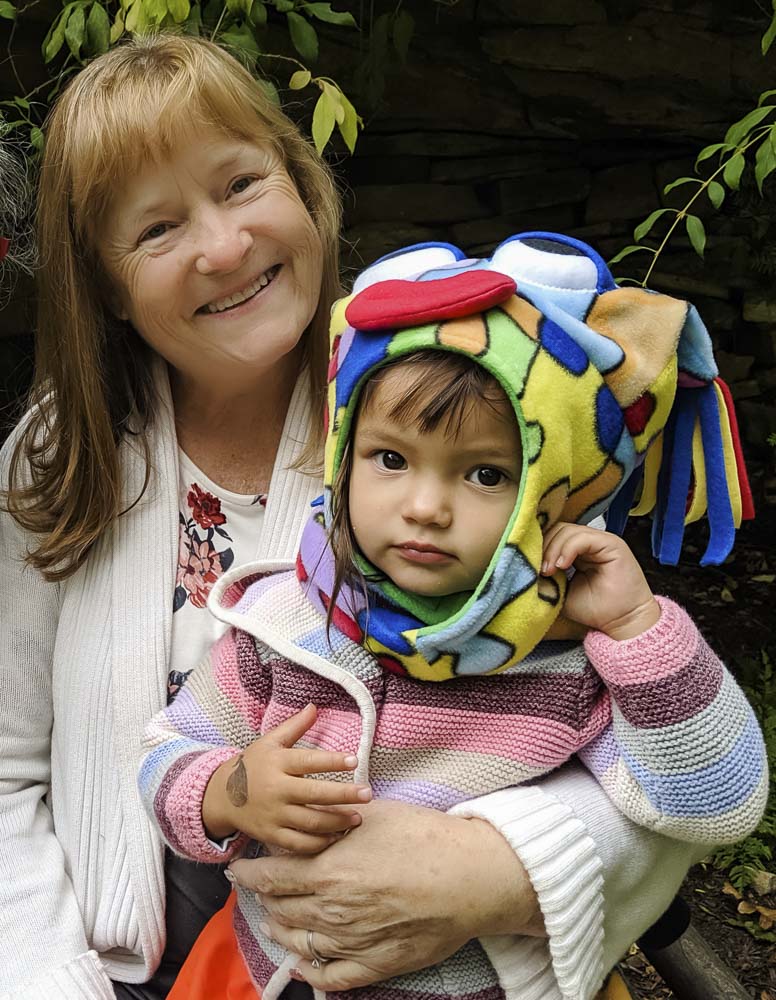
Joan Atwood has over 30 years of experience in education, working as an elementary supervisor, principal, and teacher, teaching a wide range of grade school children, as well as university classes. Her expertise includes kindergarten, elementary education, and gifted/talented. She is an artist with expertise in oil painting and floral arranging. She enjoys crafting with her grandchildren, wire wrapping pendants, and long walks in nature.


Thanks for a marvelous posting! I truly enjoyed reading it, you happen to be a
great author. I will make certain to bookmark your blog and will eventually come back in the
foreseeable future. I want to encourage you to definitely continue your great job, have
a nice afternoon!
My homepage :: cheap vps server
Thank you so much that is so kind. We are really enjoying this project.