Tristy Lee- DIY | Home Decor | Art | Project Inspiration
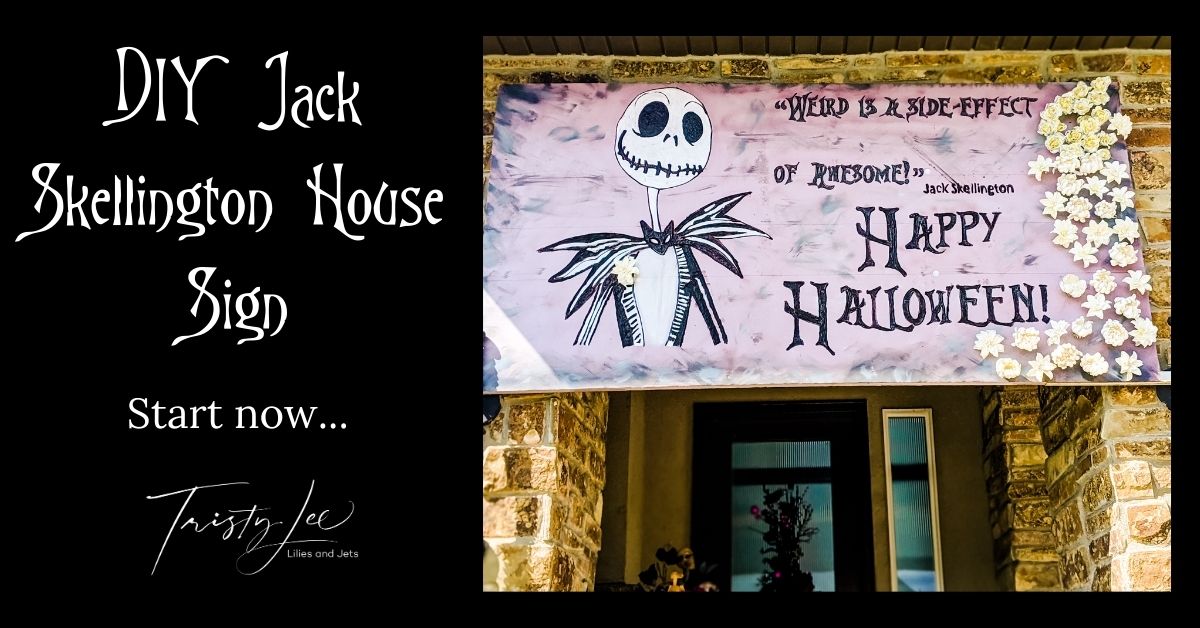
It’s Halloween outdoor planning time again. Once again, I’m spending way too much time on Pinterest and starting too many projects at once. In our neighborhood, we are known as the Halloween house for sure. We like to apply themes to our yard design. One year we had a boat with fishing skeletons. Another year we had biking, skateboarding, and snowboarding skeletons. This year we are all in on a Nightmare Before Christmas Theme since Lily wants to watch that movie every day. We are using our skills to create a DIY Halloween house sign featuring our favorite Jack Skellington.
OUTDOOR SIGN INSPIRATION:
I look at Halloween projects on Pinterest all year. Yes, I know that is excessive. We saw a house on Pinterest that had giant eyes and teeth on the front porch. It was terrific, and it got me thinking about something substantial for our front porch. I really didn’t know exactly how I would build this sign, so I decided to go daydream at home depot.
One of my favorite things to do is go in and find one of the workers and get them to think outside the box. Now to be fair, this usually evokes one of two reactions. A look of excitement and they show me so many things that it has me planning for projects for months or….they lose all the color in their face, and they look for an escape route because you are asking to do something that a product isn’t really intended to do. Let’s just say this was jackpot day. The guy who helped me took me on a tour through the home depot gave me several options. We were done when he showed me the purple insulation board. It was love at first sight.


DIY Sign Supplies:
- 4FT x 8FT size foam insulation board
- Soldering Iron
- Acrylic Paints
- Projector
- Wire
- Metal Strips
HOW TO CREATE A HALLOWEEN OUTDOOR SIGN:
1. Create your image: First thing I did was download a nightmare before Christmas font to use for my lettering, and then I looked up some cool Jack Skellington quotes. I decided on “Weird is a side effect of awesome” Jack Skellington. I put it into a simple word document and added Happy Halloween to fill the space.
2. Next, I got a projector out and used it to project the words onto the foam board.
3. Then I traced with pencil the lettering to the board.
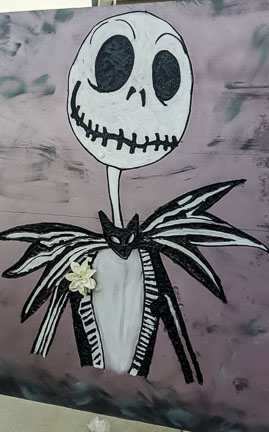
4. After that, Jet used some inspiration pictures on-line to freehand sketch a Jack Skellington.

6. Then we moved on to painting the lettering and drawing. We choose grays, black, white, and purple.
7. Additionally, I layered some around the edges to add some additional color to the board.
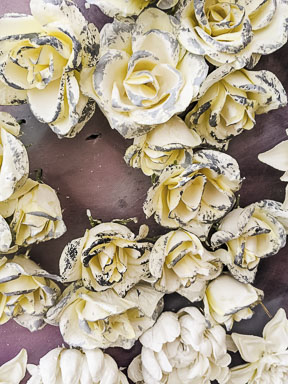
8. After that, I thought about another project that I was excited to try. I saw Plaster of Paris dipped flowers on vases and different projects on Pinterest. We went to the dollar store to buy some cheap flowers that we could try it out on.
9. Next, we found a recipe on Pinterest and dipped our flowers. We hung them upside down, bending the wire to hold 8 on a hanger, then put them on a rod to dry in the garage.
10. Then we attached them to the corner of the sign by poking the wire from the flowers through the foam. This gave the project a 3-dimensional depth to it.

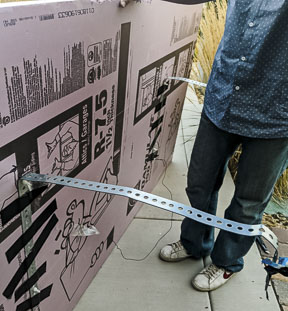
11. After we need to figure out how to hang it. Jet attached some thin metal strips that we’re able to bend over the ledge. To hang our DIY Halloween outdoor sign.

Lessons Learned:
Every project is fun to see finished, and you always take things away that you would do differently next time. The sign is fun and will be part of our Halloween décor for years to come. I learned that I would do differently if I was doing it again would be to stand back between lettering rows and adjust spacing. The spacing between the top two rows could be tighter with a larger font. The other thing we learned is that we did not do enough plaster flowers with such a large space. We actually fixed this before hanging it by doing a second batch. This was such a fun DIY Halloween Yard Sign project that adds drama to our Halloween Decor.
This project gave me so many future ideas. I would like to do a Christmas sign for the house as well. This would also be a great way to do custom tombstones. We are always building our Halloween collection of décor, and this will be a new option that we can explore as we add to our décor.
TELLING YOUR STORY THROUGH DÉCOR:
Making things to display for the holidays is a great way to give your home decor instant memories and story. It is impossible to not think of loved ones and the fun times spent creating things together. Please share ideas and pictures of your Witch Shoes and how you display them.


+ show Comments
- Hide Comments
add a comment