
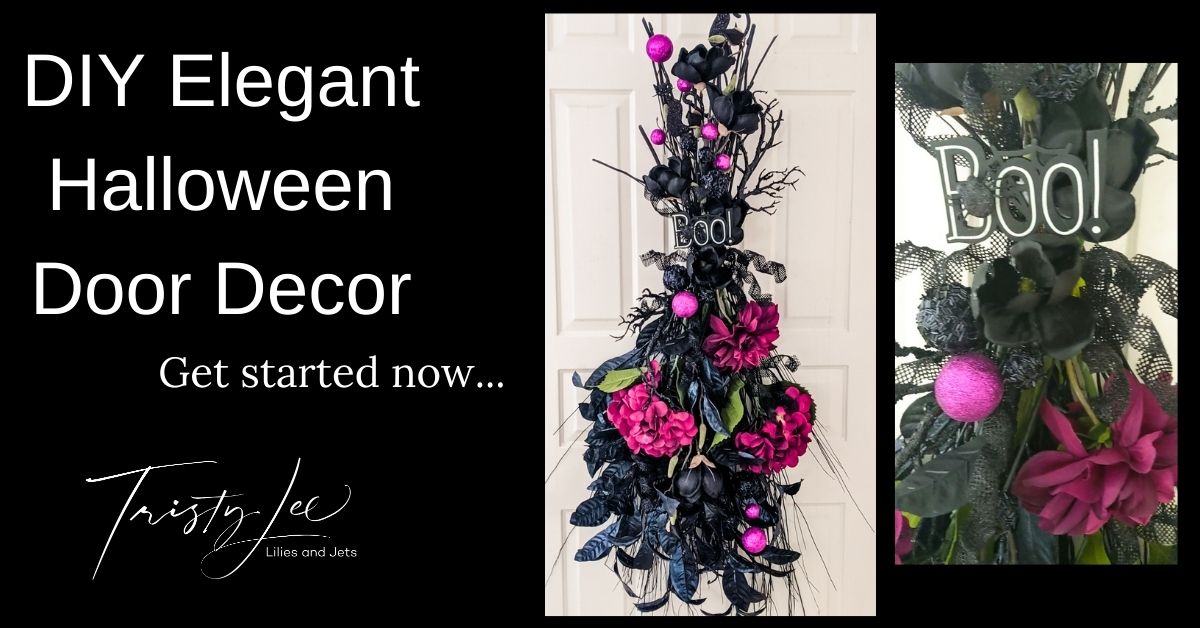


Tristy Lee- DIY | Home Decor | Art | Project Inspiration
When you think of Halloween, orange and black automatically comes to mind. However, when looking for some décor to make a door arrangement, I fell in love with the black and purple decorations. The glitz and glamor of the purple and black together just call to me. A few years ago, my dad bought me a Jack Skellington inspired Halloween piece. If you know my dad (if you don’t think Clint Eastwood), your jaw is probably on the ground because picking out a floral Halloween piece would not come to mind. I absolutely love it, and it is a centerpiece in my interior décor for Halloween. It has these same colors, and this has become the core colors we are using inside and out for our Halloween Décor.

Project Inspiration:
I will admit it was a little early, July, to try shopping for Halloween supplies, but we went to four stores looking for Halloween supplies, and they didn’t have anything in stock. It was crazy; Hobby Lobby putting out Christmas and Thanksgiving, and there was no Halloween insight. I did notice some black florals. Halloween is our favorite holiday of the year, and I have totally brainwashed Lily, our three-year-old, into talking about Halloween non-stop all year long. Finally, the last store we stopped in was successful. Michaels had a limited amount of Halloween supplies out. I was excited to see they had a collection of supplies beyond the traditional orange and black. They had some glitter twigs, black glitter cats (Lily’s favorite), purple and black balls, black glitter twists, and a small sign with a Boo on it. Next, I went to look for a base for the arrangement. I found some black slim sticks and wreaths. I can’t say I was super excited about the grapevine wreath, but I was pressed for time. We were leaving the next day to spend the next 4 days crafting in Monticello UT with my Aunt Janet Hazleton and mom. They are so good at floral arrangements I had to bring a project to work on. After that, I looked at the florals. The selection was pretty limited at Michaels in deep purple and black. I remembered seeing some shiny black leaves and other black florals at Hobby Lobby, so we went back.
Video Tutorial DIY Elegant Halloween Door Decor:
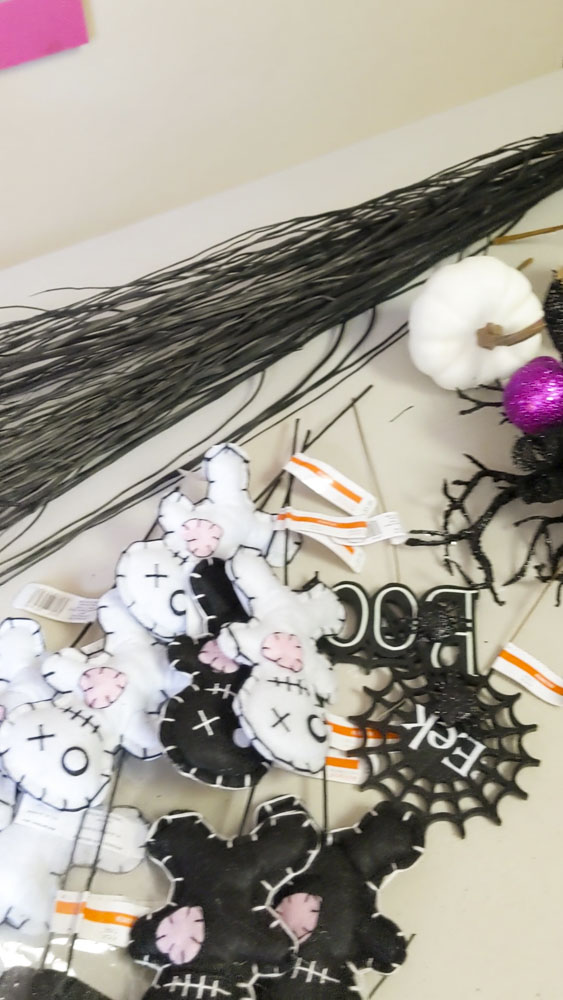
Supplies:
• 2 Black Glitter Cats
• 3 Glitter Tree Stems
• 3 Glitter black and dark purple ball stems
• 1 Book small sign
• 5 Ribbon Swirls
• 1 Large Dark Purple Flower
• 2 Hydrangea Dark Purple Flowers
• 3 Stems of Black Magnolias
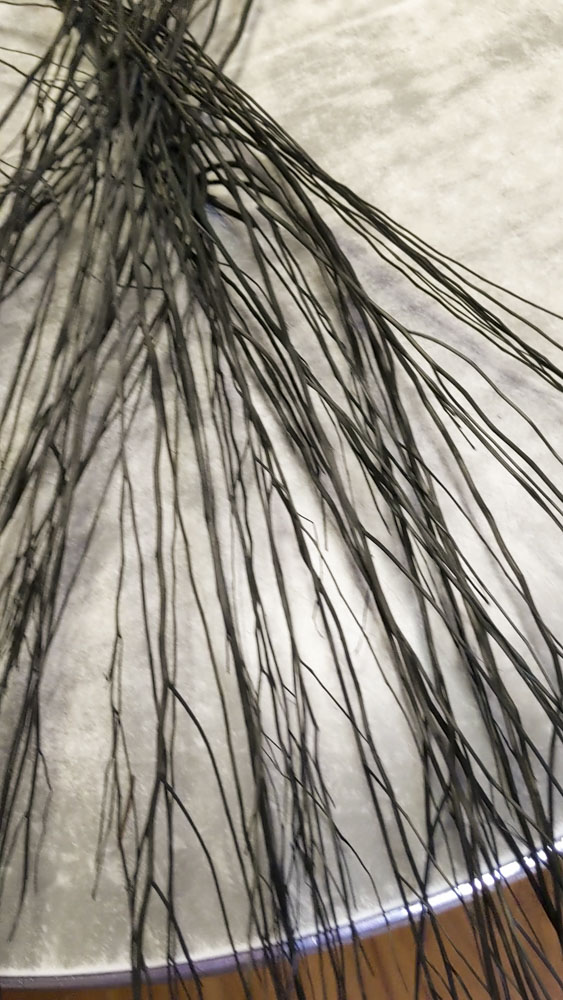
• 1 Package of Black Sticks
• 5 Stems of Black Leaves
• Glue gun and glue
• Wire Cutters
• Pliers
Steps to take to refresh your arrangement:
1. Layout the black sticks in a fan shape on your workspace crossing the stems leaving 6 to 8 inches at the top
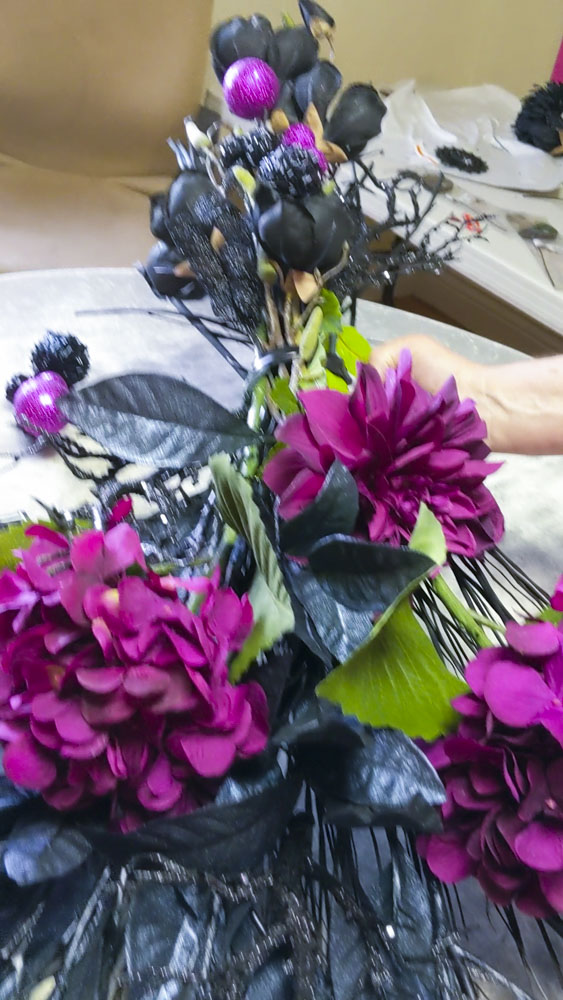
2. Next layer in your black floral stems over the top of the black sticks
3. Next, you will lay the two similar large flowers a 1/3 of the way up from the bottom.
4. Then, Add the last large flower to about the midpoint.
5. Once you lay everything on the table, you bind the entire arrangement together with a zip tie.
6. We added the black magnolias we placed two on the bottom filling at slightly different lengths by slipping them into place under the zip tie
7. The last magnolia we took apart each flower with wire cutters, and if the stems were too short, we added some floral pics and floral tape to lengthen them.
8. Then we placed the new single stem black Magnolias in the top of the wreath
9. After that, it was time to add some of the glittering details. We started with the black glitter branches. Attaching two of them at the zip tie point at a 45-degree angle up and a 45-degree angle down. The last one we actually used hot glue to tuck it into the bottom of the leaves to add some glitter to the bottom of the floral.
10. Next, we use electrical tape to cover the zip tie
11. We then create a focal point of the arrangement by adding the Boo small sign and glitter balls.
12. After that, we added 2 more groupings of the glitter balls to the top and one to the bottom
13. Next, we added both of the glitter cats to the top of the arrangement.
14. Lastly, we needed to create a hook to use to hang the piece on the door. We used black wire clothes hanger. We cut a 12-inch section and pushed it through the zip tie at the back of the arrangement. Joan used some pliers to bend the hanger’s bottom into a hook that held the zip tie. With the rest of the wire length at the top, she turned a section over and used the electrical tape to secure the loop we would use to hang it on the door.

Finished Elegant Halloween Door Décor:
If you remember I bought a grapevine wreath, well we decided not to use it. Using a wreath as a foundation for a floral arrangement is a favorite of mine. However, when we started to play with the black sticks, I couldn’t figure out a shape and a way to use it. Sometimes just letting go of what you know, you end up with amazing results. We set the wreath and our comfort zone aside and just let the creative juices flow.
As soon as we laid the sticks out in a fan shape, we knew we were onto something. To make sure you can follow the directions, we created a video for you to follow along:
GET MORE LILIES AND JETS
Make sure you grab your Free Guide to Project Planning. We are always working on new DIY and Home Décor projects. Follow us on Instagram for previews and behind the scenes access to all things Lilies and Jets.


+ show Comments
- Hide Comments
add a comment