Tristy Lee- DIY | Home Decor | Art | Project Inspiration
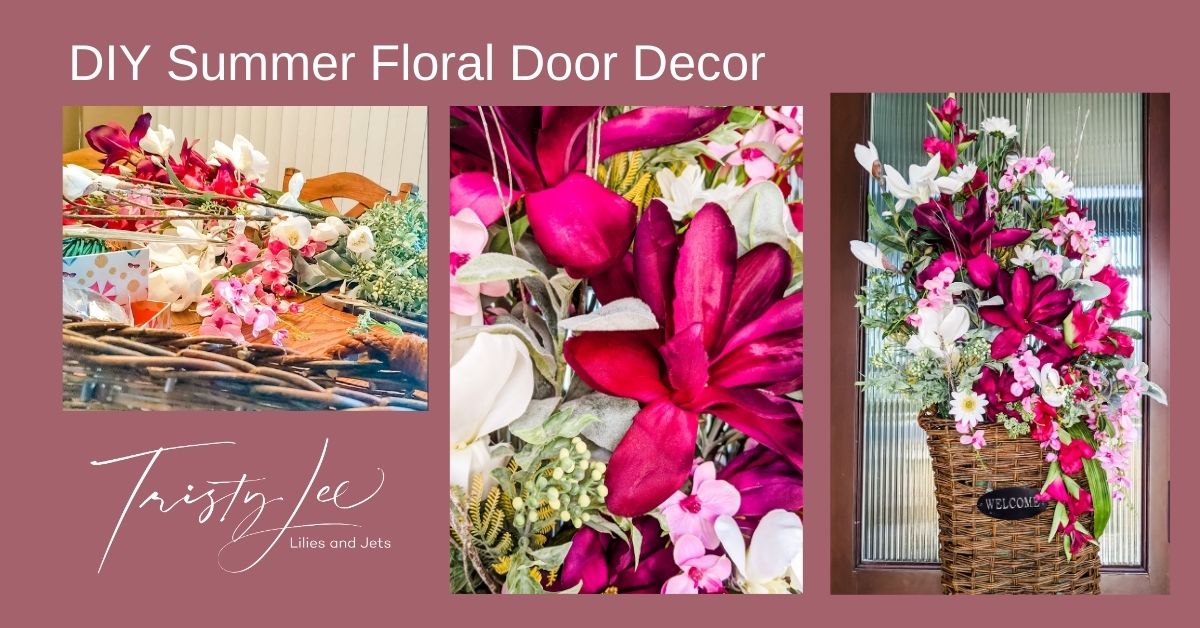
Can you say hello spring flowers? I love this time of year when the tulips are coming up and blooming. One of my favorite things to do is to change up the entry-decorations as the season’s change and holidays approach. To refresh for spring and early summer, I wanted a DIY floral door decor. Always start by looking at any remnants you can use from previous projects. I made quite a few flower arrangements last year and a large variety of leftover silk flowers.

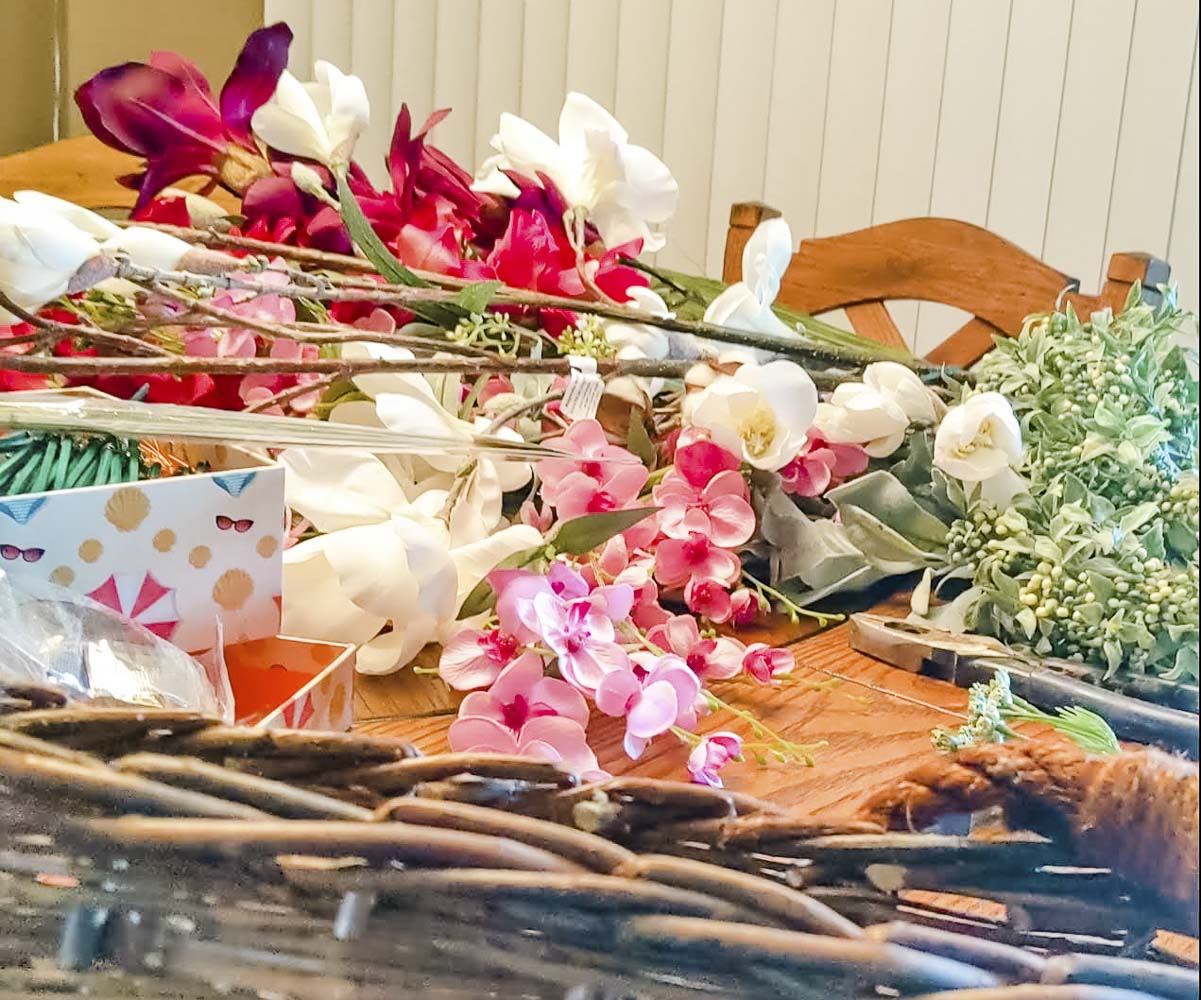
Supplies you will need for the project:
• Basket: This is the container we used for the project we choose a long slim basket since it was going to be on the door, and we wanted a slim profile.
• Silk Flowers: 3 stems gladiolas, 1 stem wine color magnolia, 1 stem white magnolia, 3 stalks of small pink draping florals, greens we used 3 types.
• Floral Pics
• Floral Tape
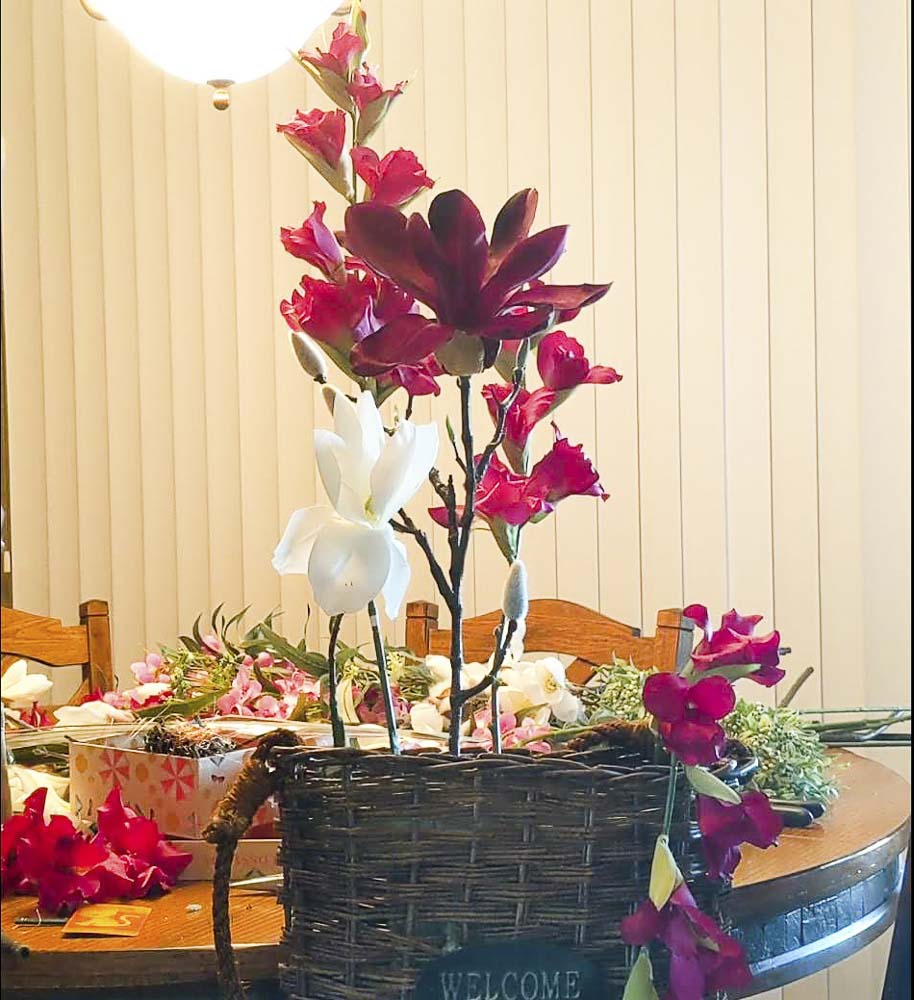
• Sahara foam
PREPPING FLOWERS FOR THE ARRANGEMENTS:
Try holding the flowers up to the spot you’re thinking and estimate the height you need. Next if you need to adjust the stem leave 3 inches to insert into the Sahara Foam.
WHAT IF THE STEM IS TOO SHORT?
You can add length with a wire, cut stems from another flower, or add a floral pick. Then wrap with floral tape.
WHAT IF THE STEM IS TOO LONG?
Cut the stem to the height you need. I still like to add a floral pick to give it a sharp point to insert into the foam.
How to assemble your door Décor:
To give you the confidence to attempt this project, we did a supplemental video that walks you through the process:
How to assemble your Door Decor
1. Plan for our project: Get your Free Project Planning Guide.
2. First, protect your workspace put down a drop cloth and table cloth on the table
3. Next, collect all of your supplies and organize them on your workspace
4. Then, find a stable place to put your basket
5. Next, fill the bottom of the basket to prep for the Sahara. For example, you can fill with newspaper or additional foam.
6. After that, cut the Sahara to fit the basket, trying to leave the full depth to anchor the floral stems and filling the entire surface of the basket.
7. Then you will want to think through the overall shape you want for the arrangement. For this arrangement, I wanted the design to flow from left to right with the left as a high point then to gradually move to drape flowers on the right side. To do this, we put in some anchor flowers to create the overall shape. Tallest flowers on the left, then a drape floral on the right.

9. Fill in with greens and smaller flowers
Take a look at our DIY I love but can I do it? This will give you some great project planning tips.
Decorating for the seasons and holidays has always been a family favorite of ours. It was great to work on this project with my Mom. I really enjoy doing these projects with another adult gives us something to do as we catch up on the things going on in our lives. Grab a friend and try it out. Make sure to let us know how it goes and capture a picture. Finally click here to follow us on Pinterest and Subscribe to our YouTube channel, where we will be posting additional tutorials.


+ show Comments
- Hide Comments
add a comment