


April Davis & Ashely Davis -Mother-Daughter Crafters | Project Inspiration
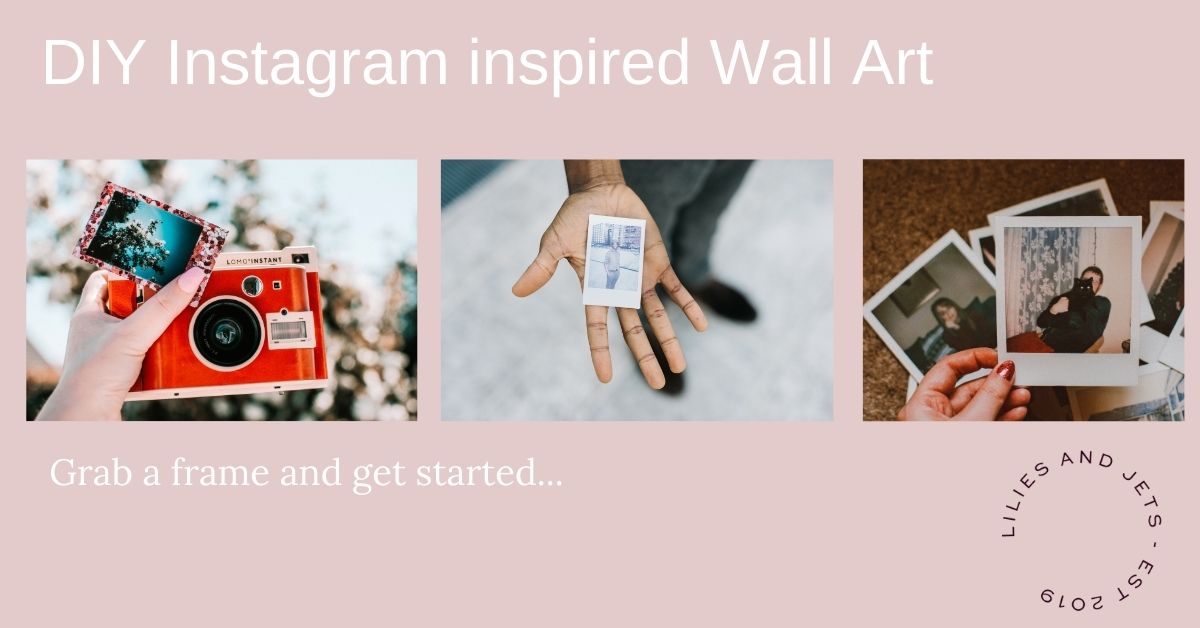
A few months ago, my teenager came to me, asking for a way to easily display pictures in her room. She wanted something that she could easily change out the images. If you think kids are just into Instagram and digital photos, think again! We set out to make a DIY Instagram Inspired Wall Display. Polaroids are making a huge comeback!
DIY Instagram Feed Inspiration:
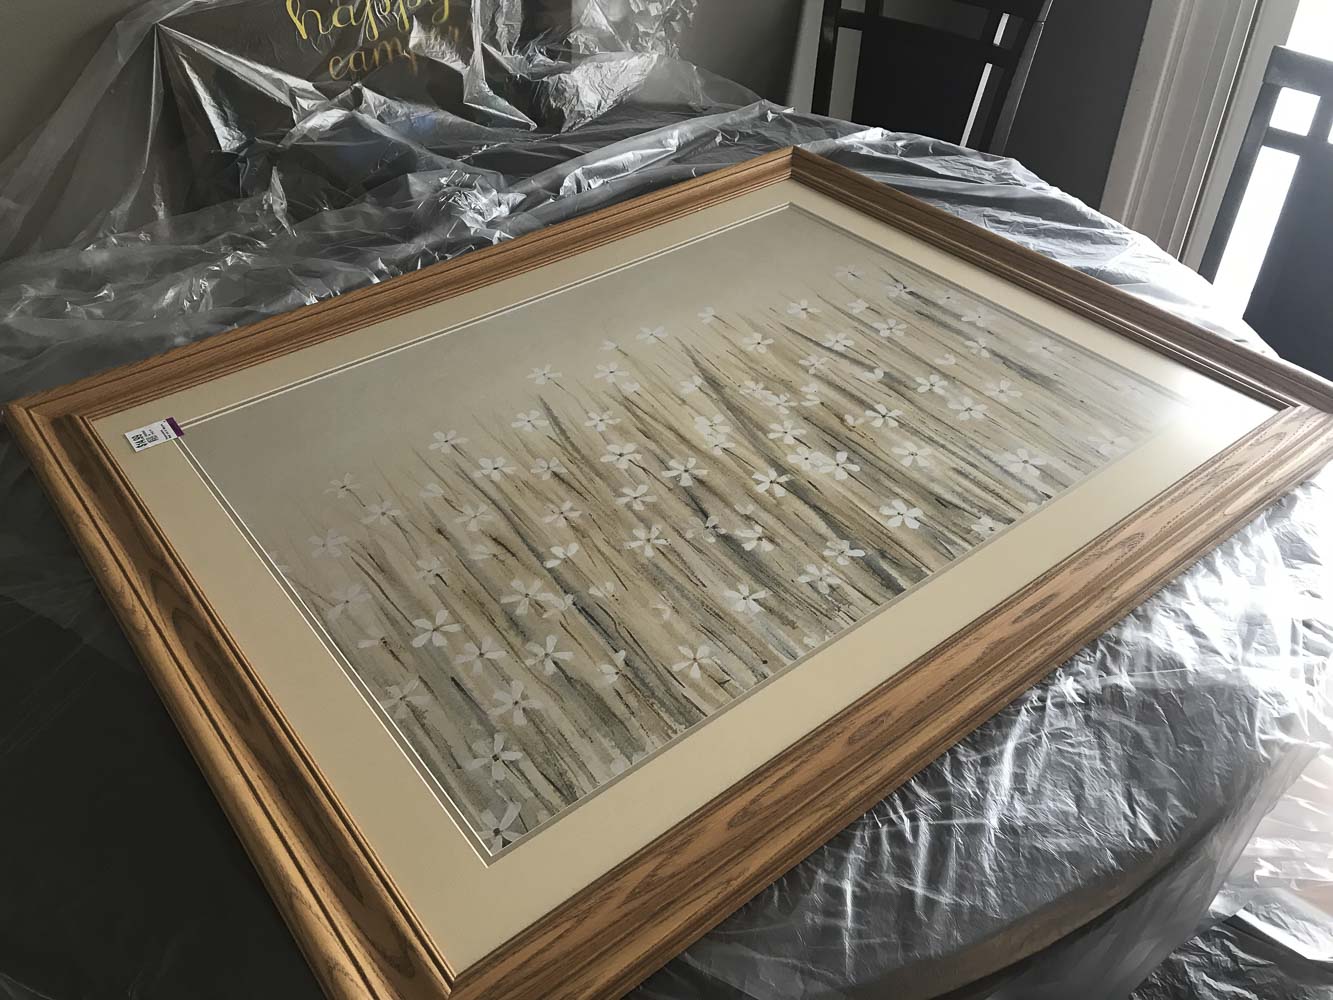
We started our journey making the rounds at Target, online and Homegoods & TJMax. We couldn’t find exactly the right thing. Everything was either too small, the wrong color, or just plain too expensive. While we were at Homegoods, she saw a string of fairy lights that came with little clothespins, and Ashley said, “I wish I could use these somehow.” All of a sudden inspiration hit! After buying the lights, we head to our local thrift store. At the store, we looked through the picture section. I was encouraging Ashely to focus on the size and design of the frames. Teaching Ashley to ignore the things that could be easily changed, like the picture inside and the color of the frame. We finally found exactly what we wanted, although she was skeptical. I knew it would work. One last stop at Target for some craft paint and we headed home to get started!
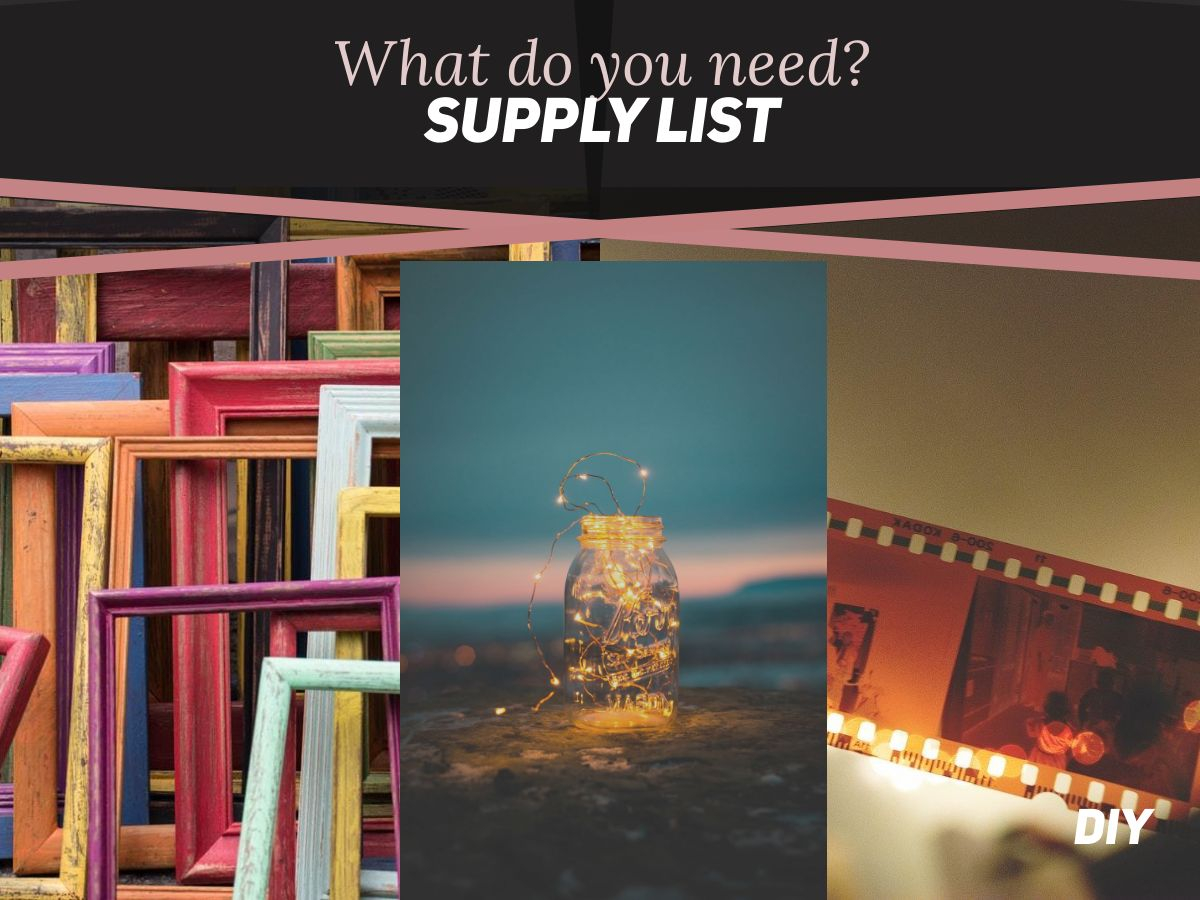
Supplies: Here is what you will need.
Fairy Lights
Mini clothespins
Picture Frame
Sand Paper
Paint/Primer
4-6 small screws
Drill and drill bit
Picture hanger (if your frame doesn’t have one)
How to assemble your Instagram Feed Frame:
1. To get started, we removed the glass and then the picture. Our frame was large, and the glass was in great shape, so I tucked it away for a later project.
2. Next, we then lightly sanded the frame. Paint adheres better to porous surfaces.
Painting tips:
* If your frame has a shiny surface, it is non-porous, and your paint won’t apply evenly and may scratch off.
* For wood surfaces, a light sanding will break up the non-porous surface and allow the paint to adhere. For metal or plastic surfaces, primer is your best bet to create a base that will allow your paint proper adhesion.
*If you are using a light-colored paint over a darker color, just prime. You will save yourself time and energy with fewer coats of paint.
3. After sanding, we got down to painting!
4. Then when the paint dried, we flipped the frame over, and using painters tape, we mapped out how to arrange the fairy lights.
5. Next, when the lights were where she wanted them, we used a drill to pre-drill holes and then inserted small screws into the back of the frame and wrapped the lights around the screws.
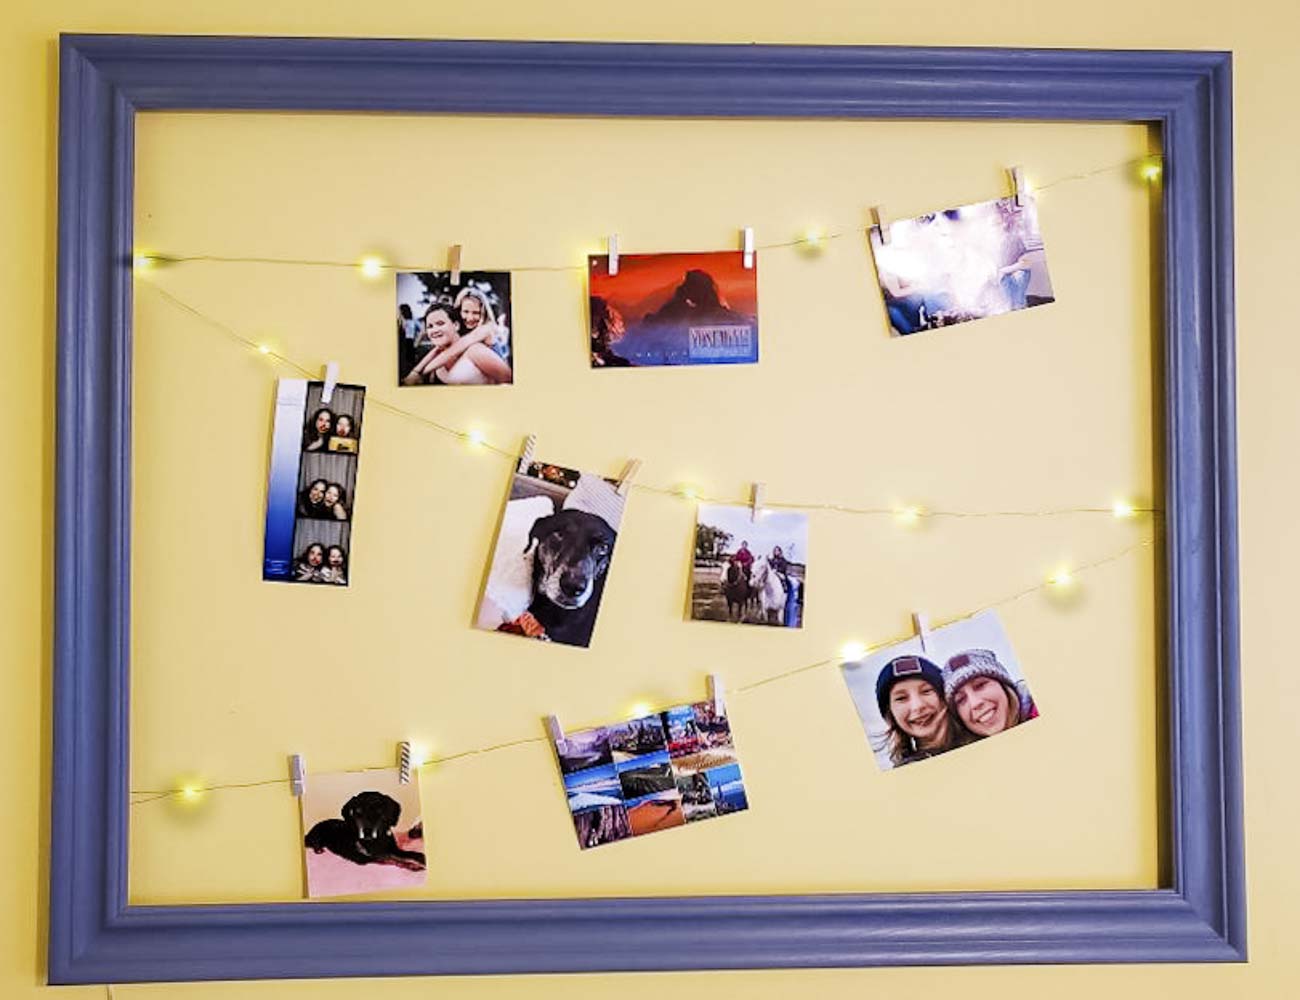
6. Finally, we added a new hanger on the back and voila! It was ready for pictures!
Ultimately this was a blast; it was a great way to show her how to embrace her creativity and to build something she is proud to display. These projects give us time together to listen to her ideas and empower her to create.
Thank you to April and Ashley for this great idea. I need to add an Instagram Inspired Wall Display to my house. If you try this at home would love to hear about how it turns out and see pictures.
For other fun projects with your kids check out:
Follow us on Pinterest. If you like what you’re seeing or have ideas please share them with us.
About the Author

A Mother/Daughter duo, from St. Paul, MN who are always ready to take on a new adventure. A DIY home renovator for over 20 years, April is passing down her love of transforming old into updated, sharing her experience and expertise.


+ show Comments
- Hide Comments
add a comment