Tristy Lee -DIY | Home Decor | Art | Project Inspiration
One of the easiest ways to incorporate memories into your home is during the seasonal holidays. A DIY Easter Eggs Centerpiece is a fun project that will bring you the same joy you had coloring Easter eggs as a kid. Some of my favorite memories that I want to include are the times spent crafting with my mom and aunts. Because I was included it made me feel special helped me to build a foundation of confidence as an adult.

Covered in fabric with a Paper Mache technique
DIY Easter Egg Video Tutorial:
Easter Egg Transformation
One of Lily’s aunts bought her these large plastic Easter Eggs with stuffed animals in them. The size of the eggs was perfect for a project. At the time, I wasn’t sure what to do with them. Since Easter was over, I simply wasn’t in the mood to work on it. Because we like to decorate for the holidays, we have a storage room dedicated to completed crafts and in-progress ideas. The eggs went on the spring idea shelf.
This spring, when I went down to look through the Easter and spring décor, the eggs were begging me to start a project. The first stop was a search on Pinterest to get some ideas on how I might want to transform these eggs. Since I was not sure what to do with Easter eggs, it was time for a trip to a craft store. I was unsure what I wanted to do with the eggs, so I just started to walk down the aisles looking for inspiration.
As I am thinking through options at a store, I put anything I like into the cart. When I finish browsing, I go through an editing process of putting things into groups and keeping my favorites.

Where do I start? After looking at paints and other things, I came across some fun textured burlap. Next was the floral and ribbon aisles, where I picked up a mixture of fabrics and flowers that I thought would be fun to use.
Tips and tricks for decorating the DIY Easter eggs:
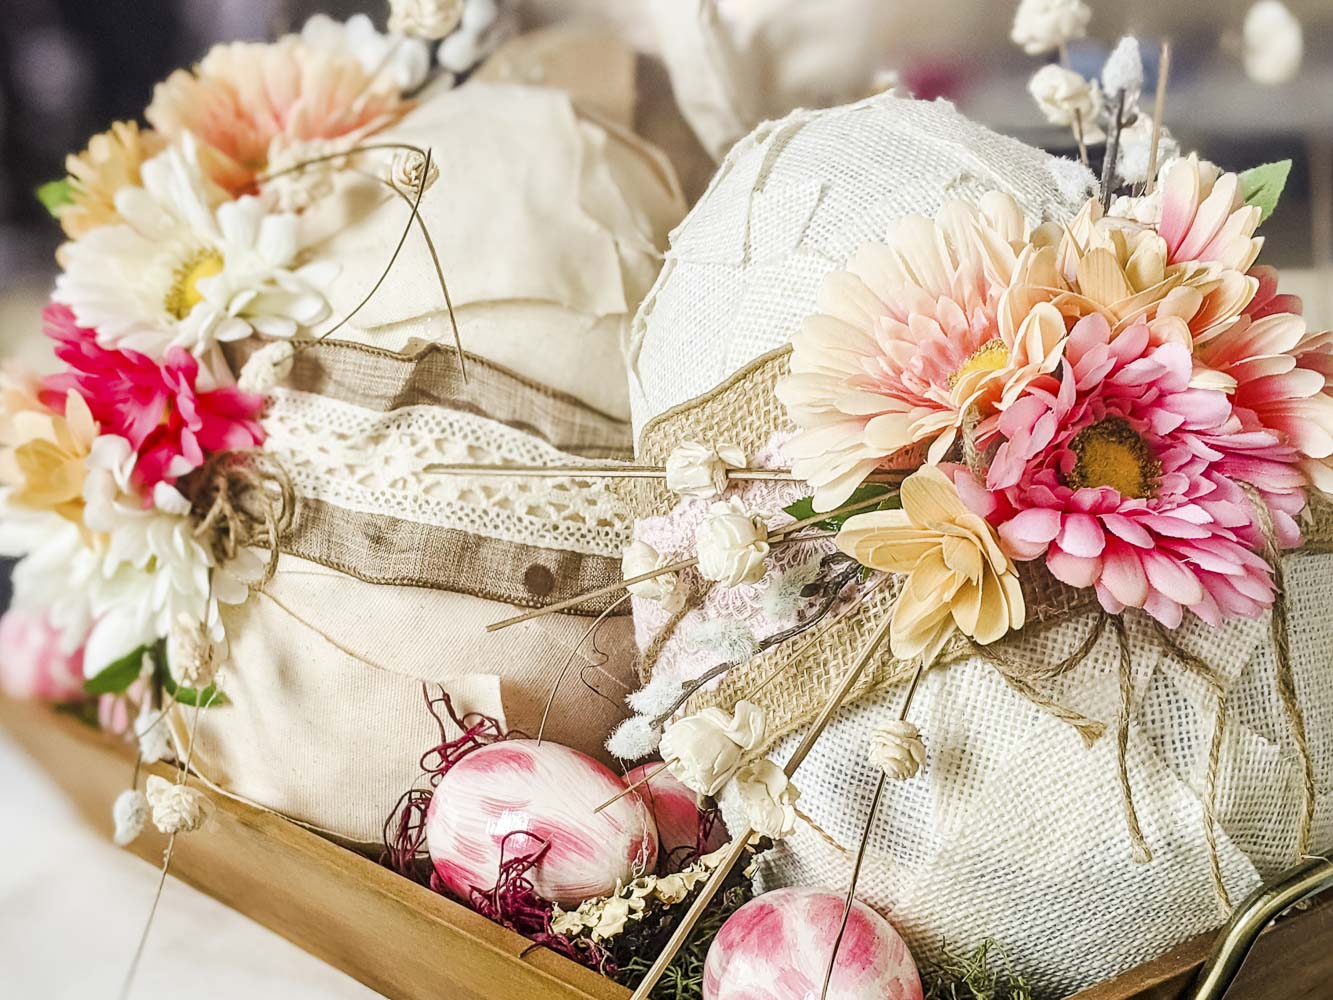
- Cut the pieces of burlap into odd-shaped strips
- Use hot-glue to adhere the materials for a Paper Mache appearance
- Add some ribbon around the middle
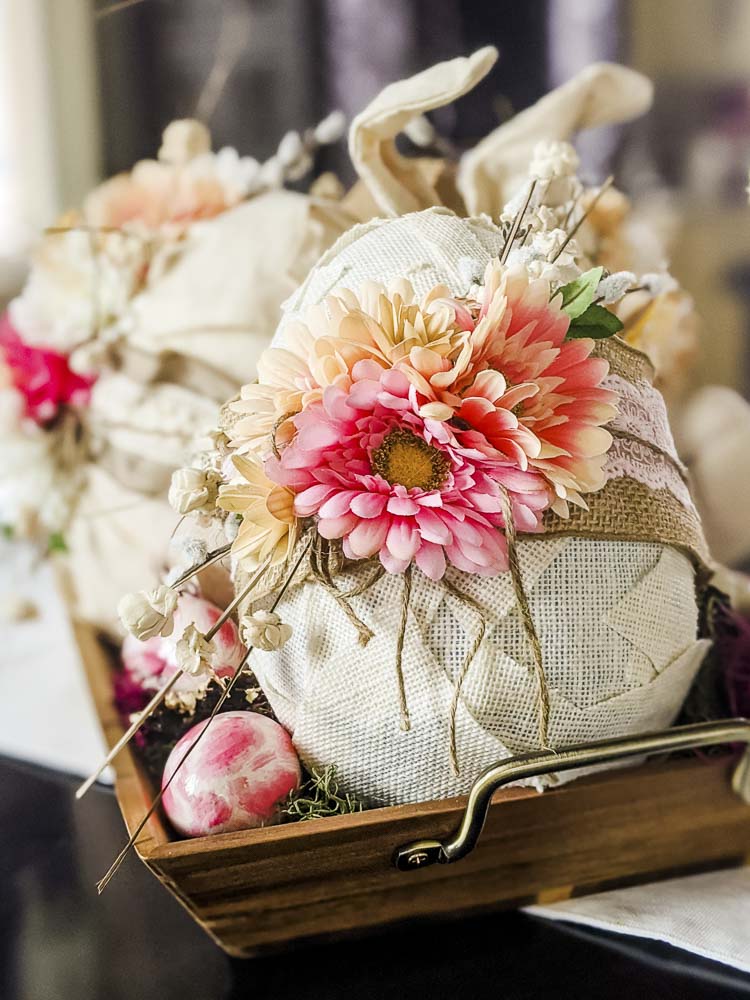
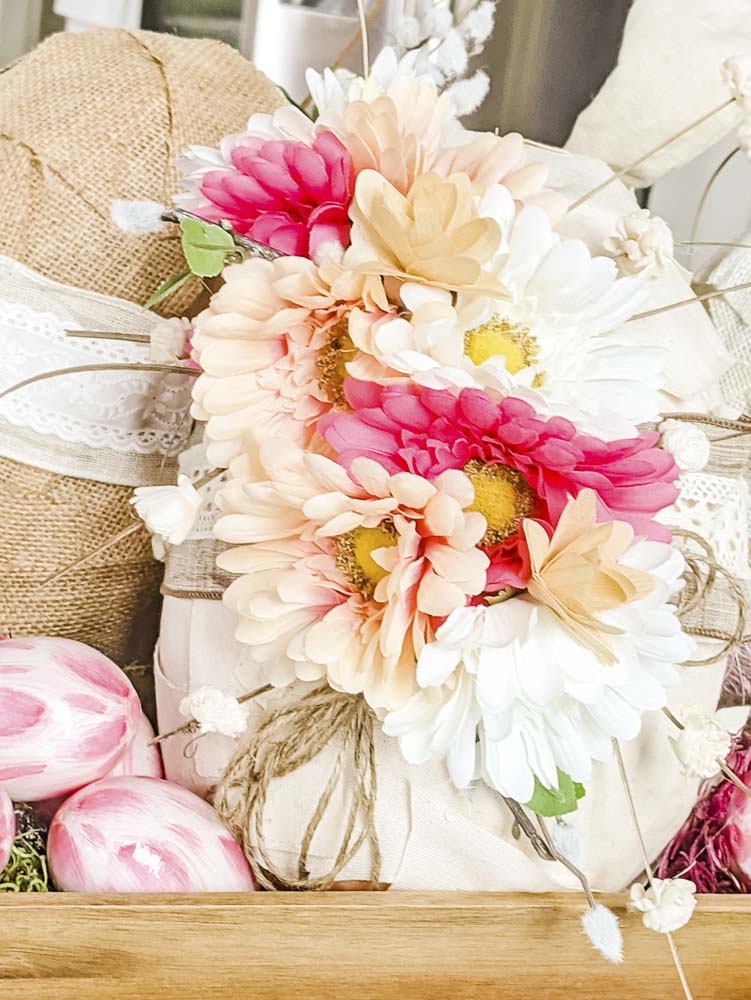
- Add some embellishments including flowers to finish off the look
It was so exciting to see the way they turned out. However, displaying them turned out to be another challenge. The shape and size of the eggs made them awkward to group on the table.

A Tray finalizes the Easter Egg Centerpiece
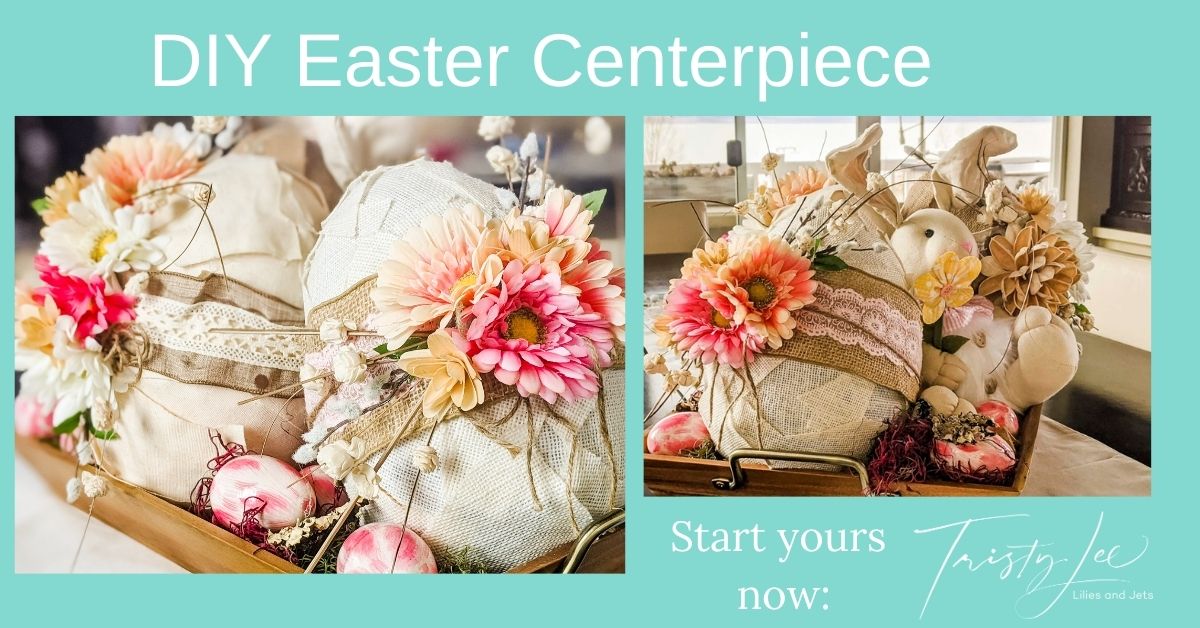
As I tried to place the finished Easter eggs on the table, things just didn’t look right. Therefore, I went to look for containers and other pieces to complement the look. I made another trip downstairs to my decor ideas storage room and brought up a few pieces to try out. Finding a large tray I brought it upstairs try out some options (Trays are always a good idea for table centerpiece groupings), and some leftover moss from a prior floral project. After that, I wandered into Lily’s room and borrowed one of her cute bunny stuffed animals. Trust me; she won’t even miss it. She has a hoard of stuffed animals.
The finished project looked great on the table and was so easy and fun to complete. Easter and spring decor is such a great way to refresh your home and bring some warmth into your home.
WANT MORE LILIES AND JETS:
See more projects on our Blog
Follow us on Instagram: Lilies and Jets


+ show Comments
- Hide Comments
add a comment