
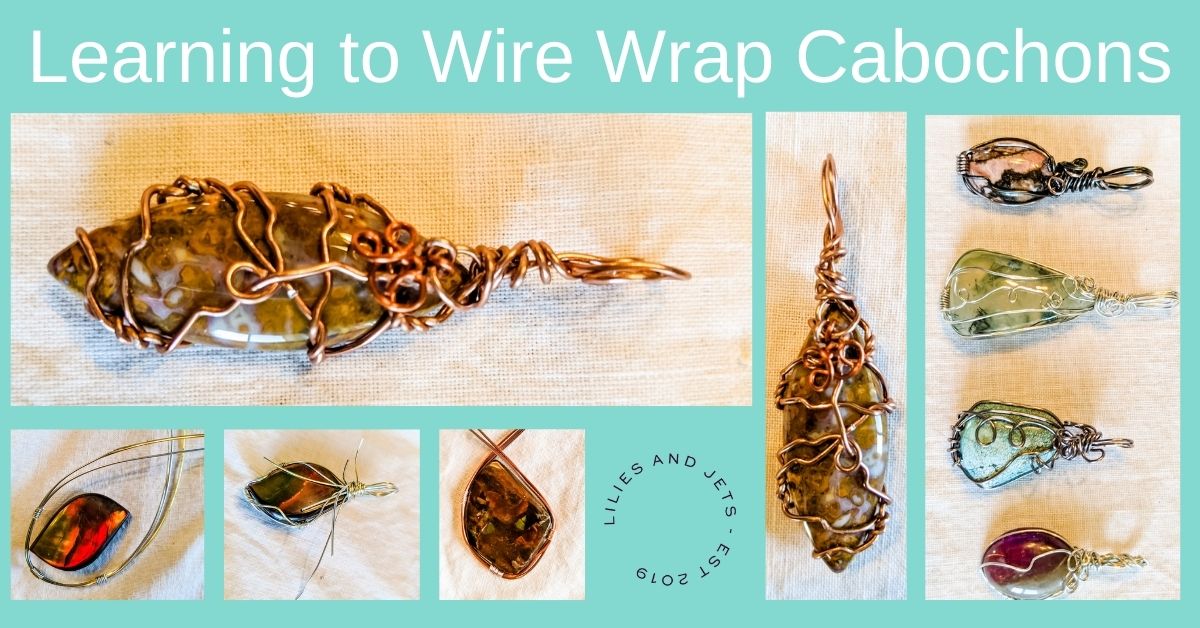


Joan Atwood- Artist| Educator | Crafter | Project Inspiration
My son, Toy Atwood, is a prospector and gemstone artisan. As he first got into this field, he spent many hours honing his skills at making cabochons. These were not just the ordinary ovals or rounds that one could get about anywhere. These were often odd-shaped or left with the raw, natural exposed edges that they were extracted with. Being the pushy mom, I commented that the cabochons would sell better if they were ready to wear as a pendant. Inwardly I was wondering how hard it would be to wire wrap them since I’ve always been a fan of handcrafted jewelry. He commented that he didn’t have the funds to pay someone to wire wrap them, and “You don’t have the strength in your hands to do it either.” I wondered how do I learn to wire wrap Cabochons.

Wire Wrap Inspiration:
Well, that’s all it took to light a fire under me. I thought, “I might be old, but I’m not useless. I’ll show you, mister know-it-all.” I went to the internet and began to search out how to do wire wrapping on cabochons. I watched several beginner videos and decided to give it a try. Years later, I can do a simple wire wrap in less than a half-hour with good results since Toy can sell my finished wraps. I did show Mr. Know-it-all even if I enlisted in a life-time project for myself.
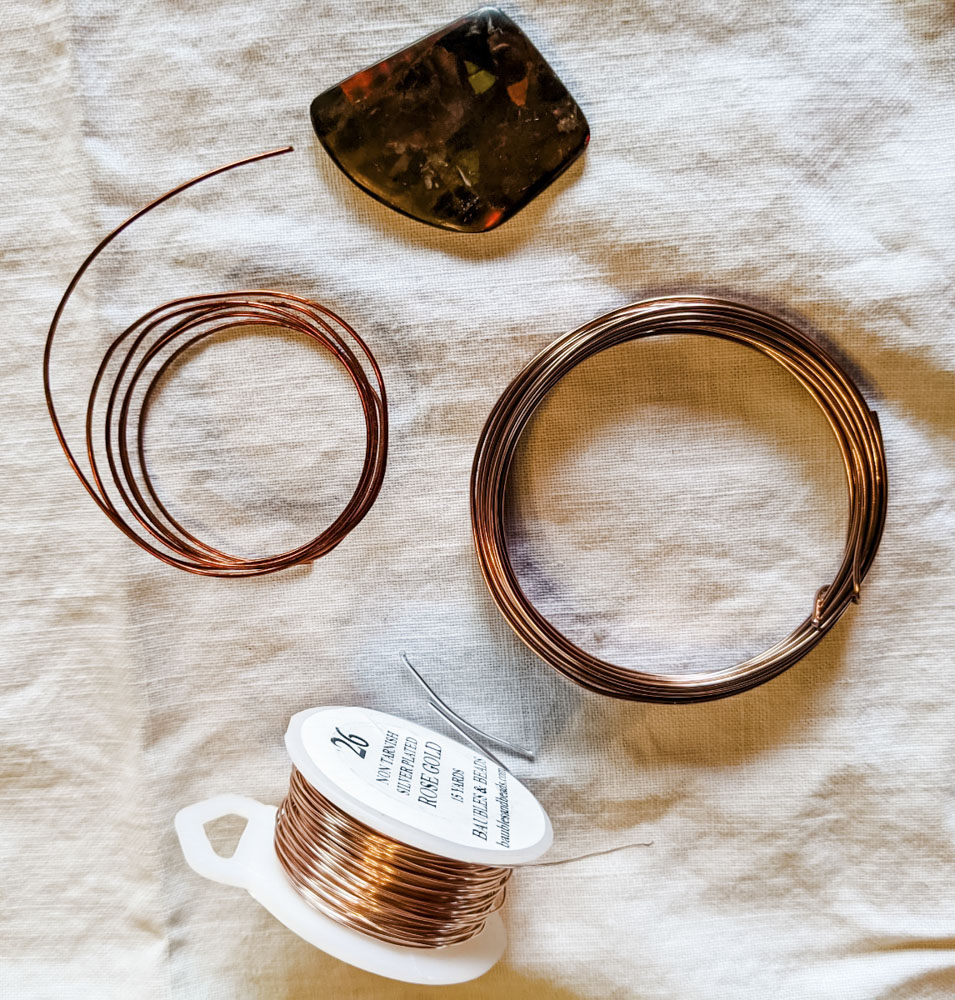
Supplies:
You may want to buy more expensive wire cutters as you become more proficient or as your skill grows, but other than that, the set has proven to be sufficient. Wire for wrapping comes in a variety of gauges and colors. I like to have a wide range on hand, so I can easily use the wire, which best compliments the cabochon’s tones.
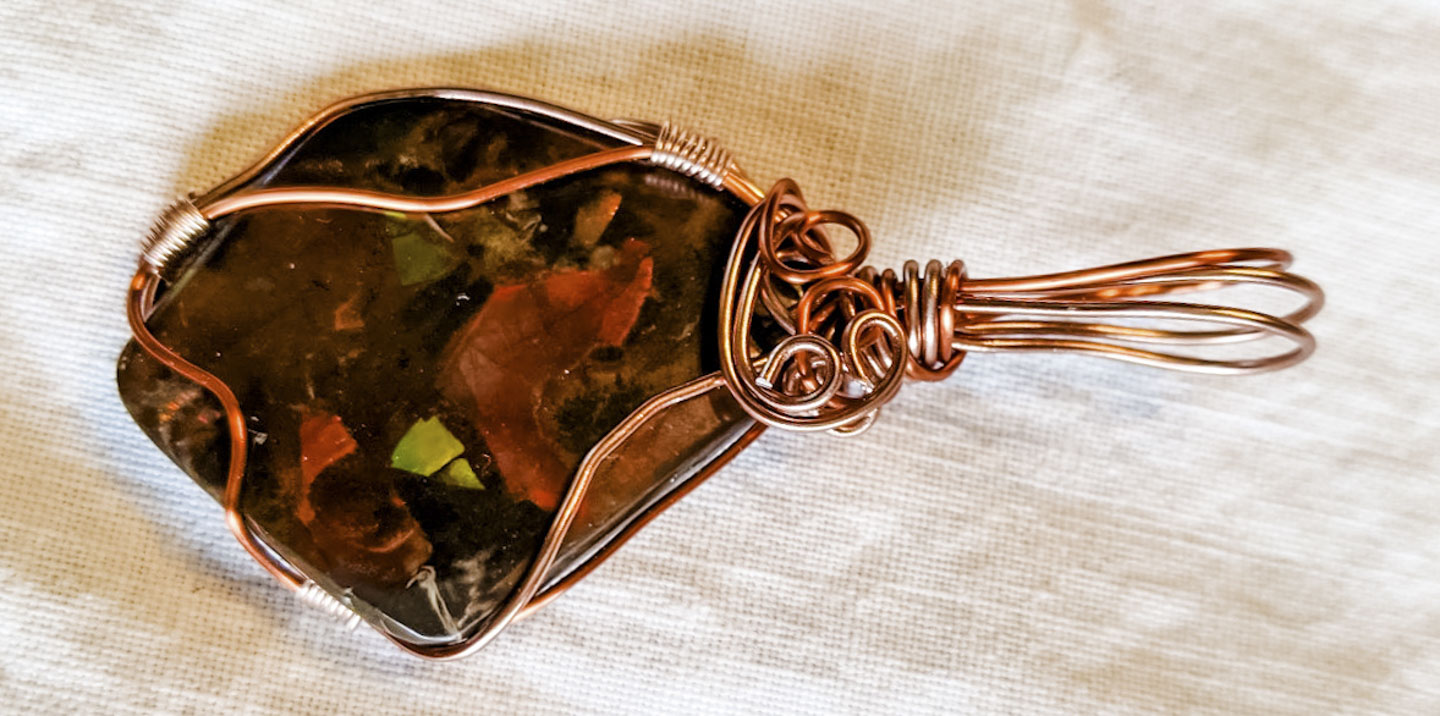
Show off the cabochon
I quickly became aware that I have my own bias about doing wraps. It’s all about the stone I’m wrapping; it’s not about the wrapping. I want to show off the stone. Many wraps are gorgeous, but the stone is not very visible, and much of the uniqueness of the stone is overwhelmed by the wrap. At this point, one needs to discover what it is that they prefer. I will probably try a more complex wrap at some point, but I am comfortable analyzing the stone to decide on the best way to show it off.
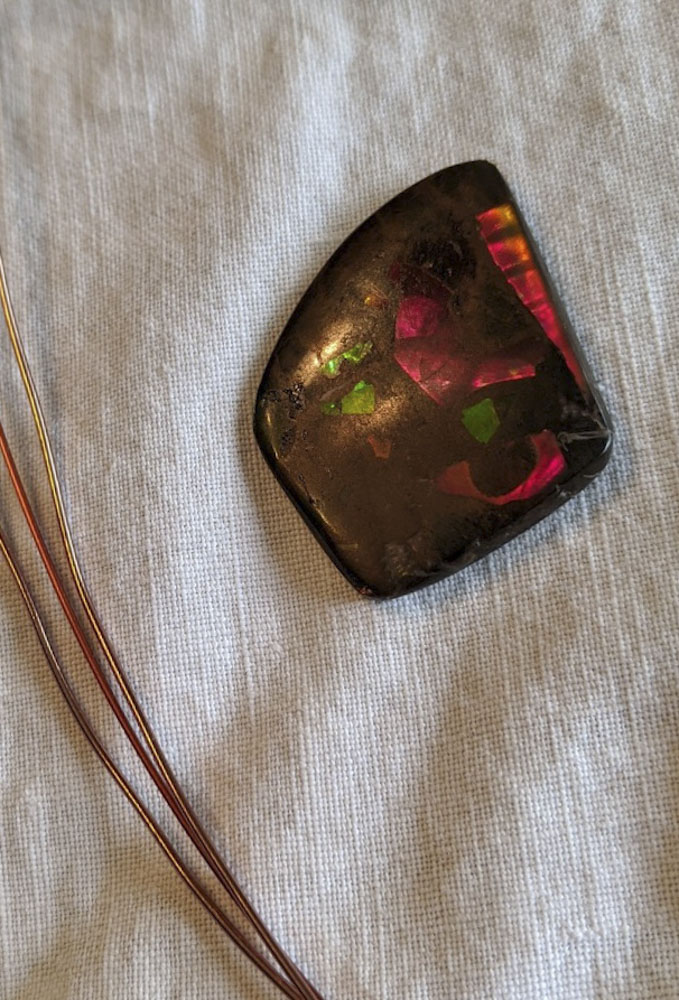
Ammolite Wraps:
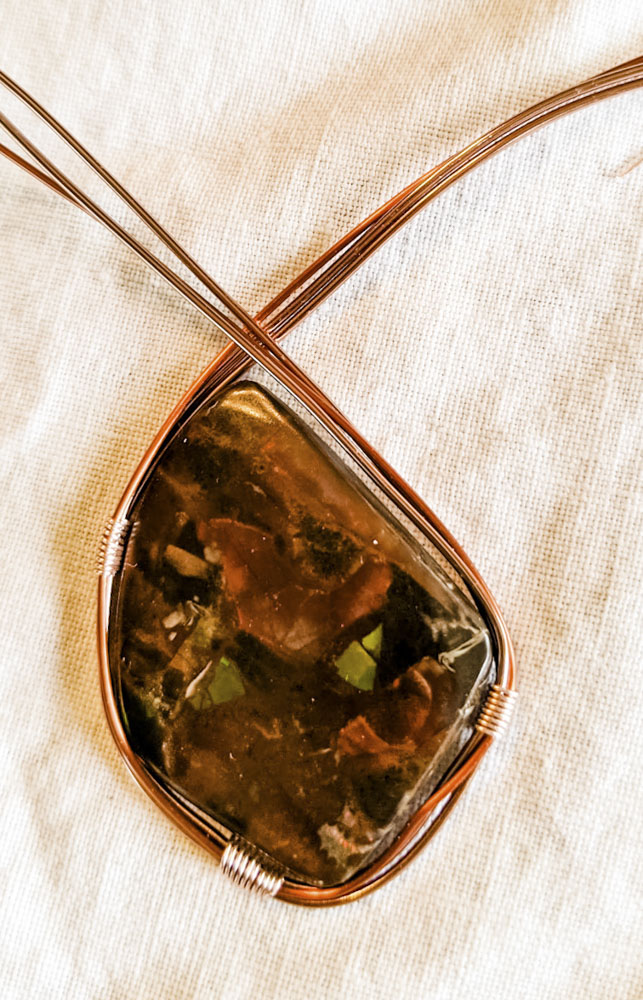
Toy recently got a meteorite piece, which he allowed me to wrap, along with a couple of Utah Ammolite cabochons he made from his mine. Talk about some beautiful pieces. I couldn’t wait to begin working on them. The silver and black wire wrap really complimented the meteorite. I used three strands of wire, one black and two silver in the wrap. For the Utah Ammolite cabochons (side note—Canada is not the only place to get Ammolite), I did one in copper and rose gold and the other in silver and gold, also using three strands of wire.
I didn’t video the process since there are many how-to videos available on Youtube that are terrific to learn how to wire wrap. The pictures can give you a general idea of the steps and how the finished products turned out. I’ve been stalling to give the finished cabochons back to Toy since they are pretty stunning. (Too bad Mother’s Day is gone; I think they might make a beautiful gift for Toy’s mom.)
Want to buy a Pendant or cabochons:
If you want a unique stone to work within your wrapping, check out Toy’s Facebook page or call at (435) 299-2389. The best part of learning to wire wrap is that each piece you do will always be unique, just as every stone is unique. There’s just something special about handcrafted jewelry.
More Lilies and Jets
Make sure you grab your Free Guide to Project Planning. We are always working on new DIY and Home Décor projects. Follow us on Instagram for previews and behind the scenes access to all things Lilies and Jets.


+ show Comments
- Hide Comments
add a comment