
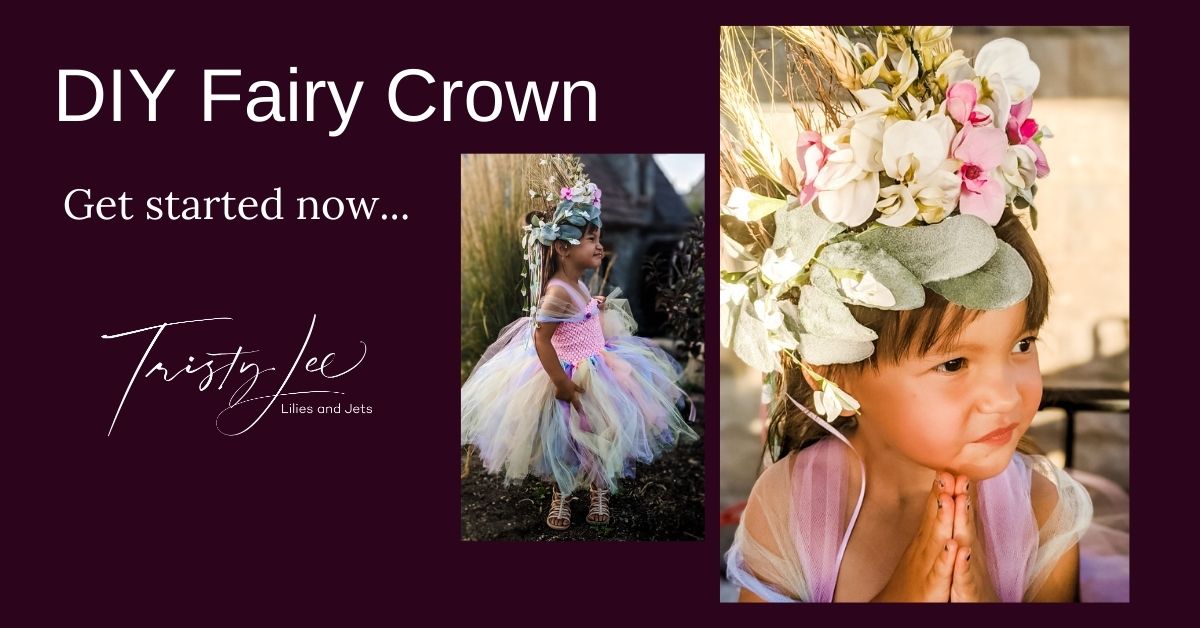


Tristy Lee- DIY | Home Decor | Art | Project Inspiration
Lily is definitely going through a princess phase. If I would let her wear her Elsa frozen costume, I think she would spend every day. One of our favorite places to go in Utah is to Evermore. It is a theme park, unlike anywhere else. This park transforms nightly into an evolving story that you become a character in the storyline. The place is magical from the fantasy buildings to picturesque gardens and the actors who bring to life the interactive storylines. They have three different seasons a year, where the types of characters change. This season you will find fairies, pirates, druids, and knights, to name a few. This place is just mystical for any age. Lily is three, and she asks all the time if we can go back. Last year I ordered her a fairy dress off from Etsy. It is adorable and still fits this year. I started seeing some fabulous headpieces and crowns on Pinterest, and it inspired me to create a fairy crown to go with her dress.
Crown Inspiration:
Put a quick search on Pinterest for fantasy crowns. There are some incredible creations. It is still on my list to create something for my costume. The theme for the fairies in Evermore is that they are born from flowers, and with Lily’s name from a flower, it was the perfect fit to create a nature-based crown. The crown’s requirements include: Light and comfortable to wear, drama and height created with leftover materials that I had from home. To create her fantasy crown, I decided to build it on top of the simple crown that came with her dress.
Then I went down to my remnant flowers and pulled out a bunch of pink and white flowers. I also had some leftover Christmas twig brooms. Joan Atwood, my mom, was up for the weekend, and we started to brainstorm how to transform the crown.
Supplies:
• Base crown: If you don’t have one, you could make it with wire and cover with something to soften the edges like tape.
• Clear Packaging Tape
• Thin twigs
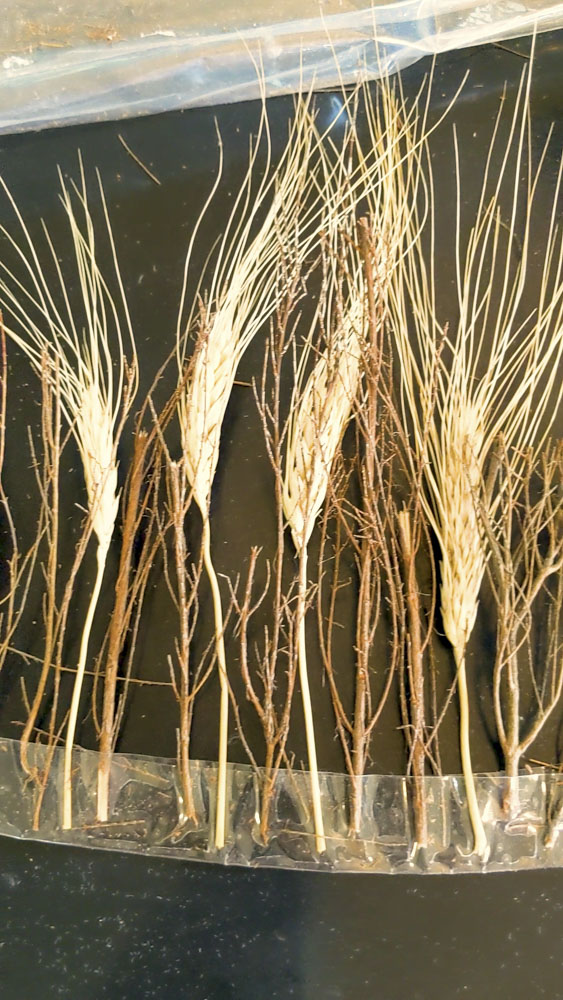
• Wheatgrass
• Small white and pink florals
How To video Fairy Crown:
How to create a fantasy crown:
1. Gather all of your supplies for the project into the working space.
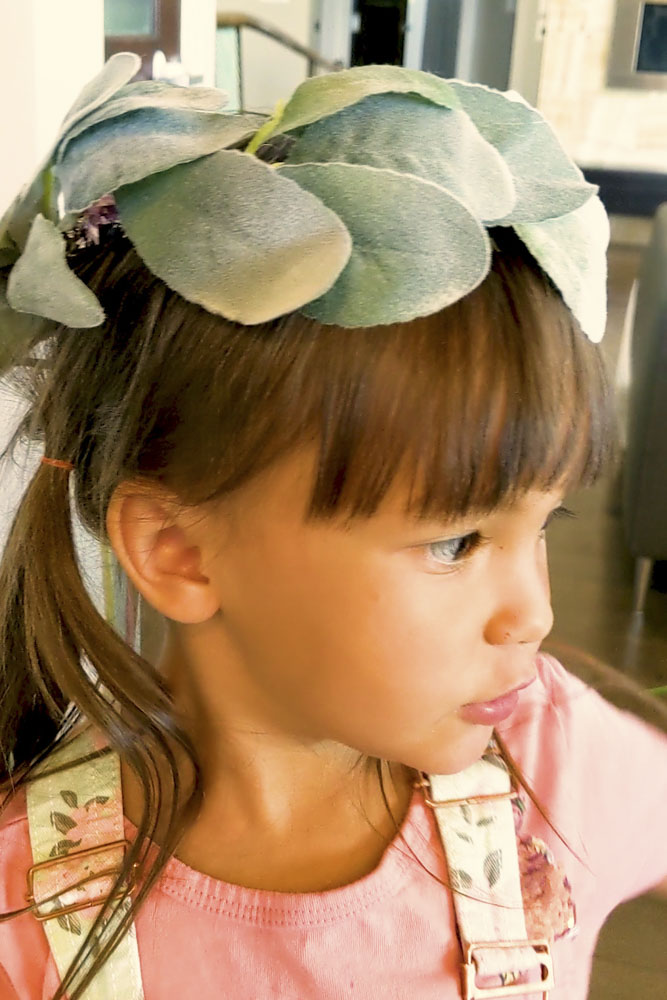
2. The first thing we did was to pull in a green element. We used leaves to create a base all the way around the crown. We attached the leaves by layering them around the crown, attaching with hot glue. Think about Caesar’s roman crown.
3. After we worked on the center of the crown measure and piece of packaging tape. Should be the size of the forehead of your child.
4. Next, break off twigs to add to the crown. We started in the middle of crown with the most extended piece twig piece then gradually added slightly shorter pieces to work out from the center to the edges.
5. Then, lay the twigs on tape, placing them halfway down on the tape’s sticky side. This will allow you to fold the tape up to secure the twigs and flowers.
6. We left small gaps to add wheat and florals in between the twigs.
Once you like the look, you will fold up the tape to secure the crown’s central part.
7. After, you will attach the taped section to the crown. We did this using hot glue.
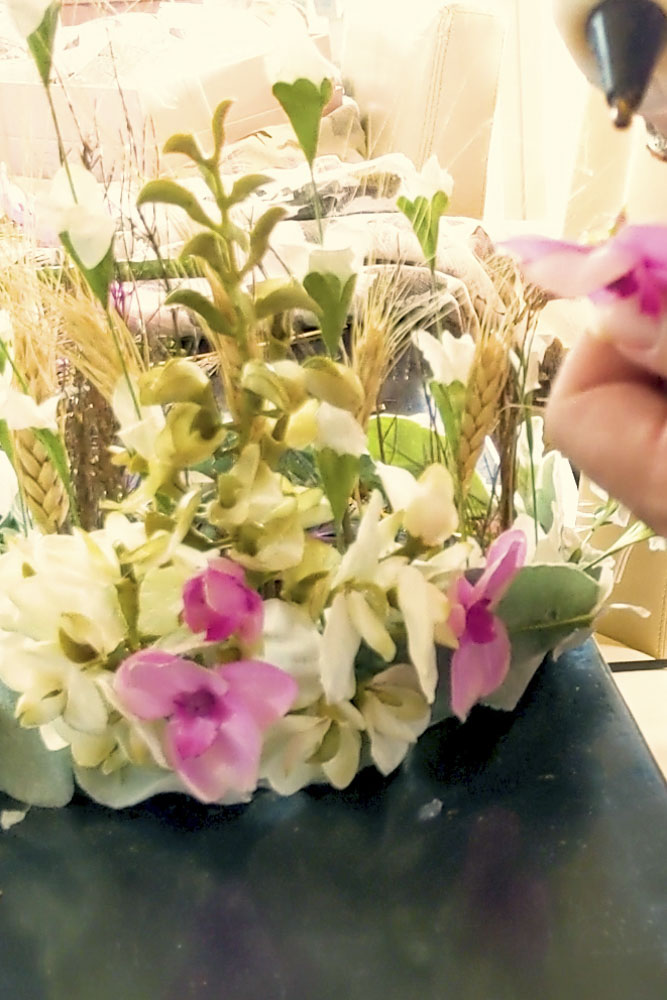
8. Then it is time to add the florals to the base of the crown. We used pink flowers and white flowers.
9. For added drama, the back had a multi-color ribbon already. If yours doesn’t, just add some.
10. The white flowers we had come in long sections. We added some to the back to add some drama. Make sure to carefully fold them over and secure the edges with packaging tape so that nothing is scratchy in the completed crown.
11. Try it on. Make sure you don’t have any gaps that you need to fill.
Secure it with bobby pins.
Lily has thin hair. If your child does too, add two buns in the top of the head to anchor the bobby pins.
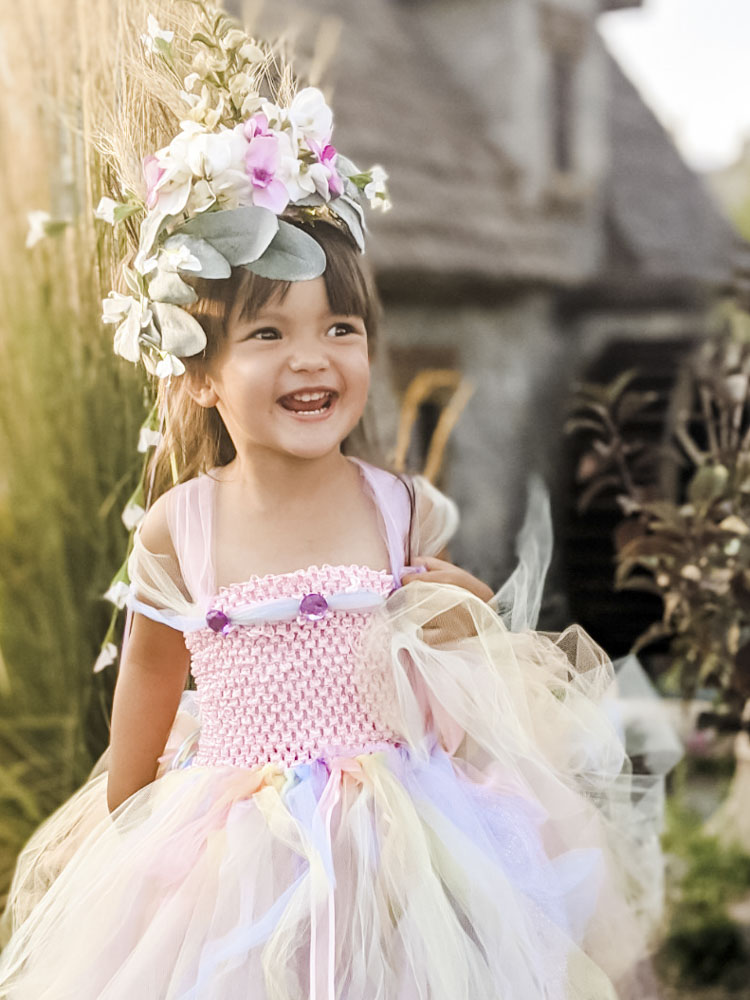
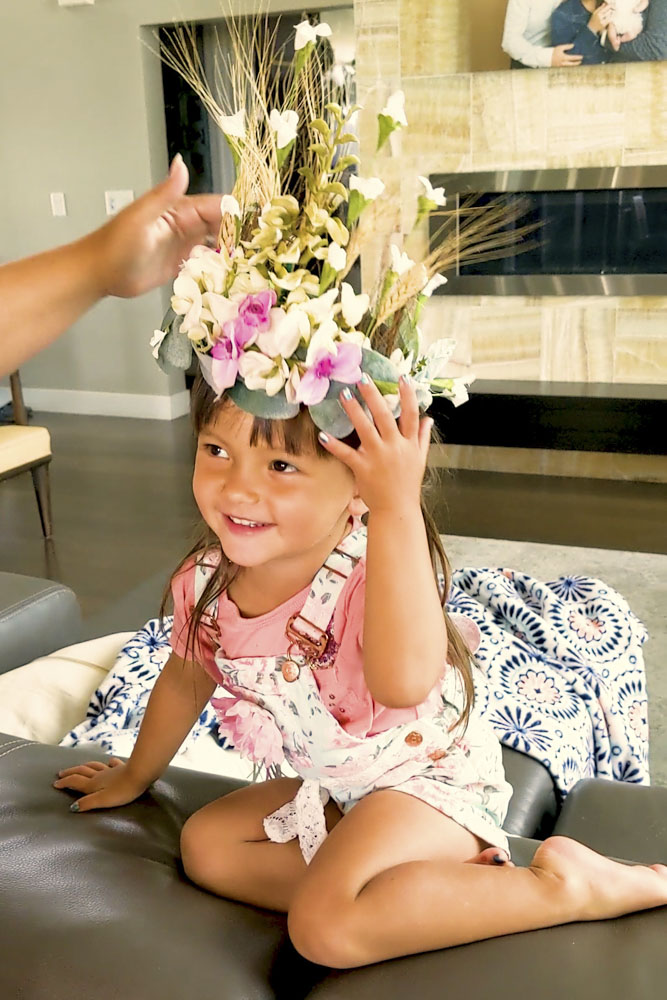
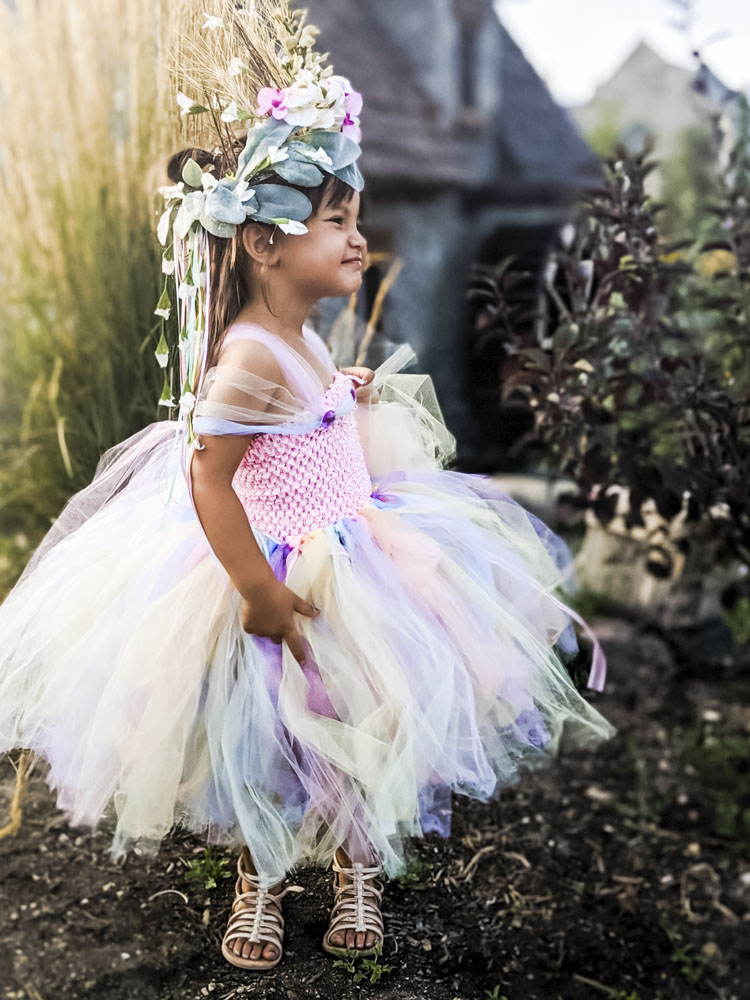
Fairy Princess in her gown and crown:
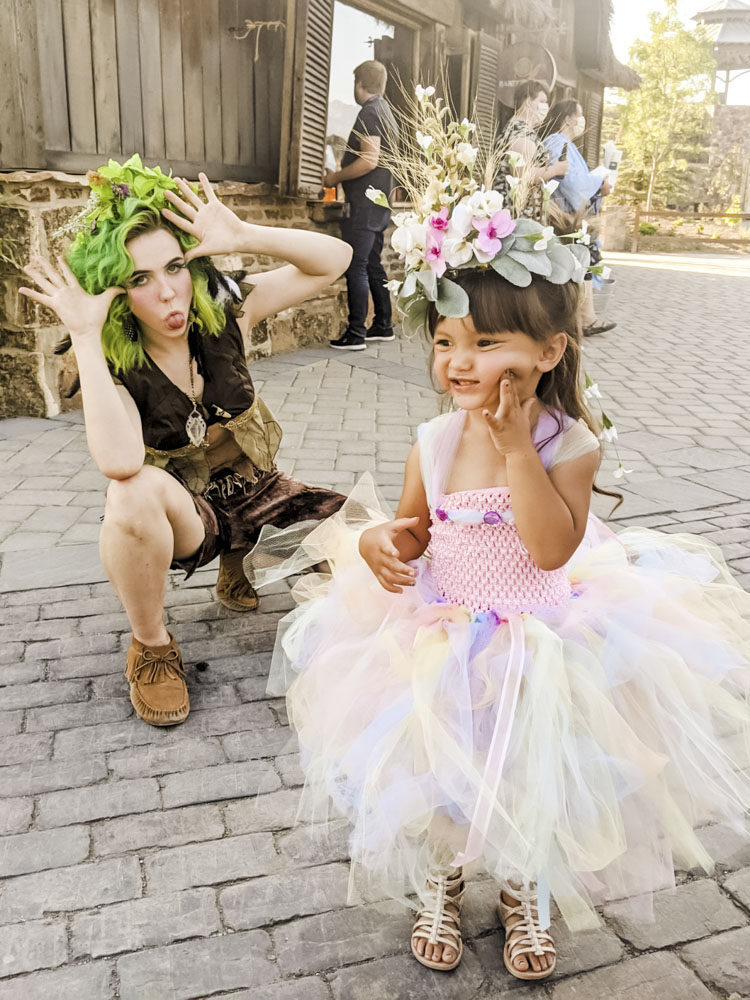
She was show-stopping magic at Evermore. She felt magical in her costume and crown and just loved showing it off to everyone with that night. If fact, she became an honorary fairy that evening.
I was so happy that it stayed on all night, even though she was extremely active. They have an arena where you can get foam swords and shields and fight. She just had to try it. It was quite the show with Lily chasing mom in her full princess gear beating her up. We had such a great time if you find yourself in Utah, Evermore should be on every travel itinerary. If you live here, don’t hesitate to dress up is fun but street clothes are acceptable.
GET MORE LILIES AND JETS INSPIRATION:
Make sure you grab your Free Guide to Project Planning. We are always working on new DIY and Home Décor projects. Follow us on Instagram for previews and behind the scenes access to all things Lilies and Jets.


Every little girl dreams of being a princess, and Lily is a darling one! I love the floral crown you made for her. How fun!
Thanks, Janet. Lily loves to play dress-up and was fun to create with leftover supplies around the house.