Joan Atwood -Artist| Educator | Crafter | Project Inspiration
Like most children, Lily is curious about her surroundings and discovers many things during our walks that interests her. She fills her pockets, and sometimes her helmet with her terrific finds of “pine corns” pinecones, rocks, twigs, grasses, wildflowers, weeds, and other items of interest. We’re just glad she hasn’t been fast enough to catch the lizards, snakes, birds, or other exciting bugs.
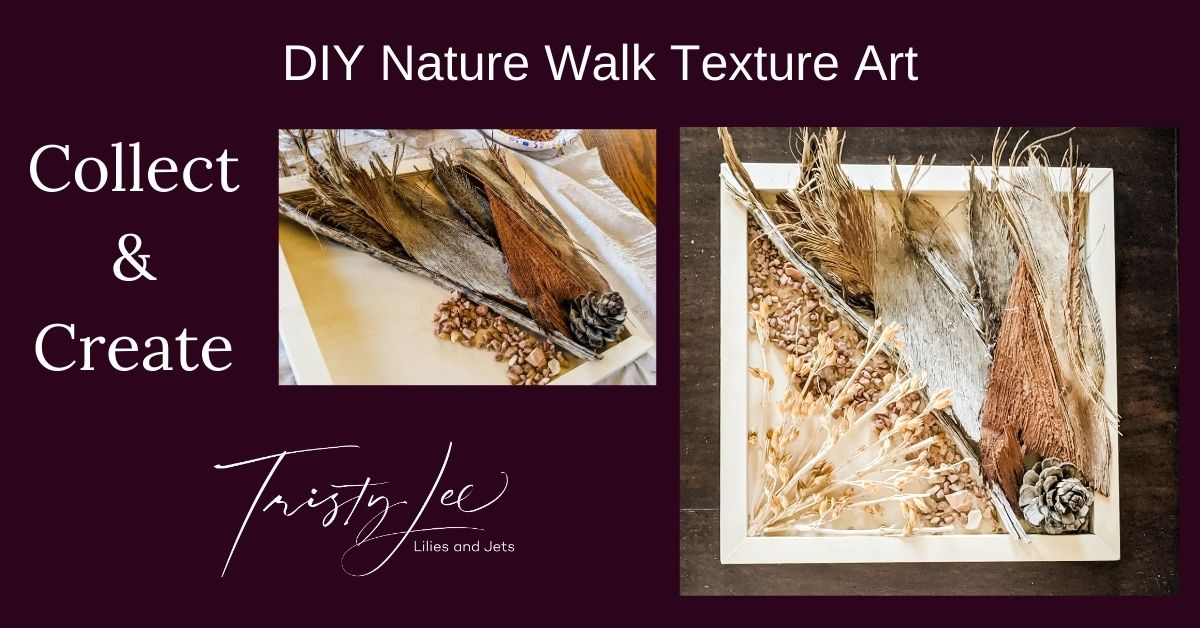
Finding these things gave us an opportunity to start a DIY Nature Walk Texture Art project. Part of the discovery in art is to add texture for interest in projects. Her finds provide an excellent opportunity for stretching that understanding.
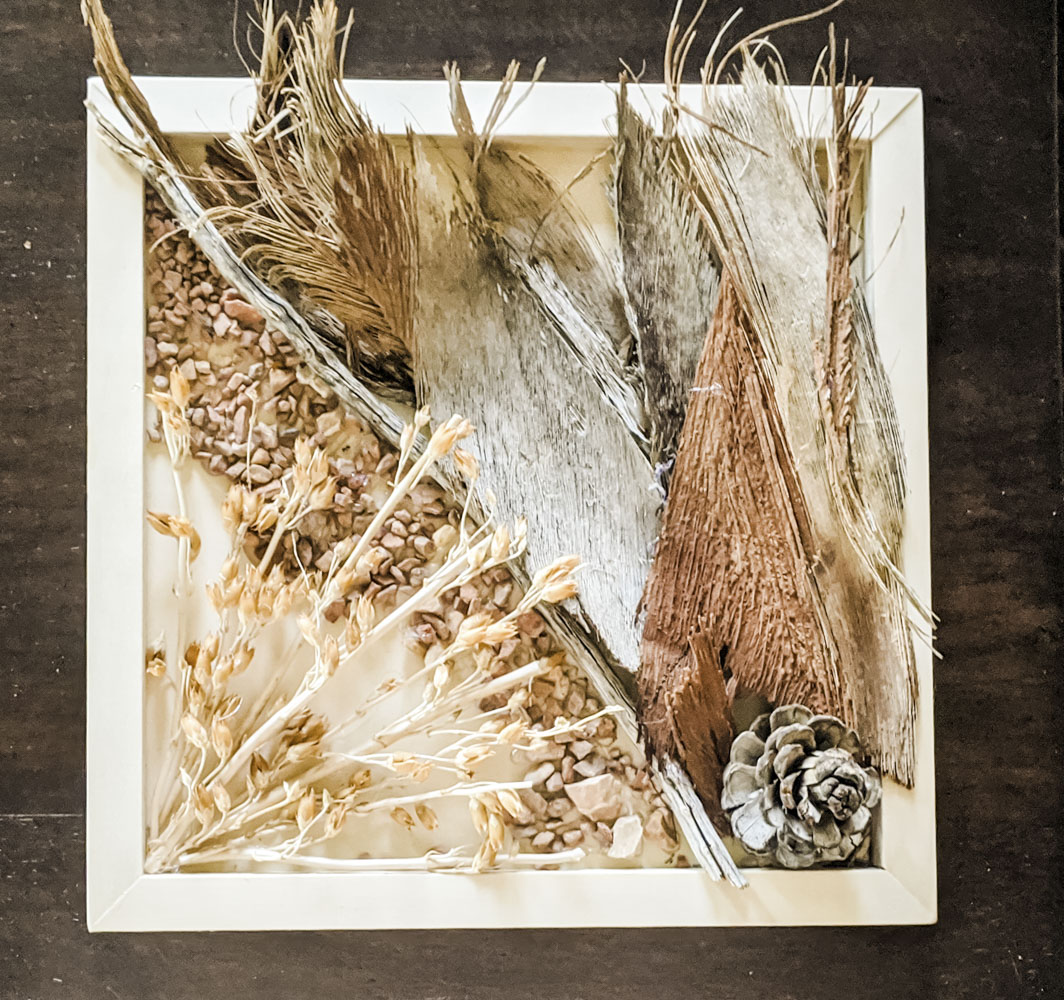
Gather your art supplies:
Since the objective is to construct an art project using the items collected as one finds interest in their surroundings, the items will differ, which will make the project even better. The best idea is to look for things that add a great variety of texture and complement each other.
• Hot glue (the adult should use this) or Elmer’s or craft glue
• A wide variety of child gathered items such as: pinecones, twigs, dead and dried parts of flowers or weeds, rocks, bark, etc.
We used stones, dried flower shafts from plants, pinecone, twig, and bark from a palm tree.
Frame – We used a shallow shadow box frame.
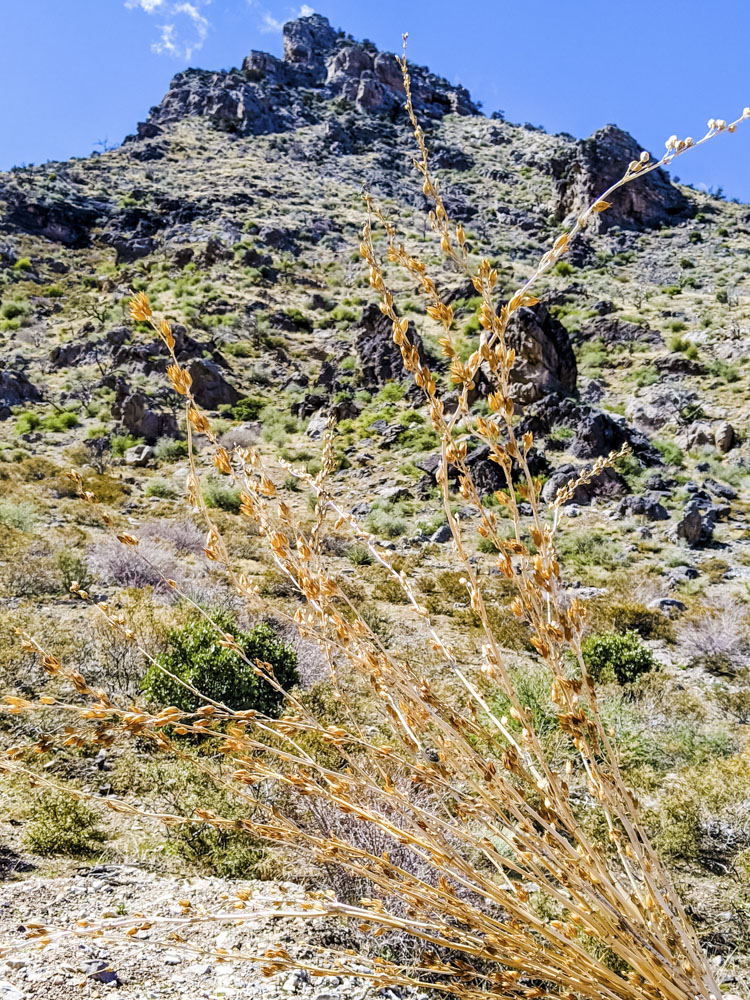
Use your nature walks to inspire curiosity about color, size, and texture.
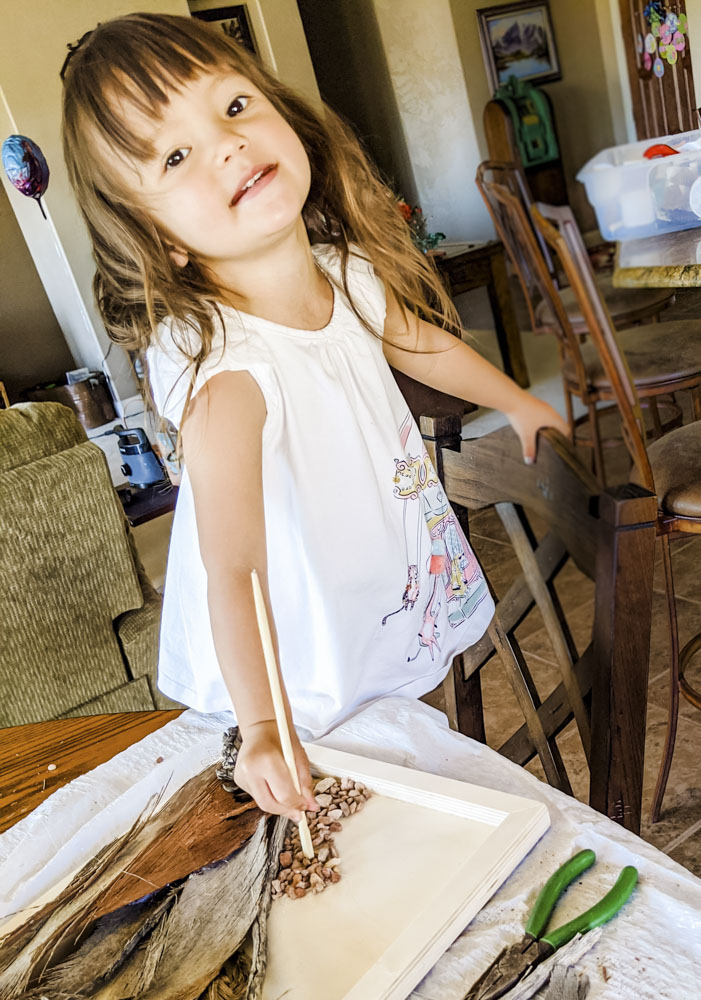
How to Steps for Texture Art:
1. Begin by setting out your child’s finds on a covered workspace
2. Have the child tell you which ones they like to best since it is unlikely you will use all of their discoveries.
3. Determine with the child how they might fit in the frame or on the project space.
4. Remember, the overlapping of items is okay and will add interest to the final project.
5. Experiment with several ideas before you begin to glue since this will help the child see how planning is done and will help you identify many ways of using your supplies.
6. The adult should assist with any tearing, cutting, or manipulation of the items that are needed to make the elements work in the space.
Begin gluing on one corner or section at a time, using your plan.
Remember that the child can help with the gluing process by holding the item down. Since we used hot glue, the adult glued, and Lily held down the object using a chopstick. No one wants the child to get burned and ruin a great time working together.
Be patient with your kids
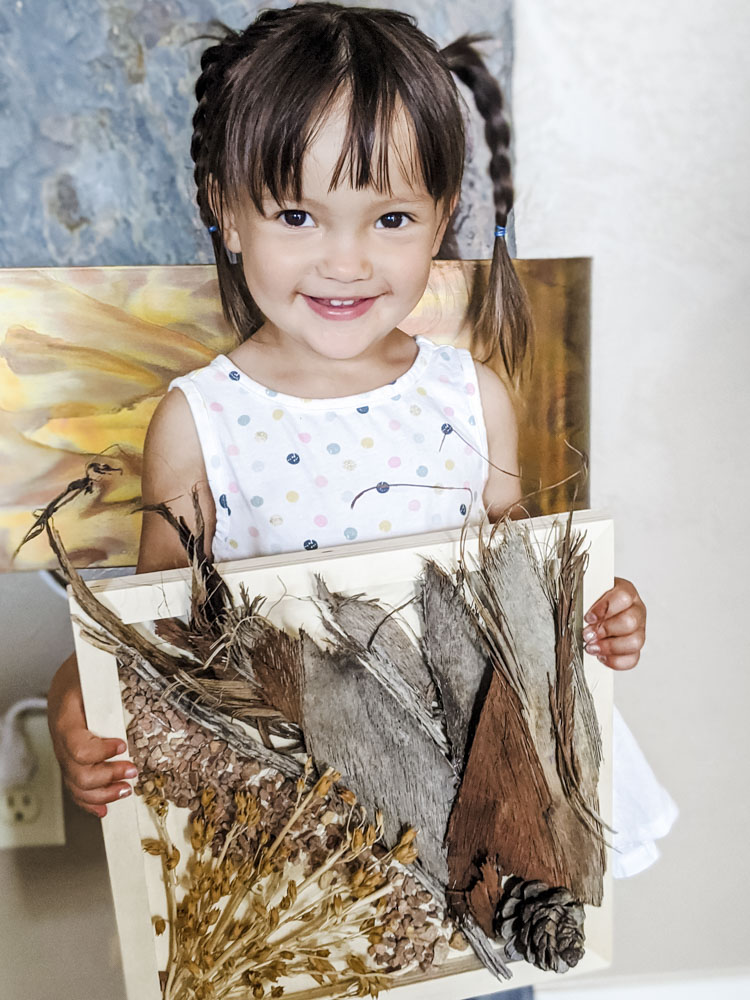
Lily was excited to begin the project but needed an additional day to work on it because her attention span was not ready for a long process. The project turned out so well that Lily was thrilled to show family members her finished project and tell them about how she found her objects. Some items came from walks around the neighborhood, while others came from a hike on a mountainside.
For more Nature Walk projects:
Nature Walk Art
Nature Walk Pinecone display
To keep up on all our projects, remember to follow us on Pinterest. Don’t forget to subscribe to our email list to get your Free Project Evaluation Checklist and to hear about our latest projects. We can’t wait to see your version of this project. Please post them in comments or send us an email.
About the Author
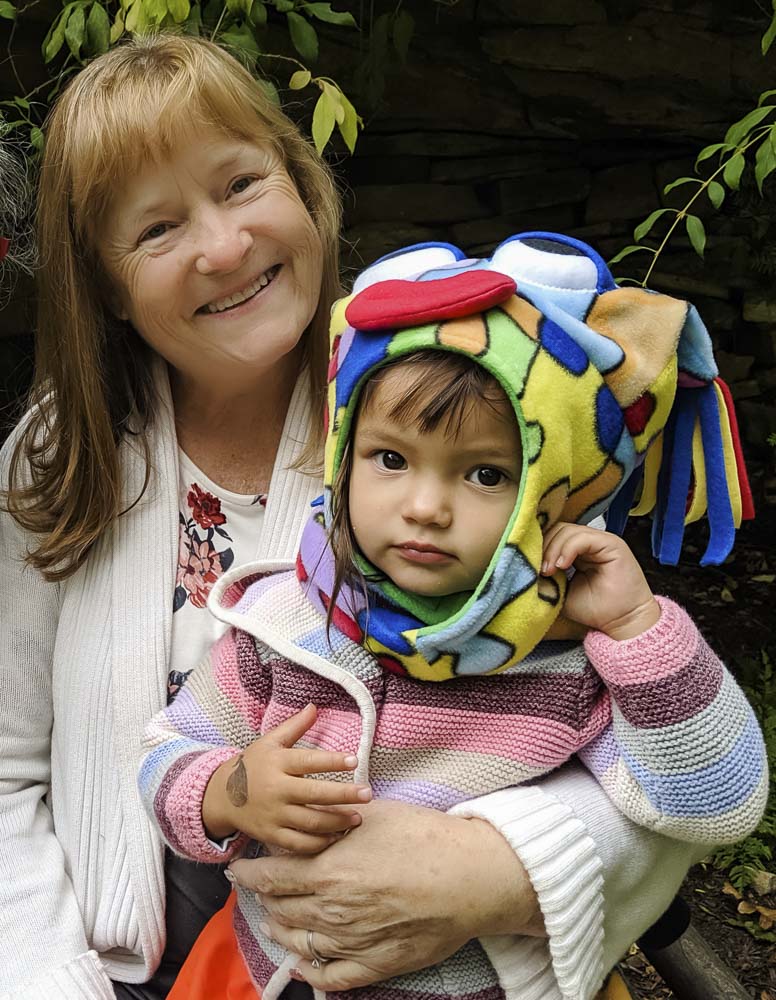
Joan Atwood has over 30 years of experience in education, working as an elementary supervisor, principal, and teacher, teaching a wide range of grade school children, as well as university classes. Her expertise includes kindergarten, elementary education, and gifted/talented. She is an artist with expertise in oil painting and floral arranging. She enjoys crafting with her grandchildren, wire wrapping pendants, and long walks in nature.

Lily’s work is impressive. You bring out some great points about patience here. Sometimes I believe we have to patient with ourselves when we do art projects.
Thanks we all need to give ourselves more grace for sure.