Tristy Lee -DIY | Home Decor | Art | Project Inspiration
As part of the daily routine, we try to get out of the house and get some exercise by walking. During these walks, Lily is finding pinecones on the ground throughout the neighborhood. Then she just has to take them home. Lately, her collection gets more abundant, leading to the perfect opportunity to turn these great finds into a “new” project. Since she is only two-years-old, any project is new to her. They are having so much fun with this DIY Pinecone Kids Craft.
Gathering the Pinecones:
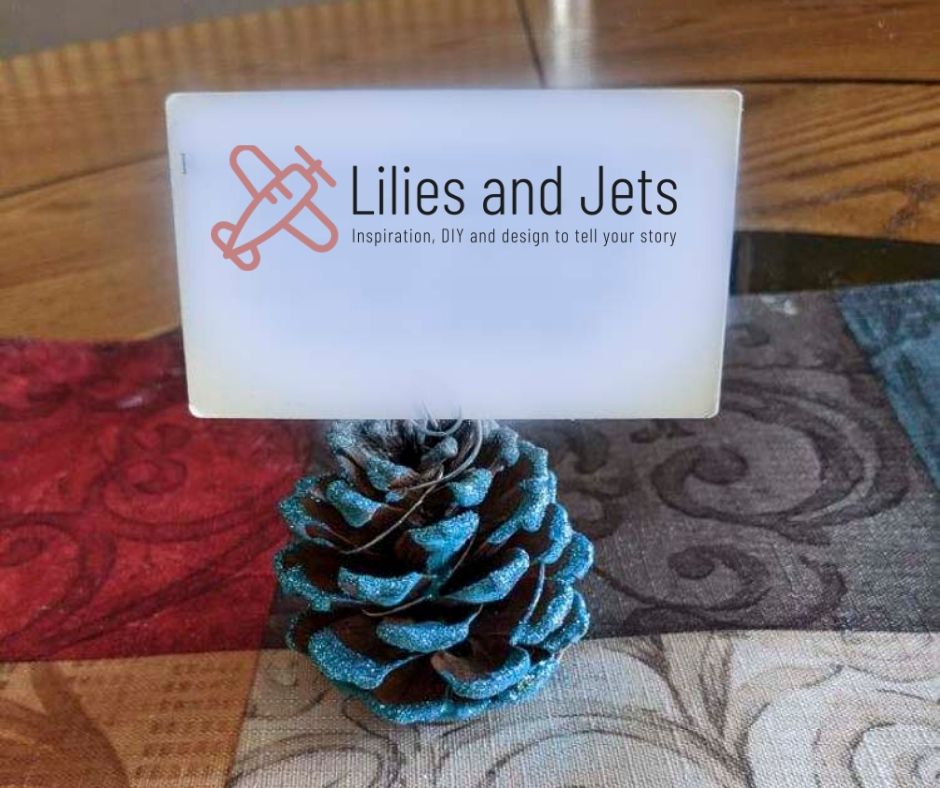
Therefore Grandma Joan’s next project was to turn her latest nature walk into a pinecone kids craft. It is a natural “to do” project for Lily and Grandma Joan to do inspired by some DIY Christmas ornaments she made with me when I was a kid. The pinecone picture, business card, or recipe holder would be a practical use for some of the pinecones, or “pine corns,” as Lily calls them.
Larger pinecones look better with pictures. You can use sandpaper to flatten the base of the pinecones to make them more stable.

Ready set go:
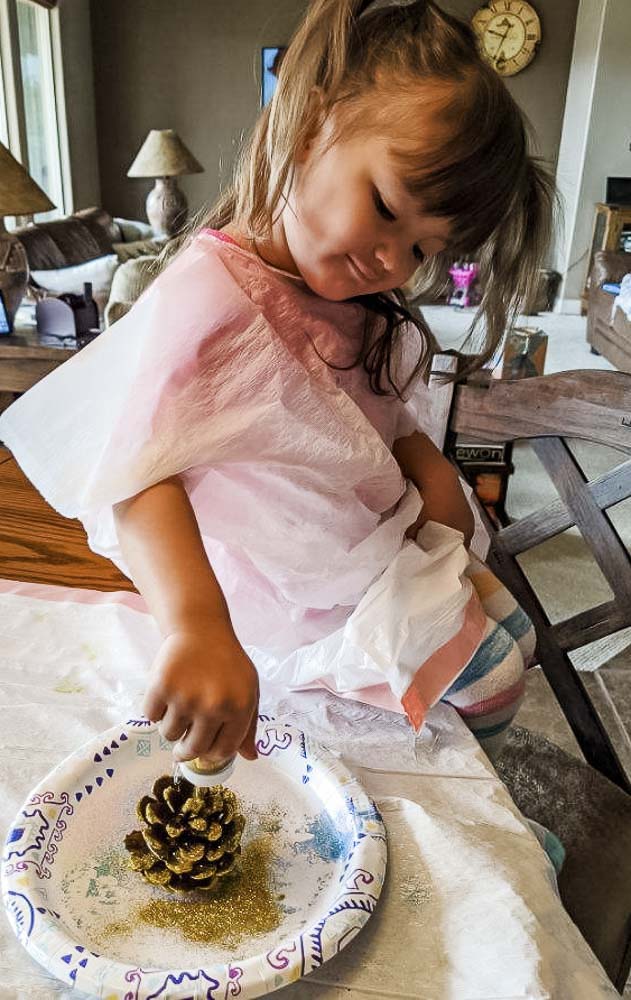
Gather all your supplies together before you start. Lily can make a huge mess in one split second. We put her in garbage sack over her clothes that we use over and over to protect outfits from all paint and glue.
- Pinecones this time a year a new supply falls to the ground daily
- 20-18 gauge wire
- Needle nose pliers
- Acrylic paints in theme colors for the season
- Mod Podge
- Glitter in a variety of colors
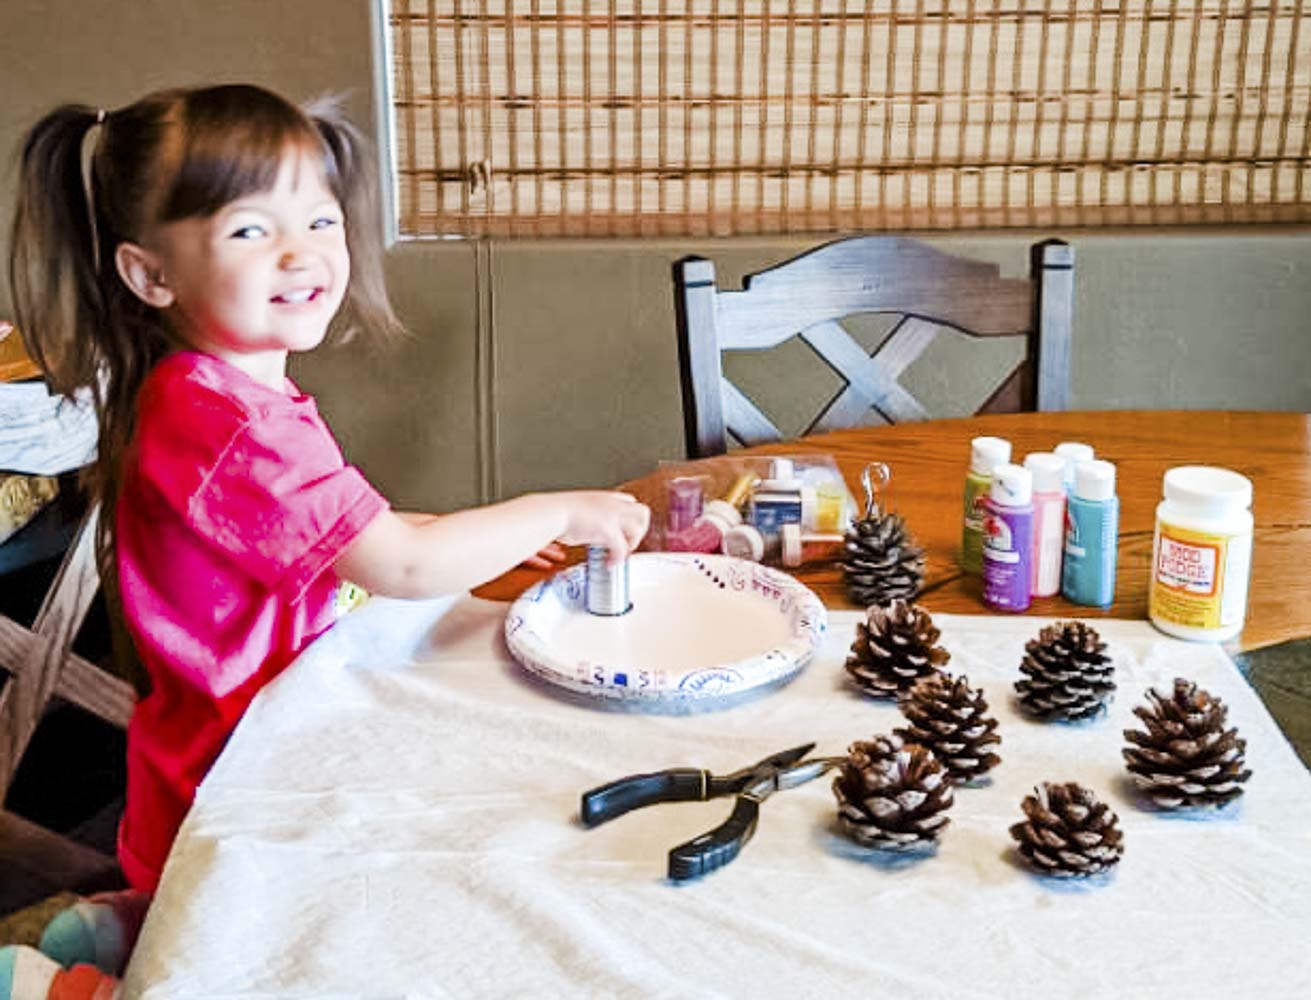
Steps by step pinecone transformation:
1. Start by painting the edges of the pinecones with the desired color of paint or mod podge.
2. Set the pinecone on a paper plate or plastic bag
3. Sprinkle the glitter on the paint/Mod Podge
4. Take a mac and cheese break to let the glitter dry
5. Pour the unused glitter back into the bottle for another project.
6. Cut a piece of wire about 12 inches long and twist it around the bottom of the pinecone, and continue up to the top, leaving about 2 to 3 inches at the top.
7. Next, using the needle-nose pliers, twist a couple of loops at the top of the wire.
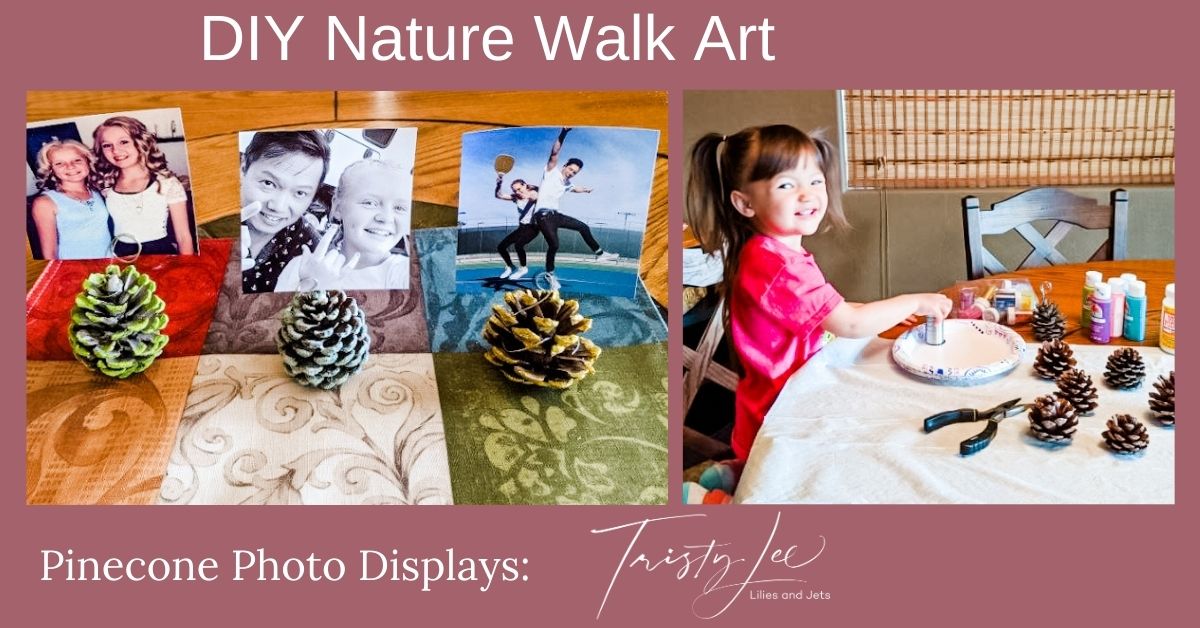
Finally, display your pictures, business cards, or use your pinecone to hold recipes.
If you have not already, take a look at “How to turn your nature walk into art”, it is a fun project for you and your little ones.
P.S. As always, have a great time on your nature walks and use their pockets filled with finds in your crafting projects. If you try this craft, share with us your feedback and pictures. Follow us on Pinterest
Want more Lilies and Jets:
Make sure you grab your Free Guide to Project Planning. We are always working on new DIY and Home Décor projects. Follow us on Instagram for previews and behind the scenes access to all things Lilies and Jets.

+ show Comments
- Hide Comments
add a comment